

Create a personalized refrigerator gallery on a budget! With just $15 and a little creativity, you can transform your fridge into a stunning display of your favorite memories. Here’s how to do it:
Materials Needed
- Magnetic Frames: I found mine at the Target Dollar Spot—two larger frames ($3 each) and two sets of smaller frames (also $3 each), totaling $12. They came with magnets already attached!
- Printed Photos: I used 4x4 prints for the smaller frames and 4x6 prints for the larger frames, printed locally for just $3.
- Scissors
- Pen or Marker
Step-by-Step Instructions
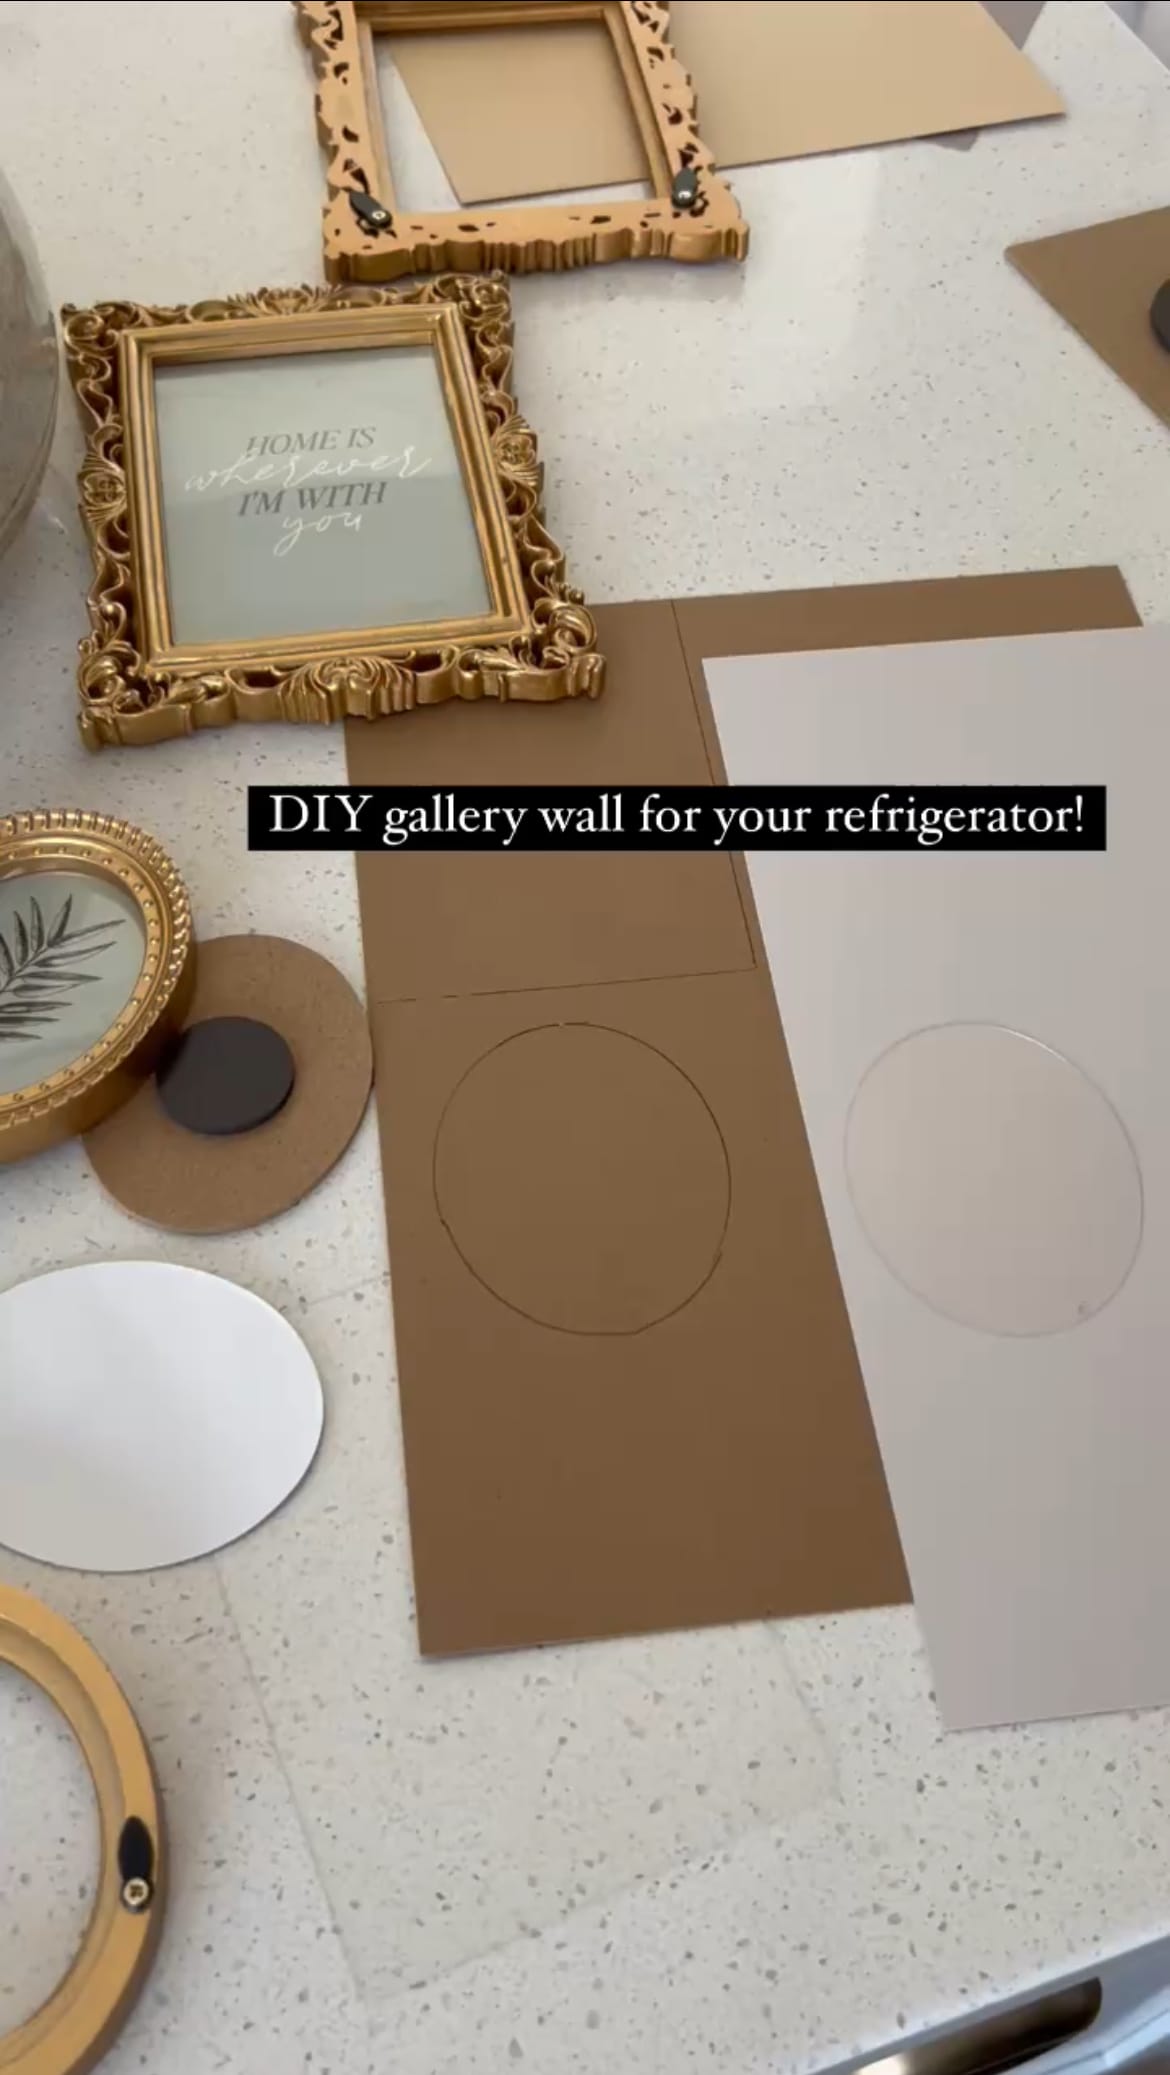
Step 1: Prep Your Photos
Use the frame as a guide to size your photos. Then place the frame over the photo, mark the edges with a pen or marker, and carefully cut to size.

Step 2: Assemble the Frames
This is so simple, just insert your trimmed photos into the frames! And whenever you want switch out photos for a fresh look.

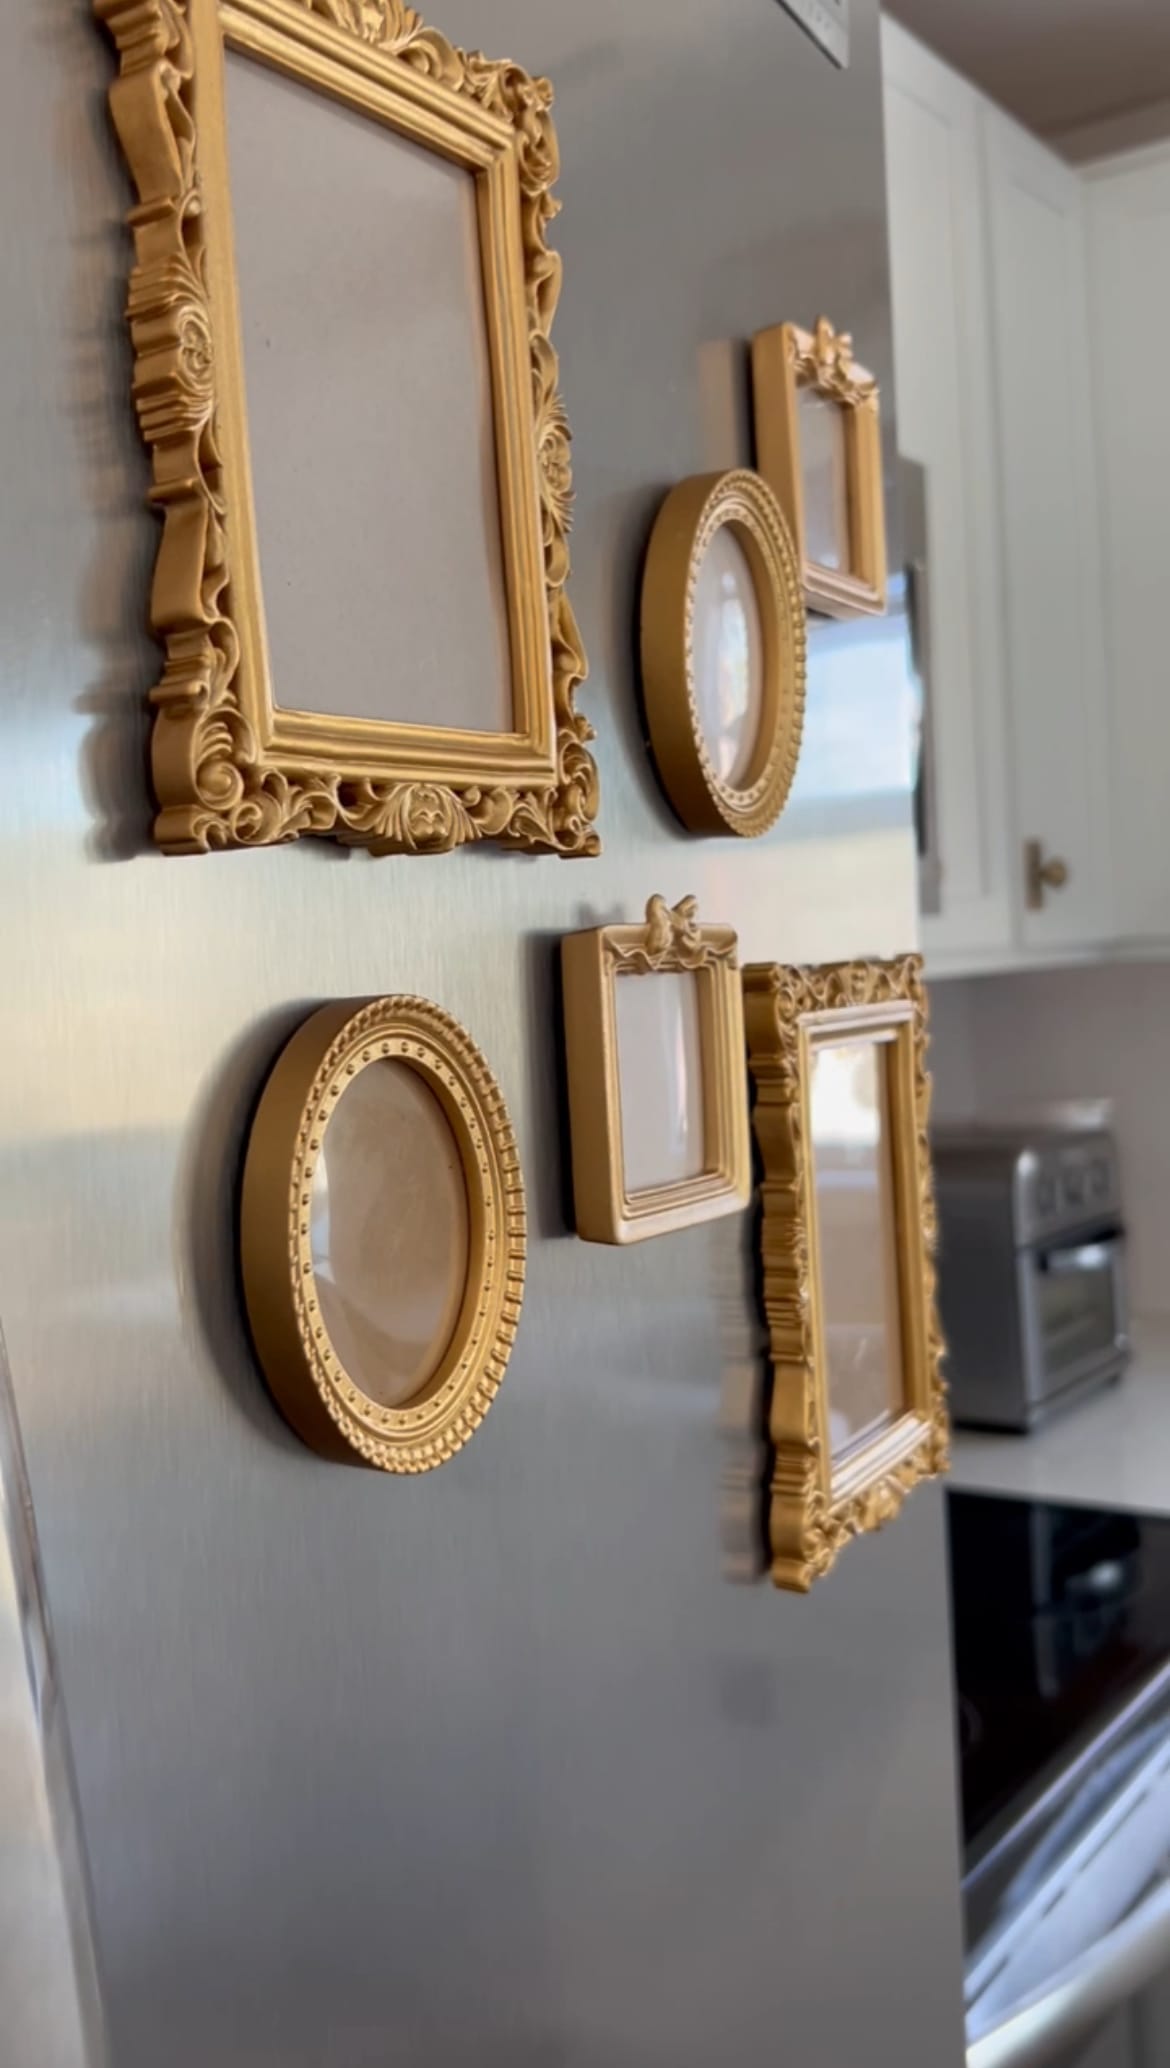
Step 3: Arrange on the Fridge
Place the magnetic frames on your refrigerator and arrange them however you like. Thanks to the magnets, you can easily move and rearrange the frames without stress.
Creating a DIY refrigerator gallery is simple, stylish, and stress-free. Give it a try and enjoy your mini art gallery every time you walk into the kitchen! 😊

Creator: Whitney
Instagram: @farrarhome