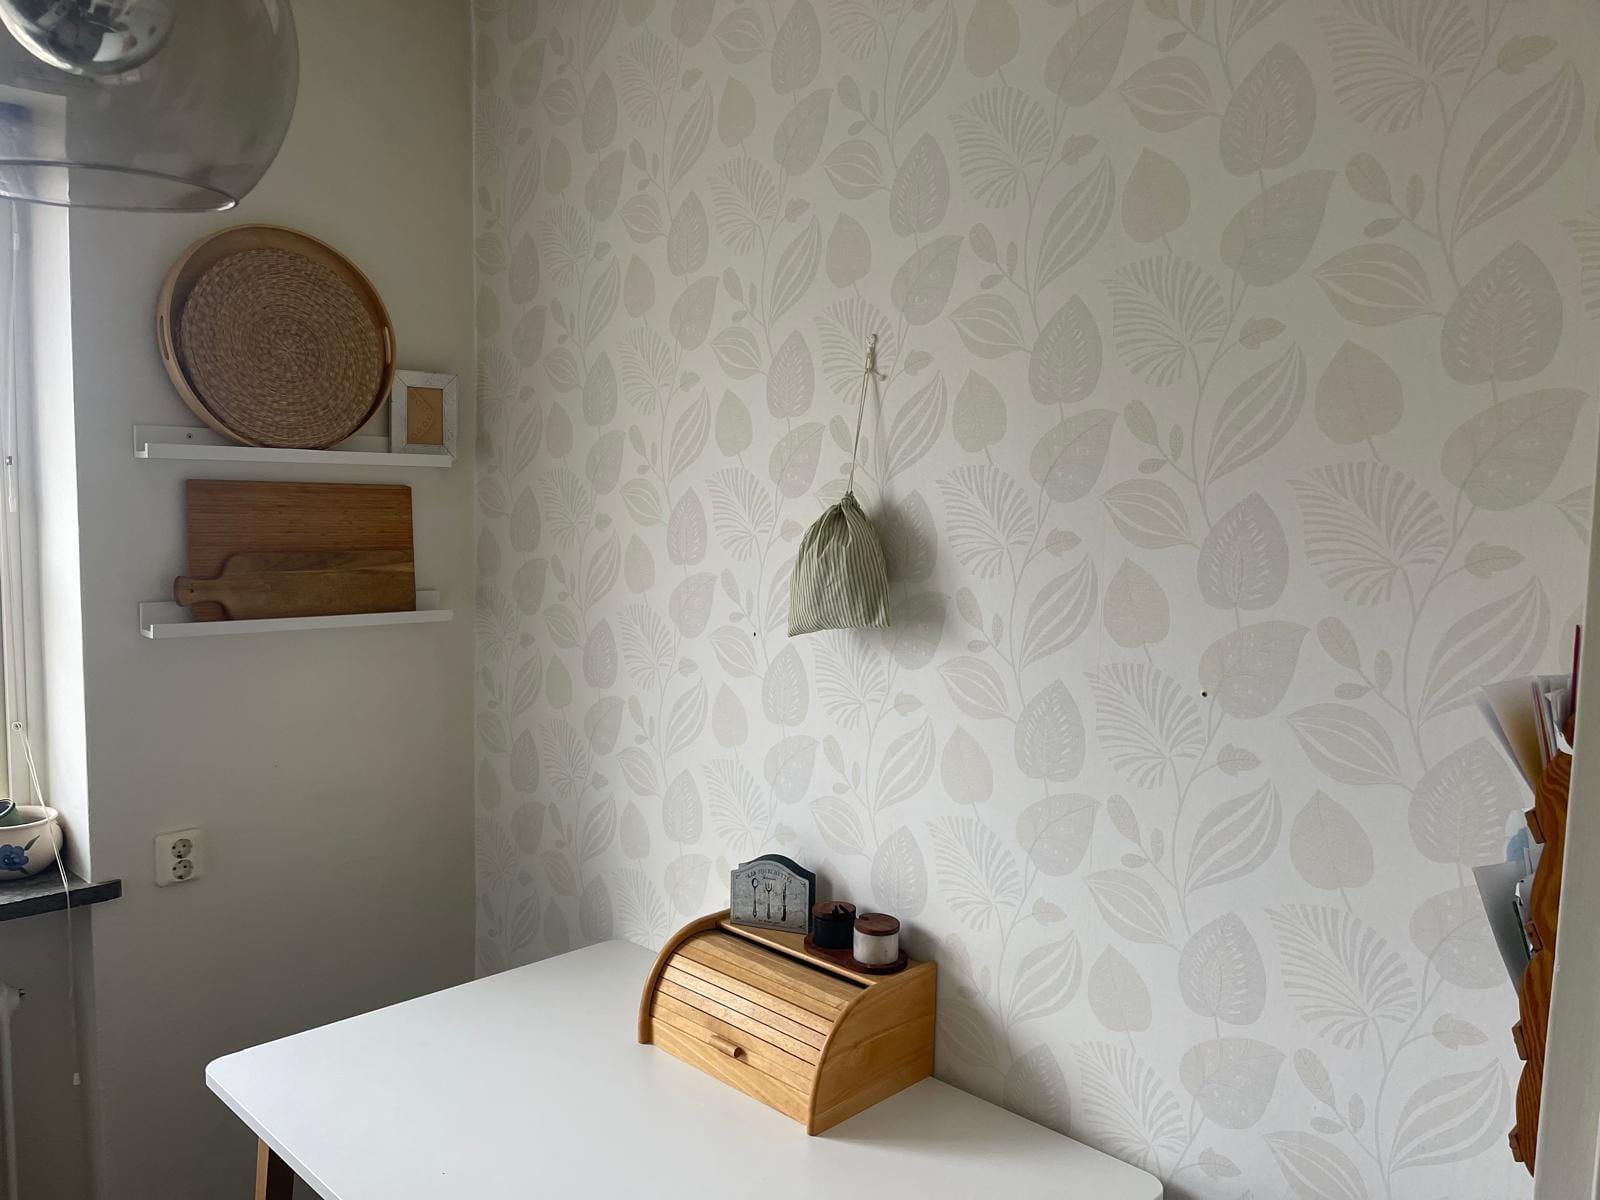
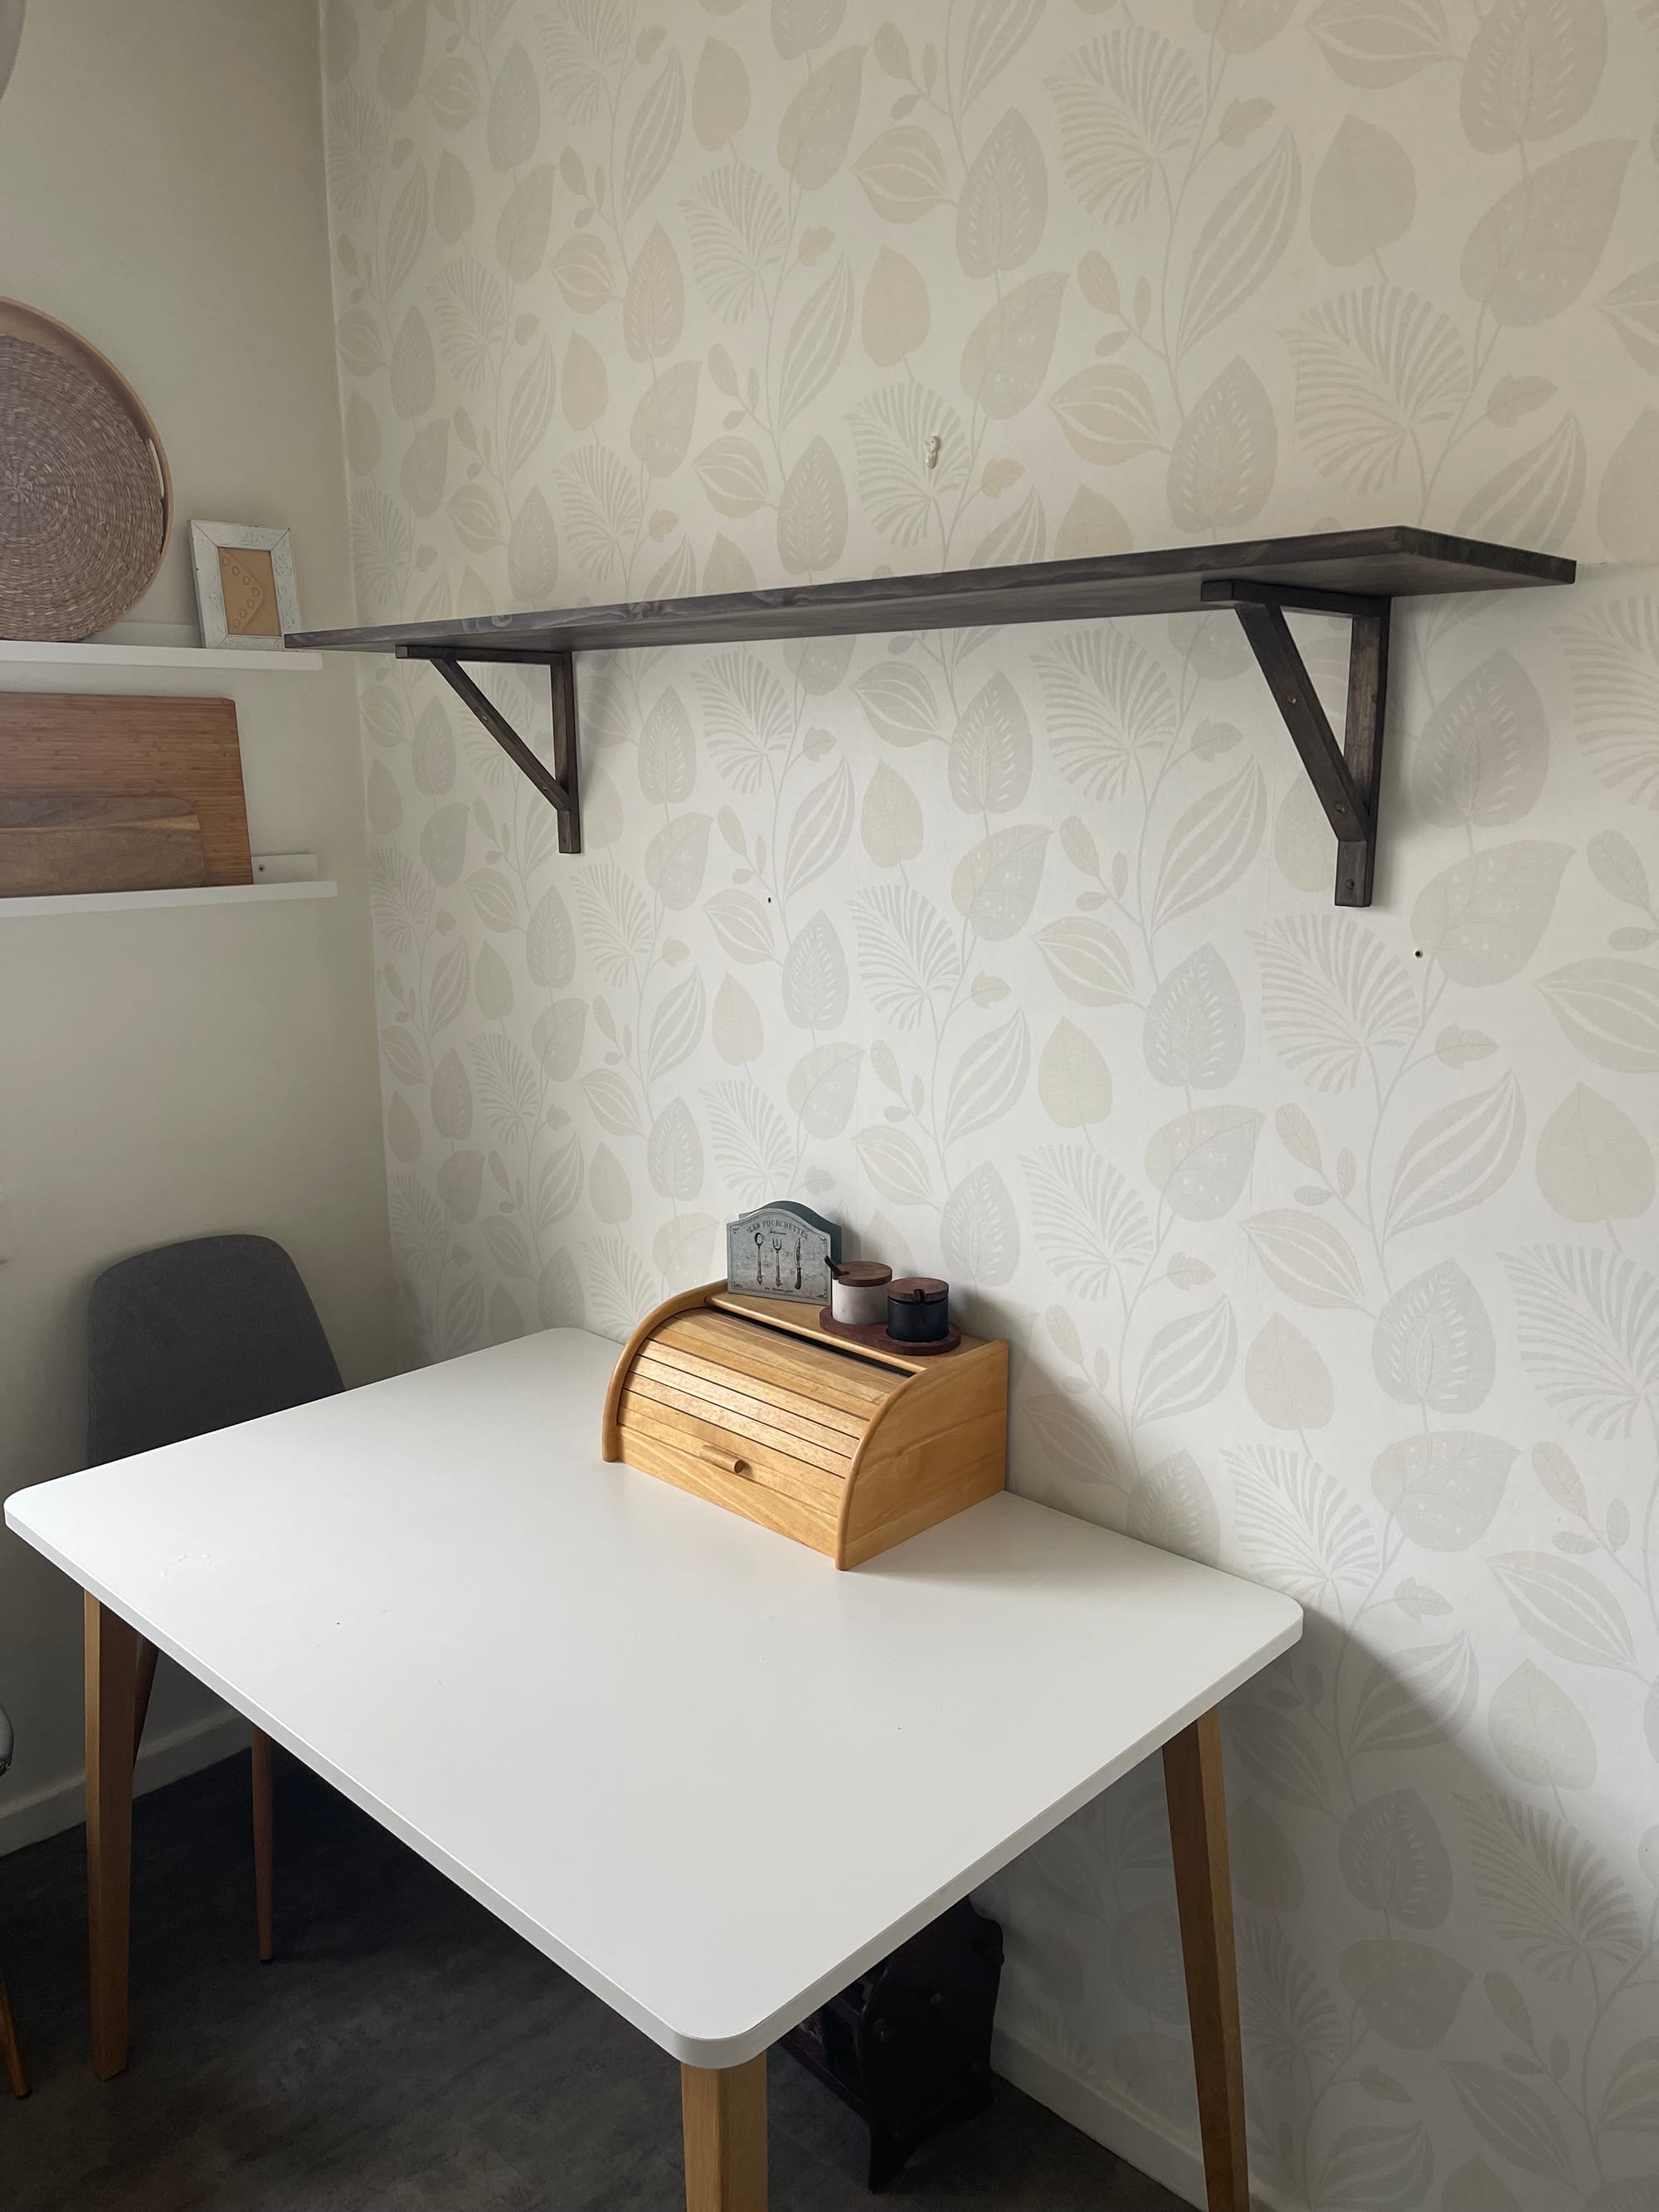
Ever looked at a blank wall and thought, “This space needs something”? That was us, not too long ago. We needed more space in our kitchen, because the table was always full of stuff and very messy, so a big shelf that could take away some of the stuff from the table and fill the wall seemed like the perfect solution. There was just one problem: we had never done something like it, and had no tools and no idea of how to do it.
Starting your DIY journey might seem a little intimidating (we've been there!). But once you’ve got the right tools in hand, the process becomes less about stress and more about pure creativity. We’re talking about a shelf, yes—but also about the confidence to make things with your own two hands. And with some help from Einhell, this beginner-friendly project just might be your new favorite weekend plan.
Here’s how we pulled it off—and how you can, too.
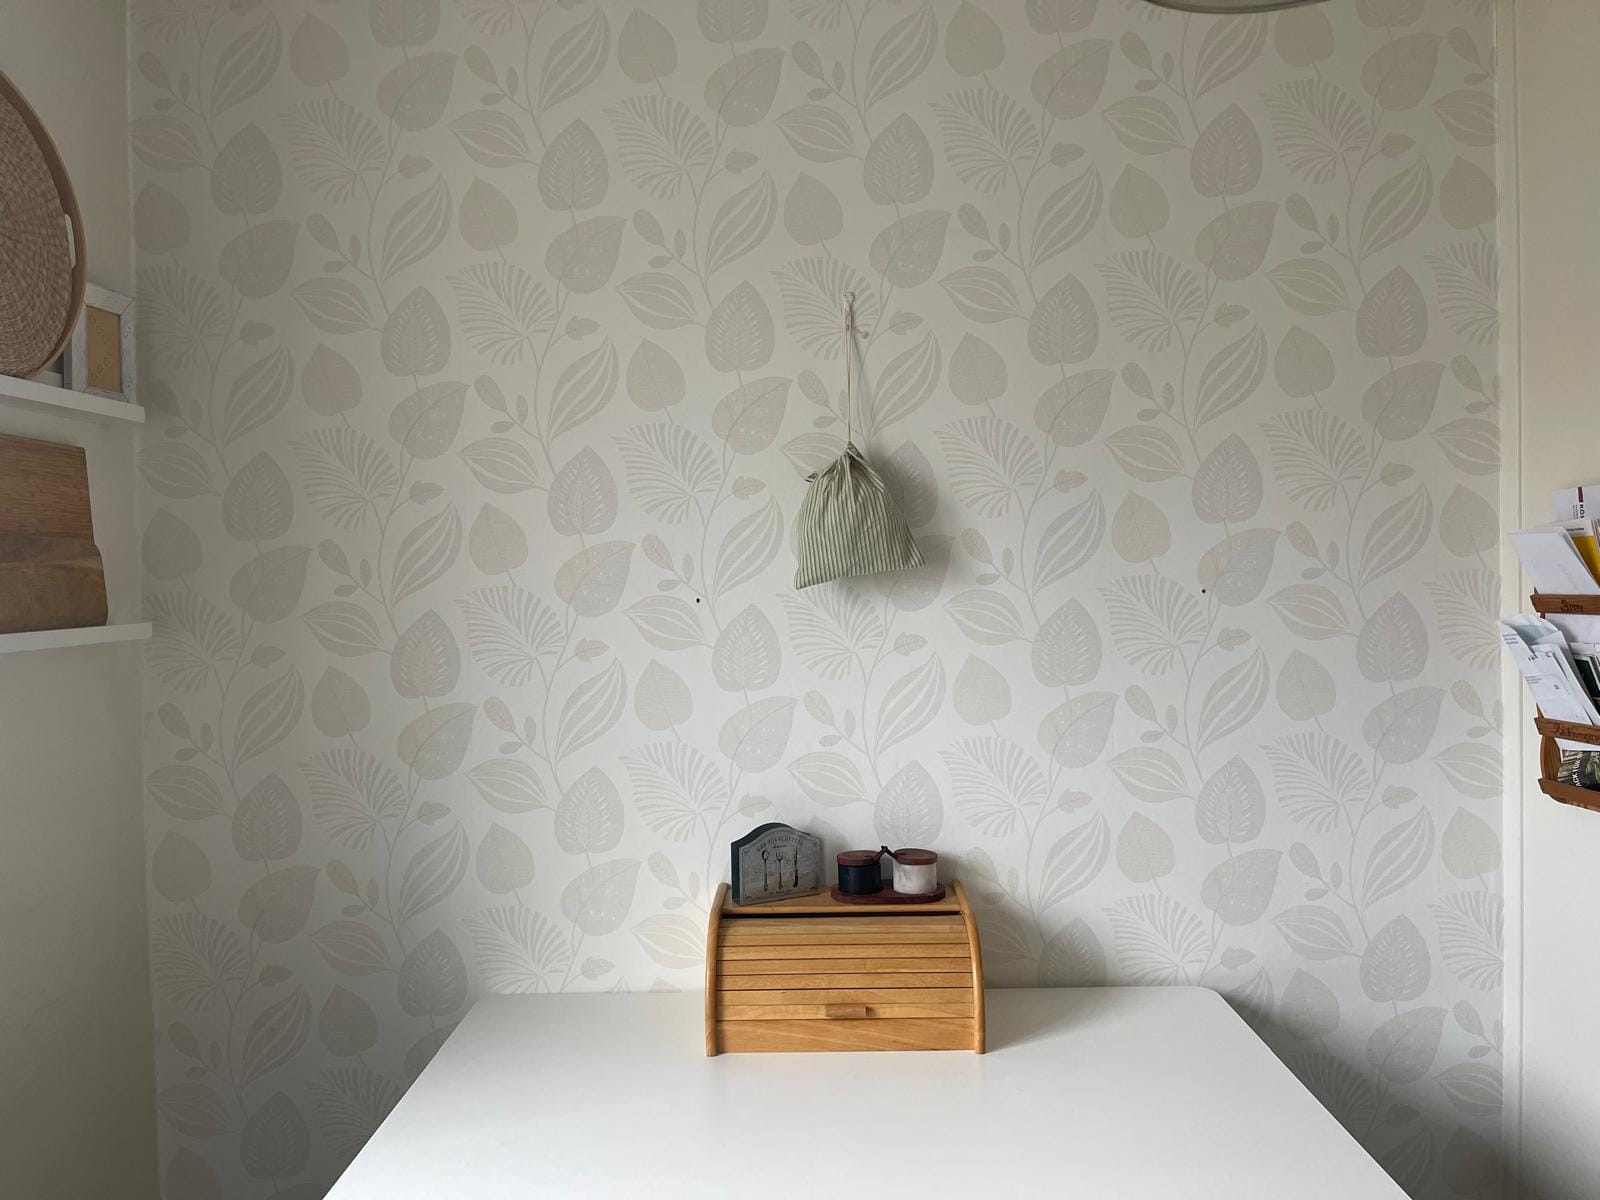
Step 1: Finding the Perfect Spot
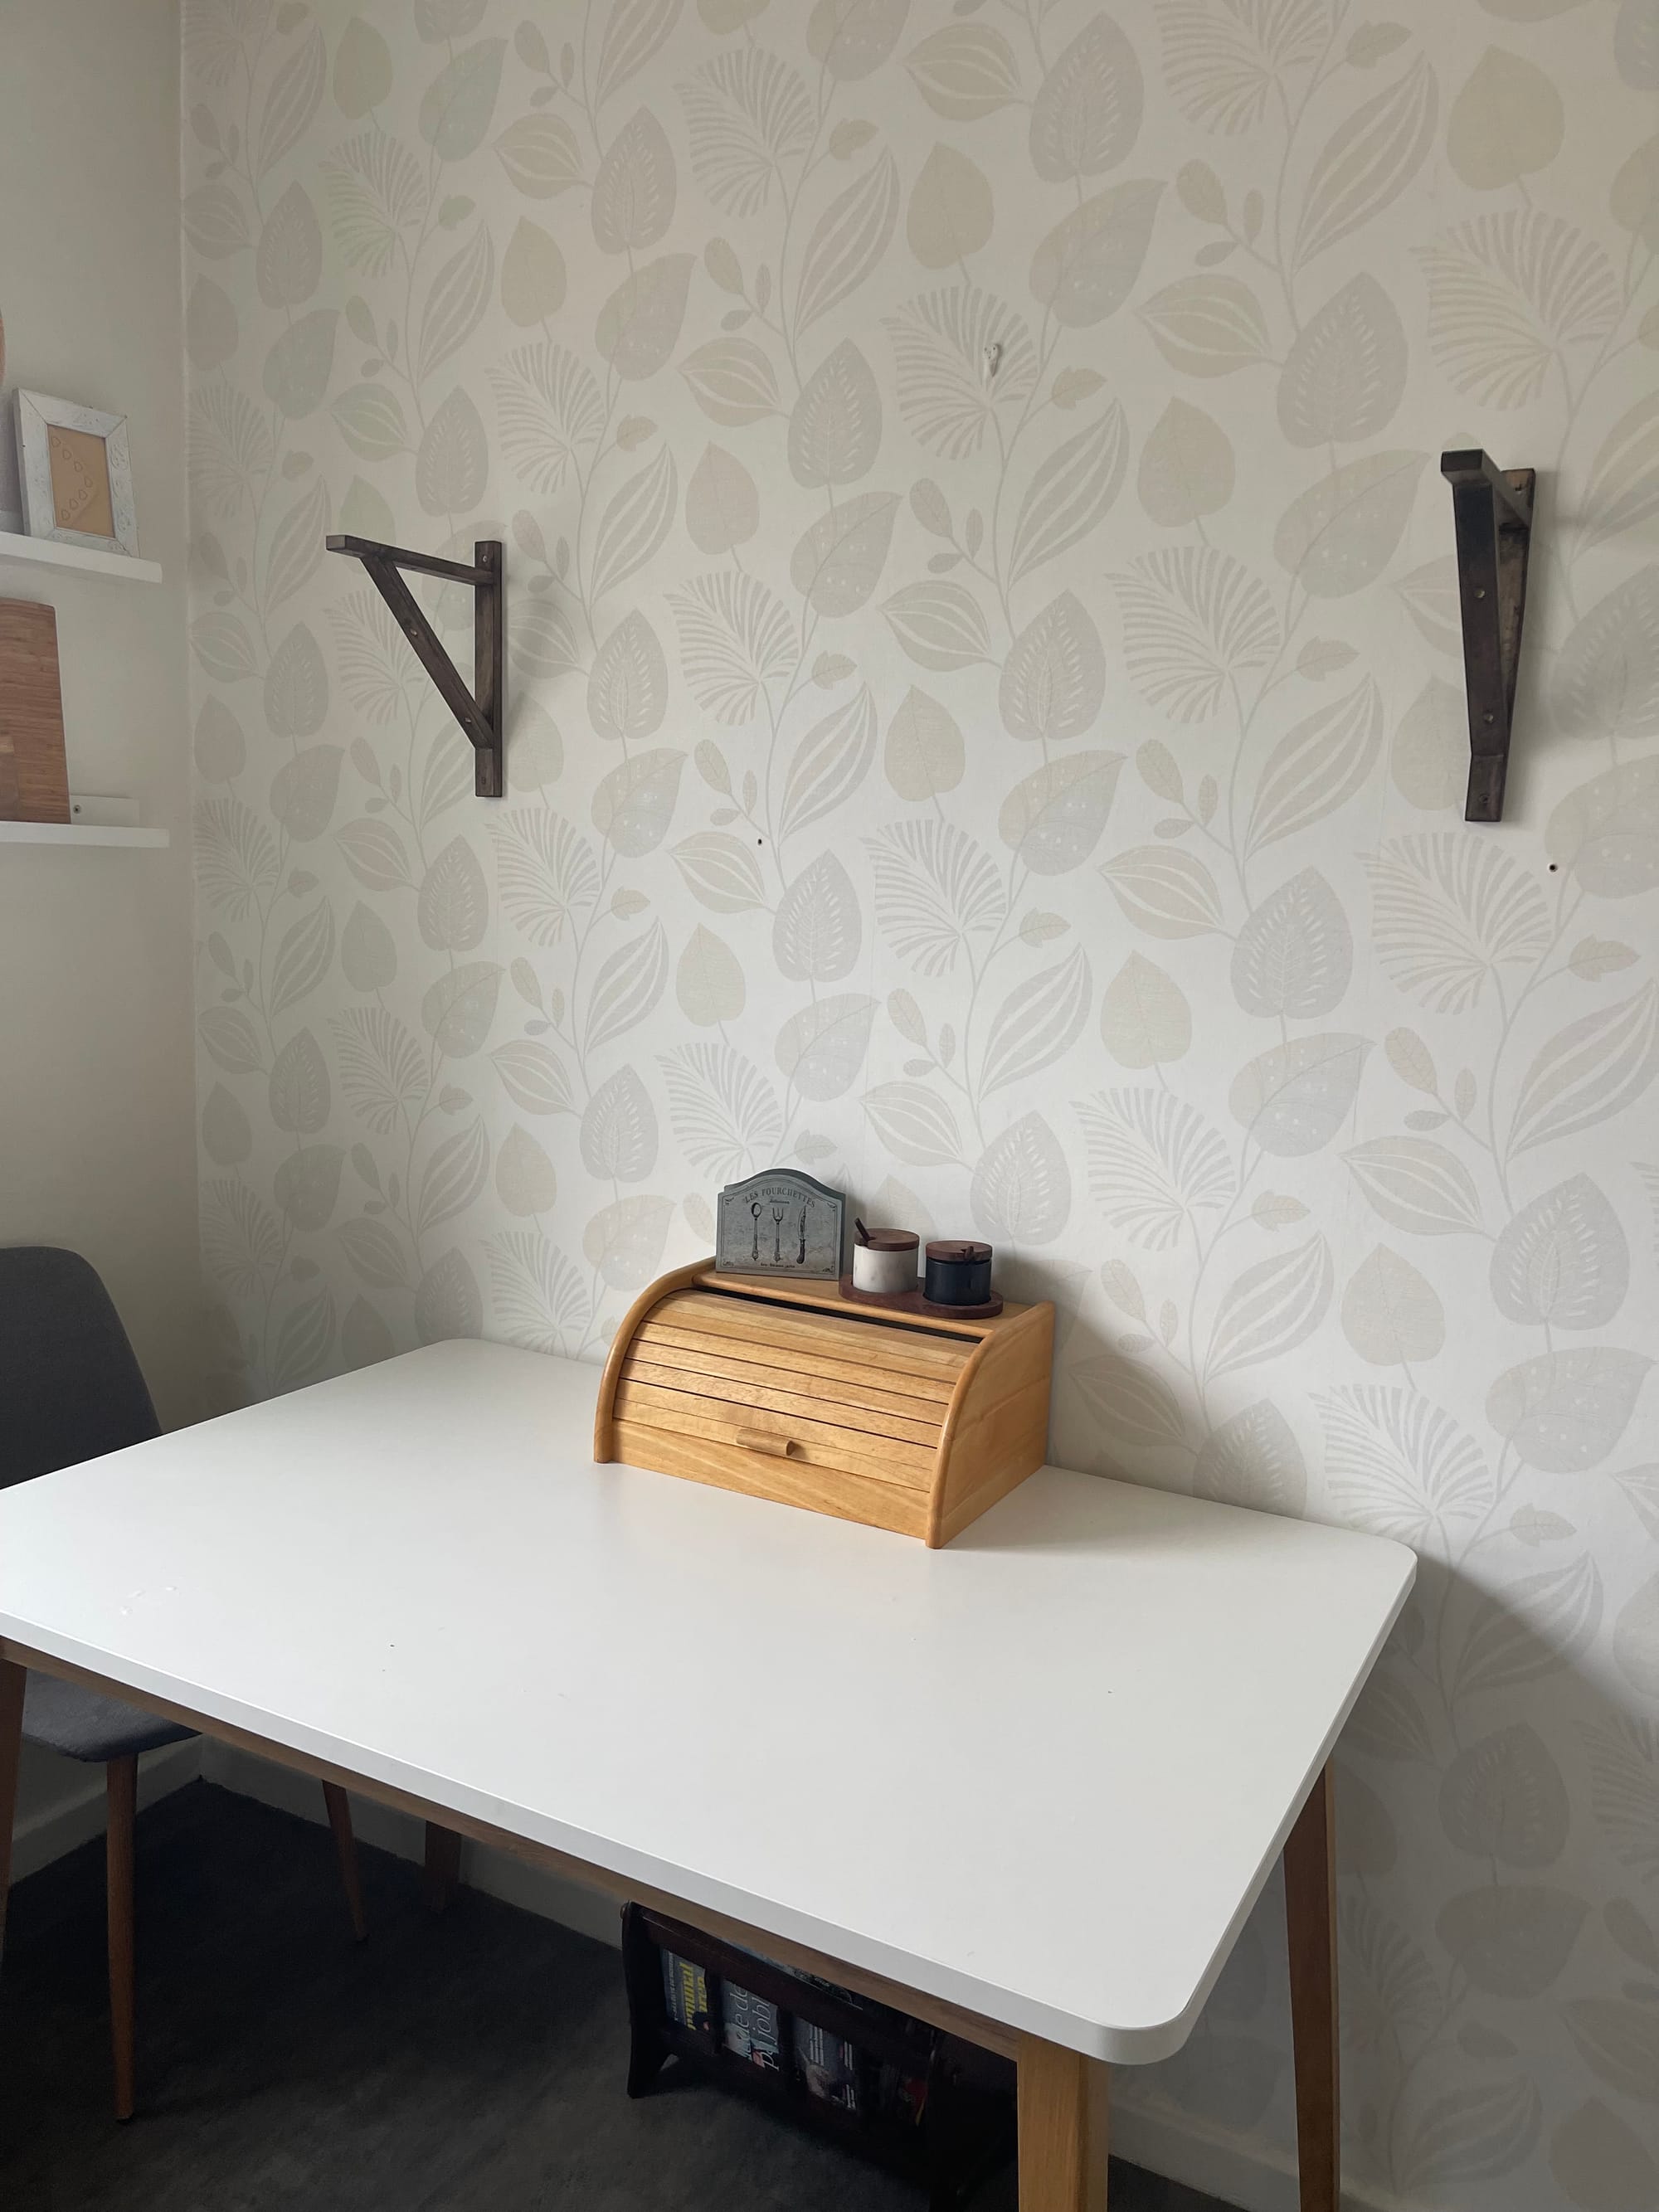
First things first, scope out the wall. We picked a blank stretch that needed both style and storage. Using a level, we marked out where we wanted the shelves to sit. There’s something really satisfying about watching a plan start to take shape—especially when you know you’ll be the one bringing it to life.
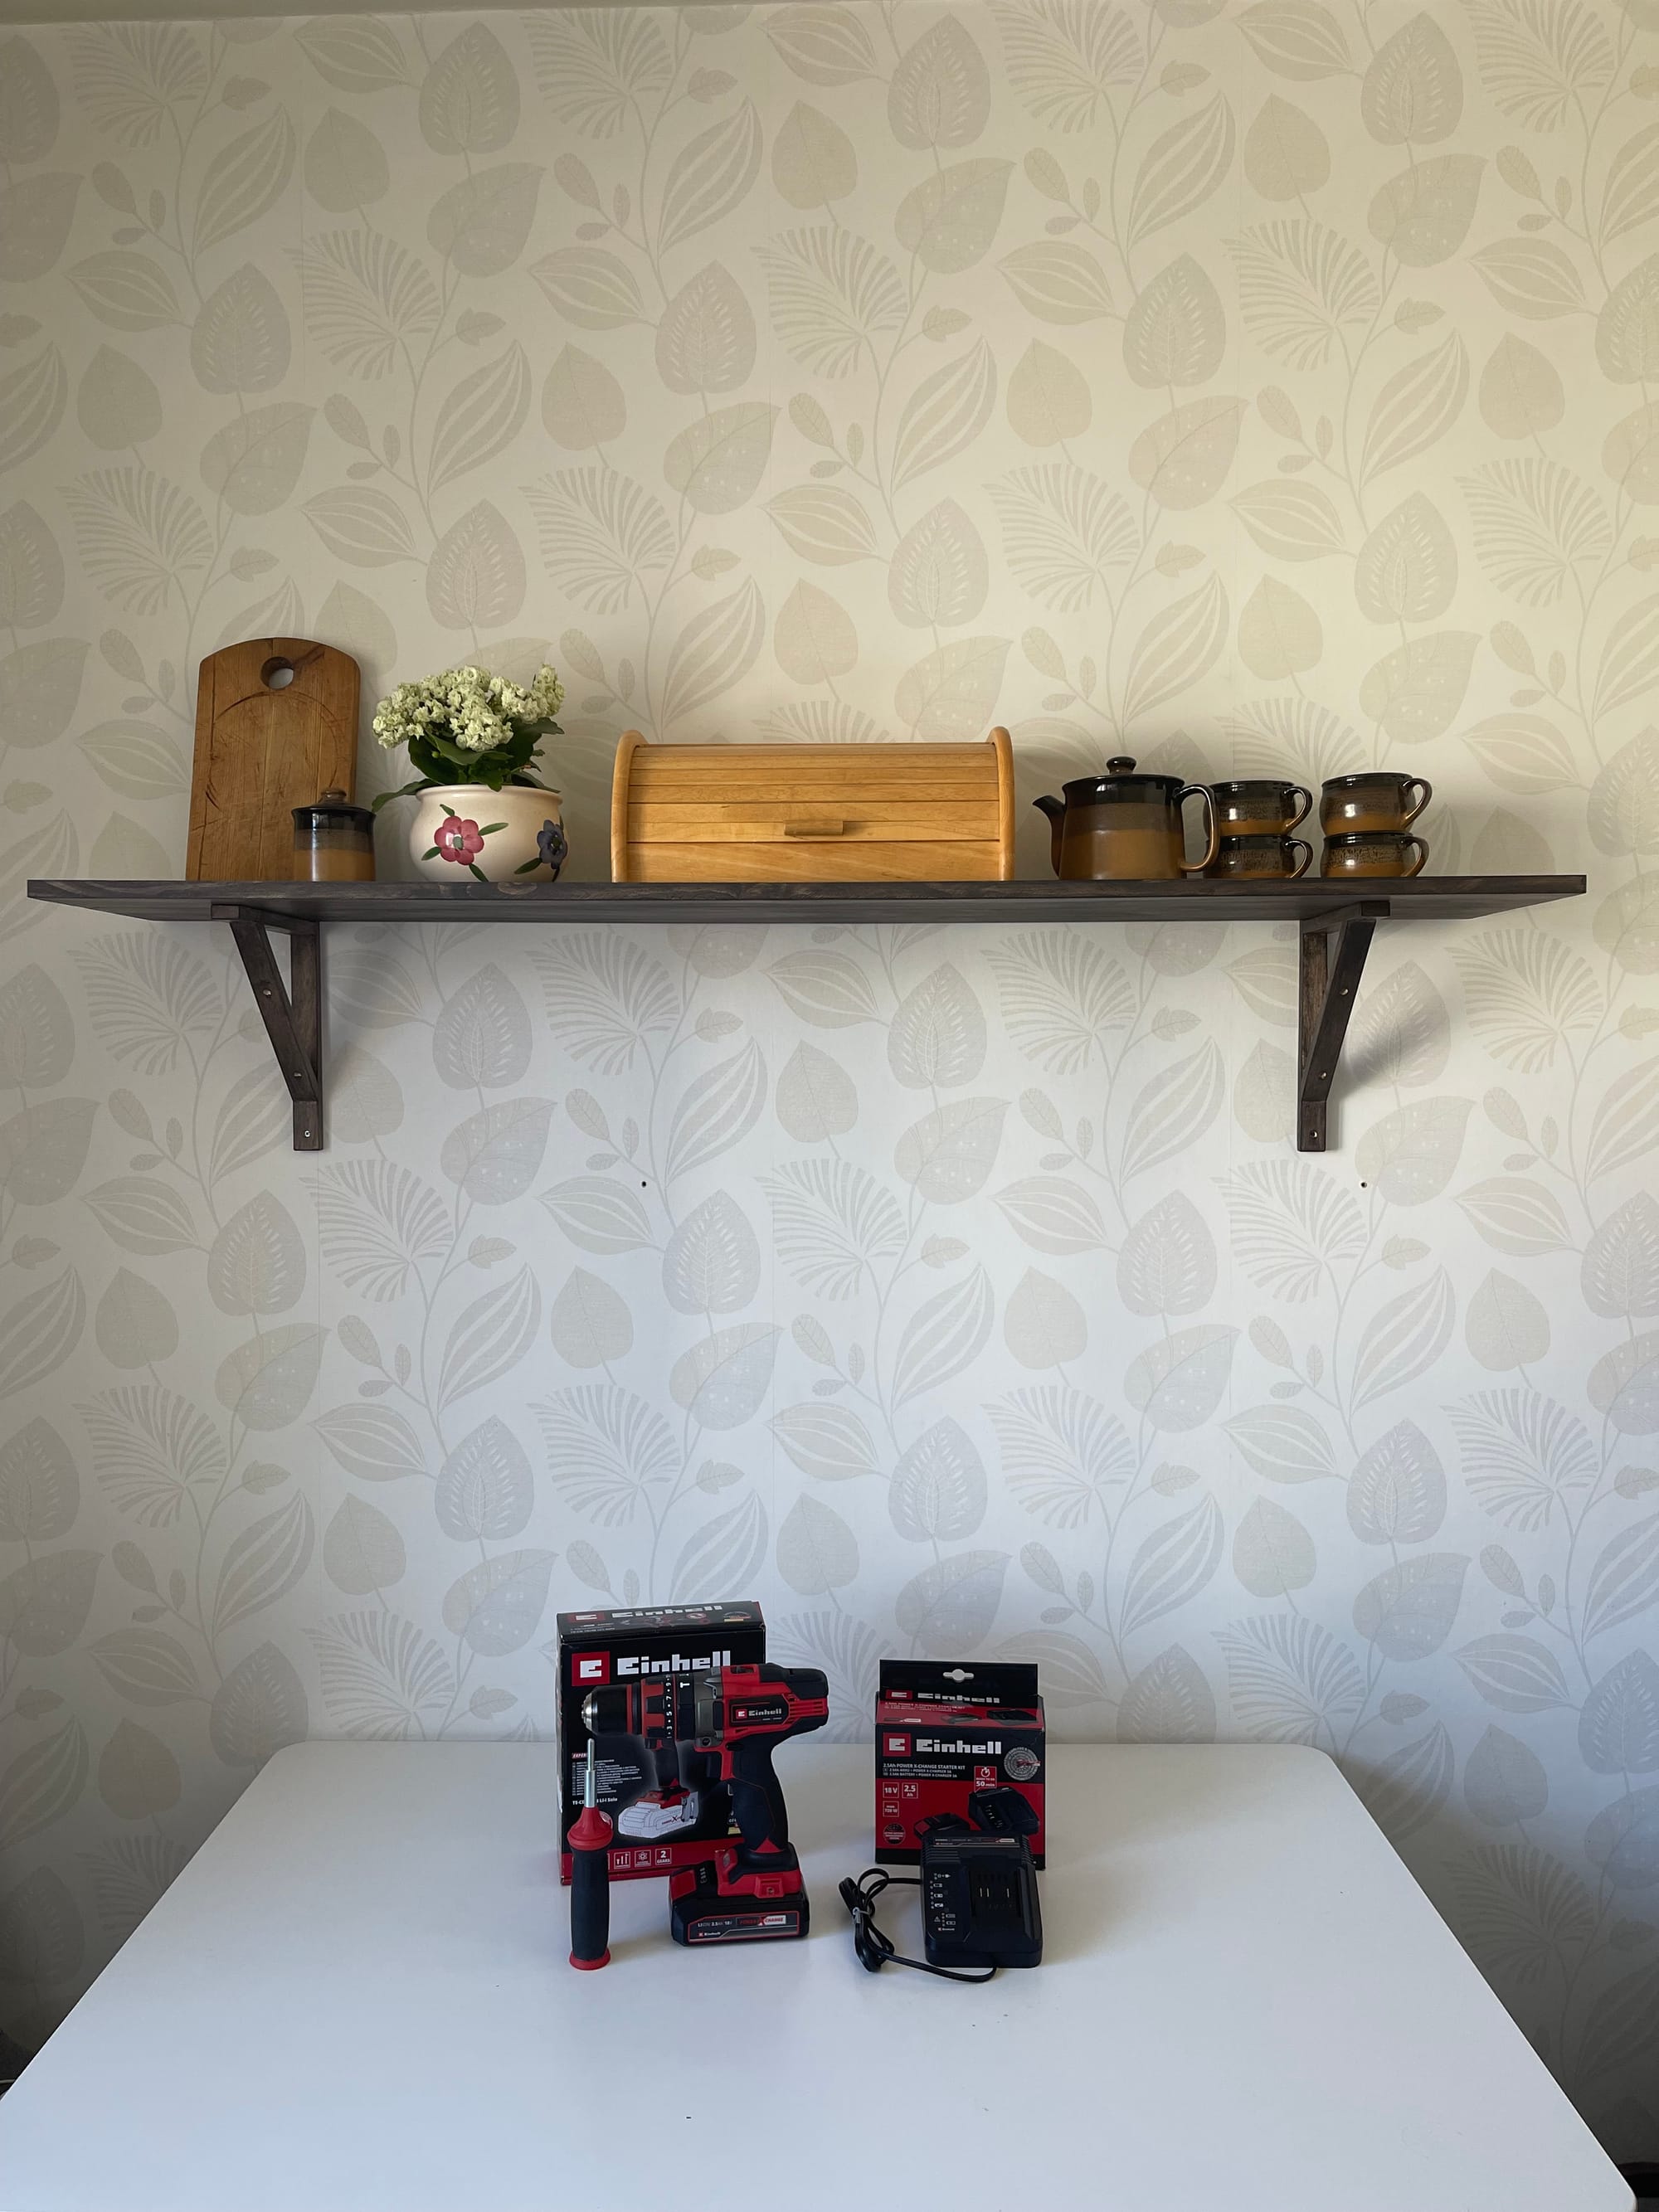
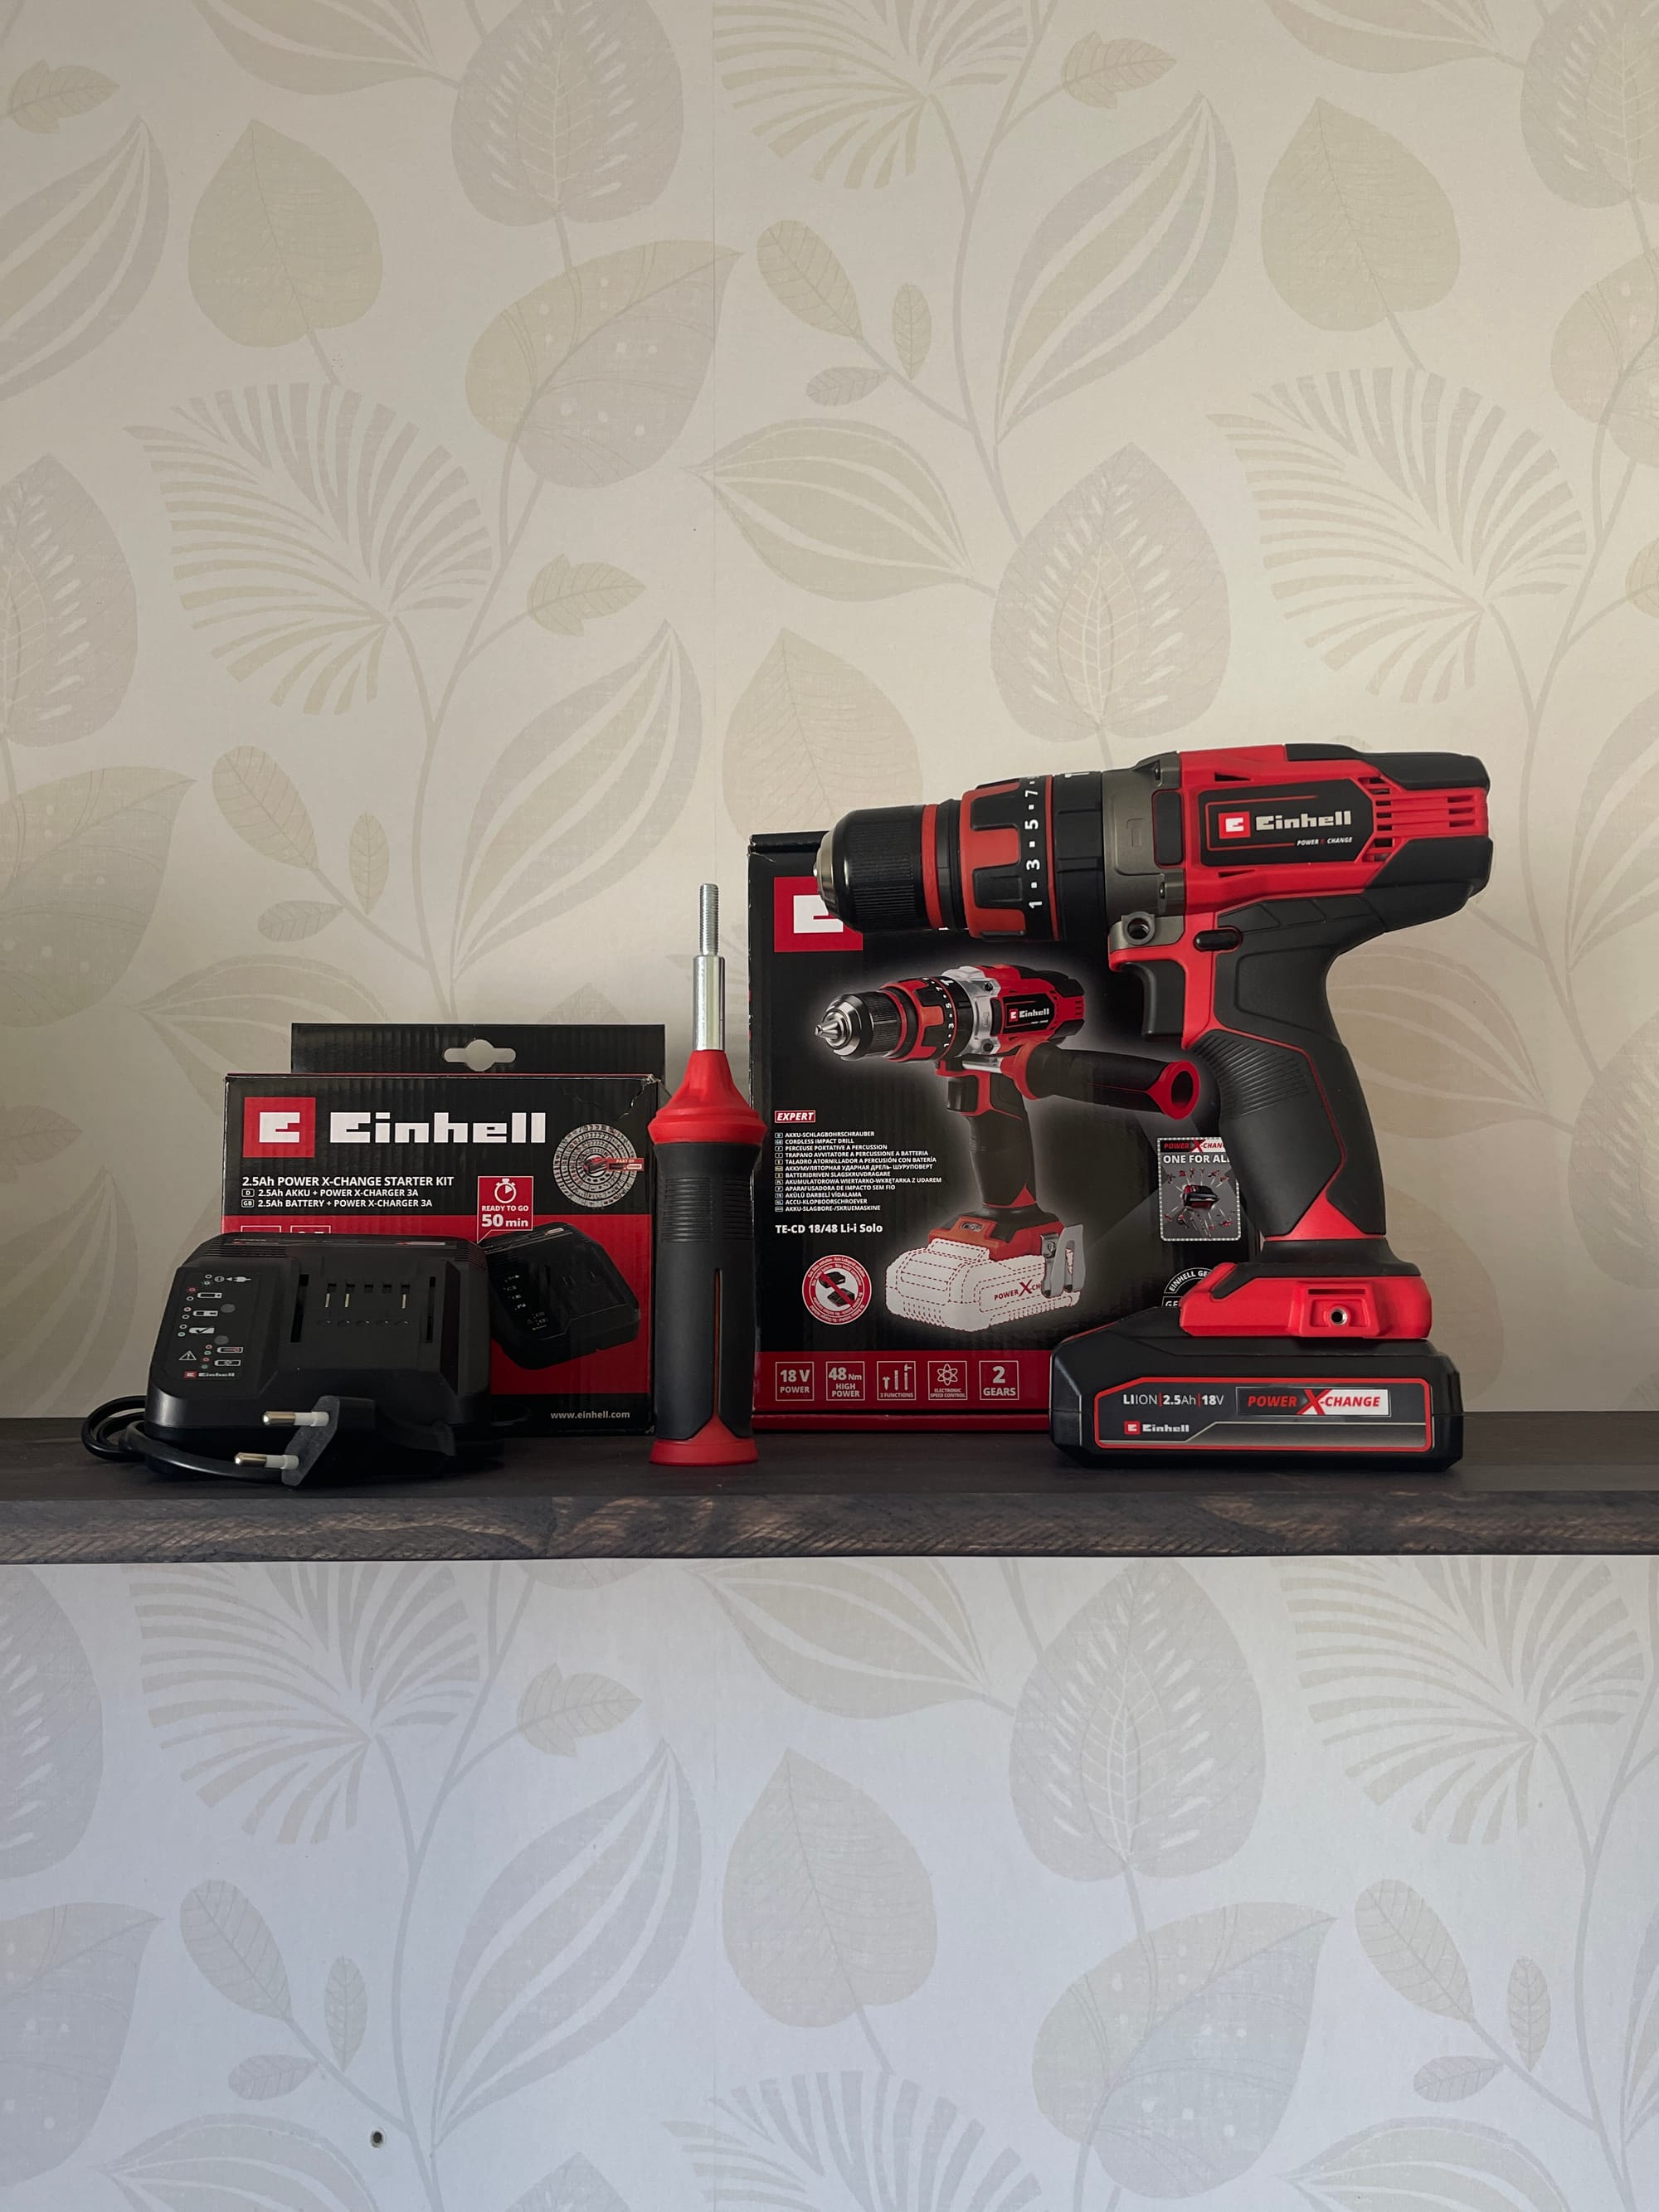
Before we started drilling or sanding, we needed to make sure the Einhell Power X-Change 18V Starter Kit battery was charged and ready to roll. Spoiler: it took almost no time. It charged up so fast, we didn’t even have time to procrastinate (or grab snacks). One battery, fully charged, powered the whole project without a hiccup (and as you will read, we ended up needing to use it to cover our hiccups) —no tangled cords, no hunting for outlets.
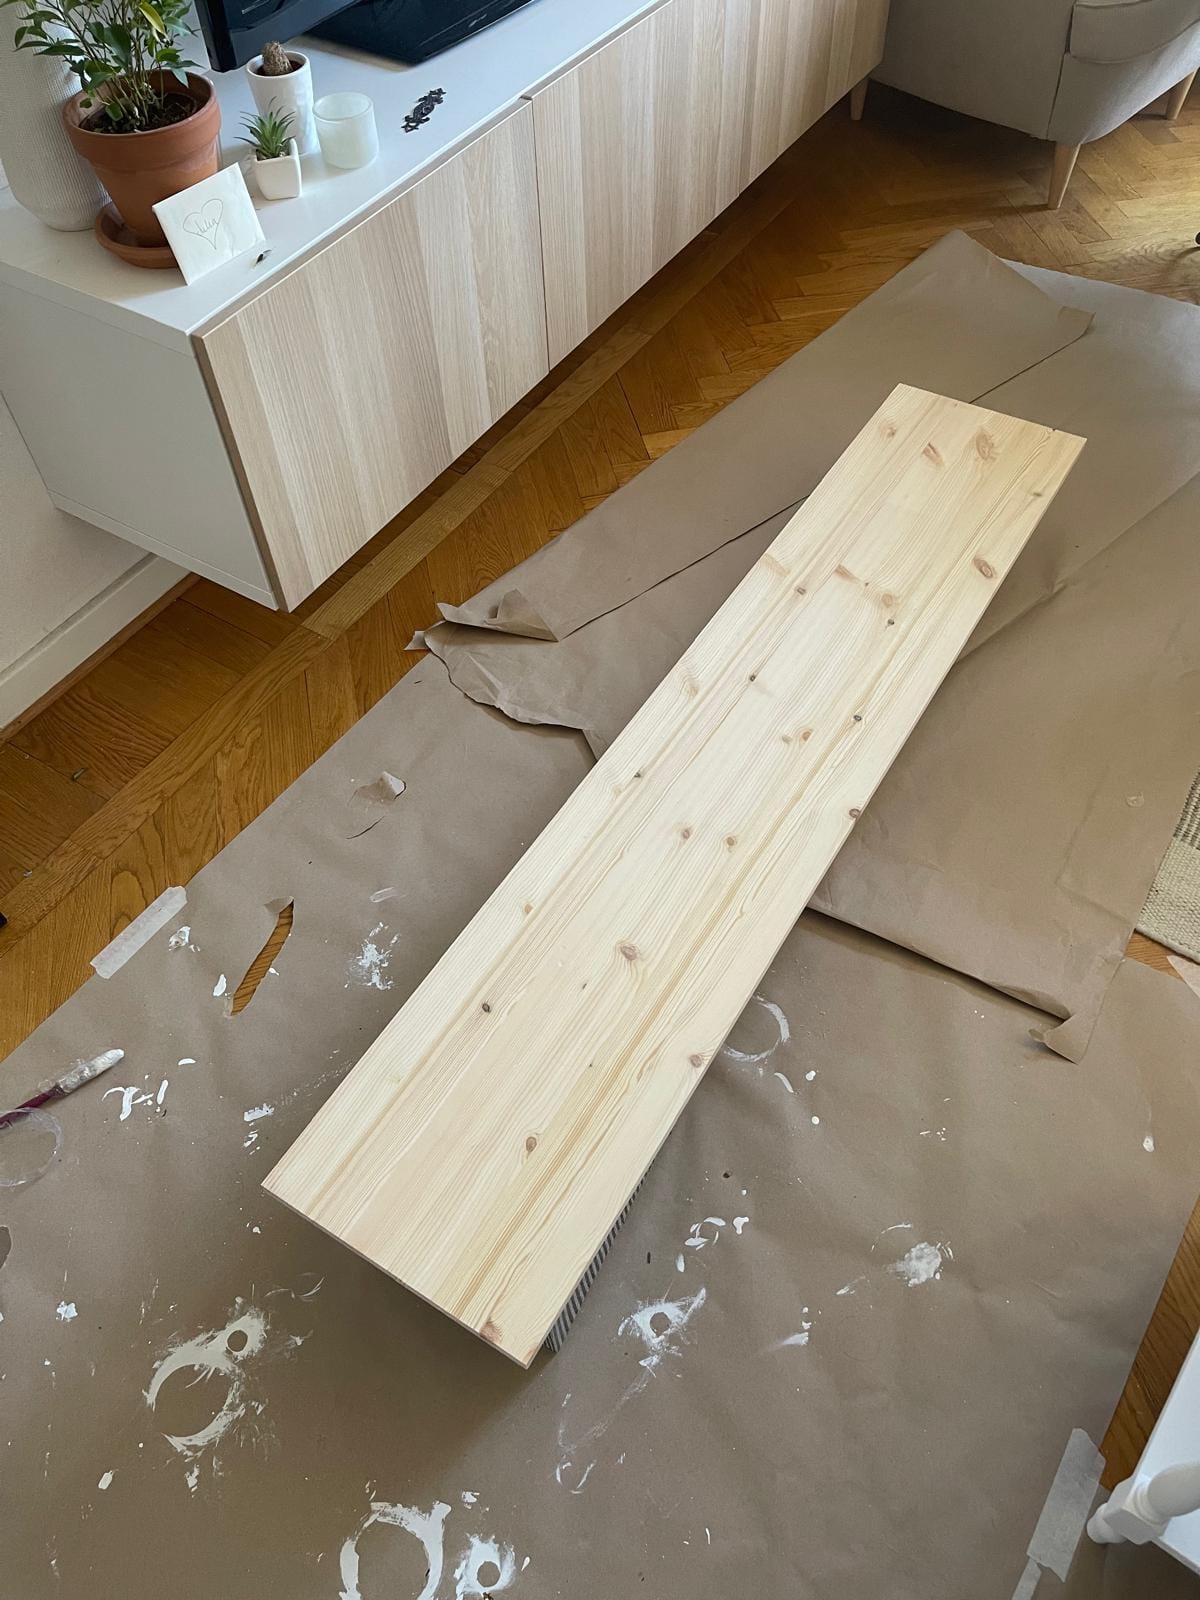
Step 2: Prepping the Shelves for Style
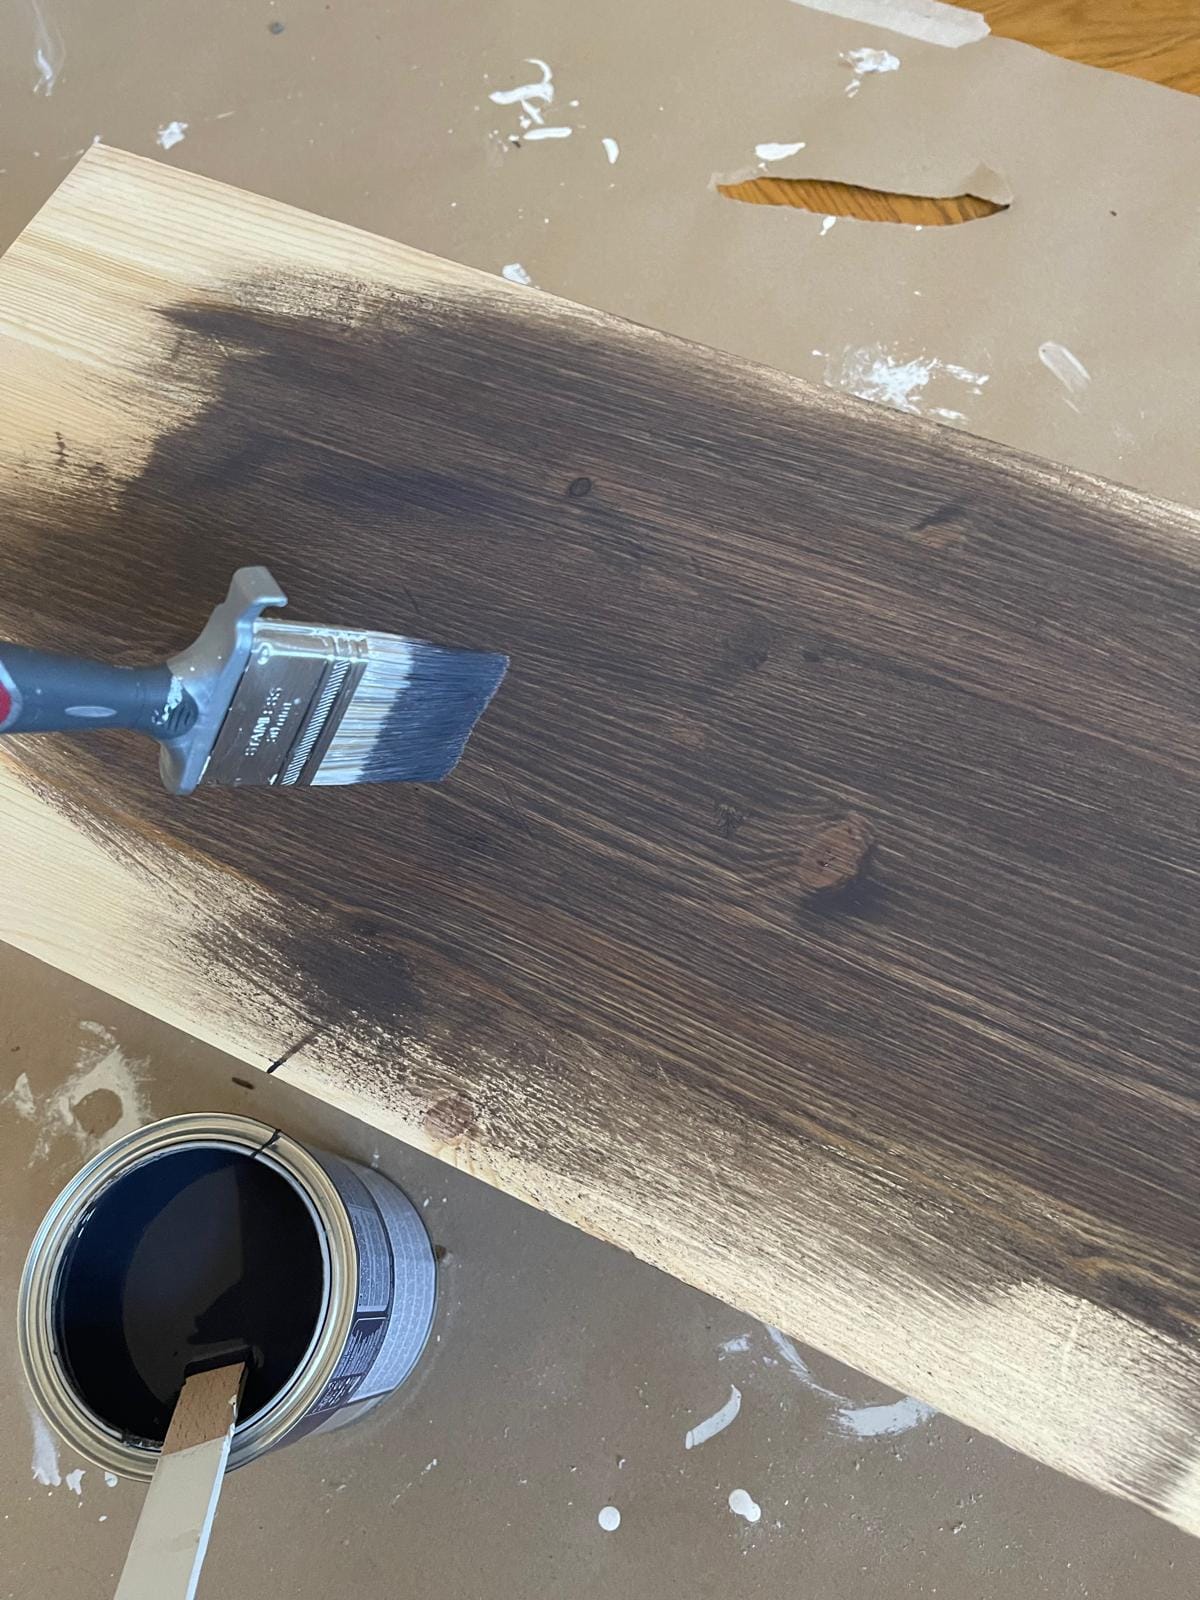
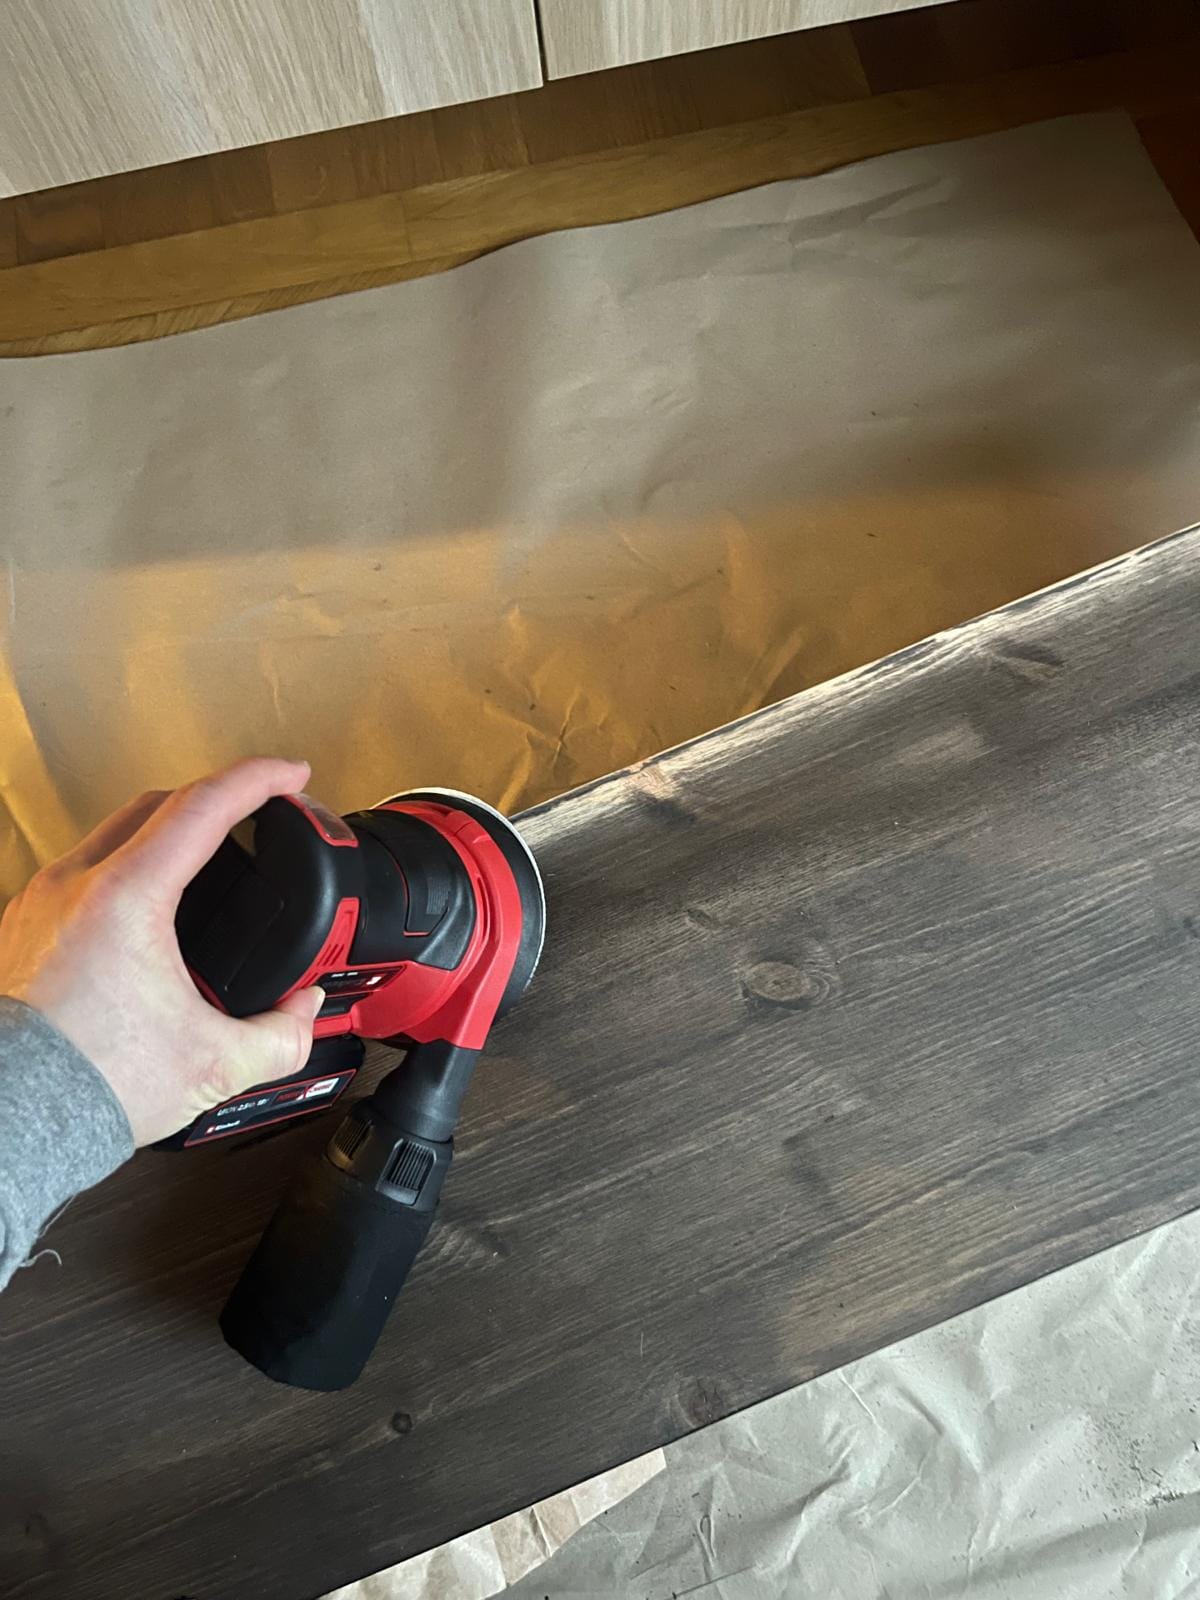
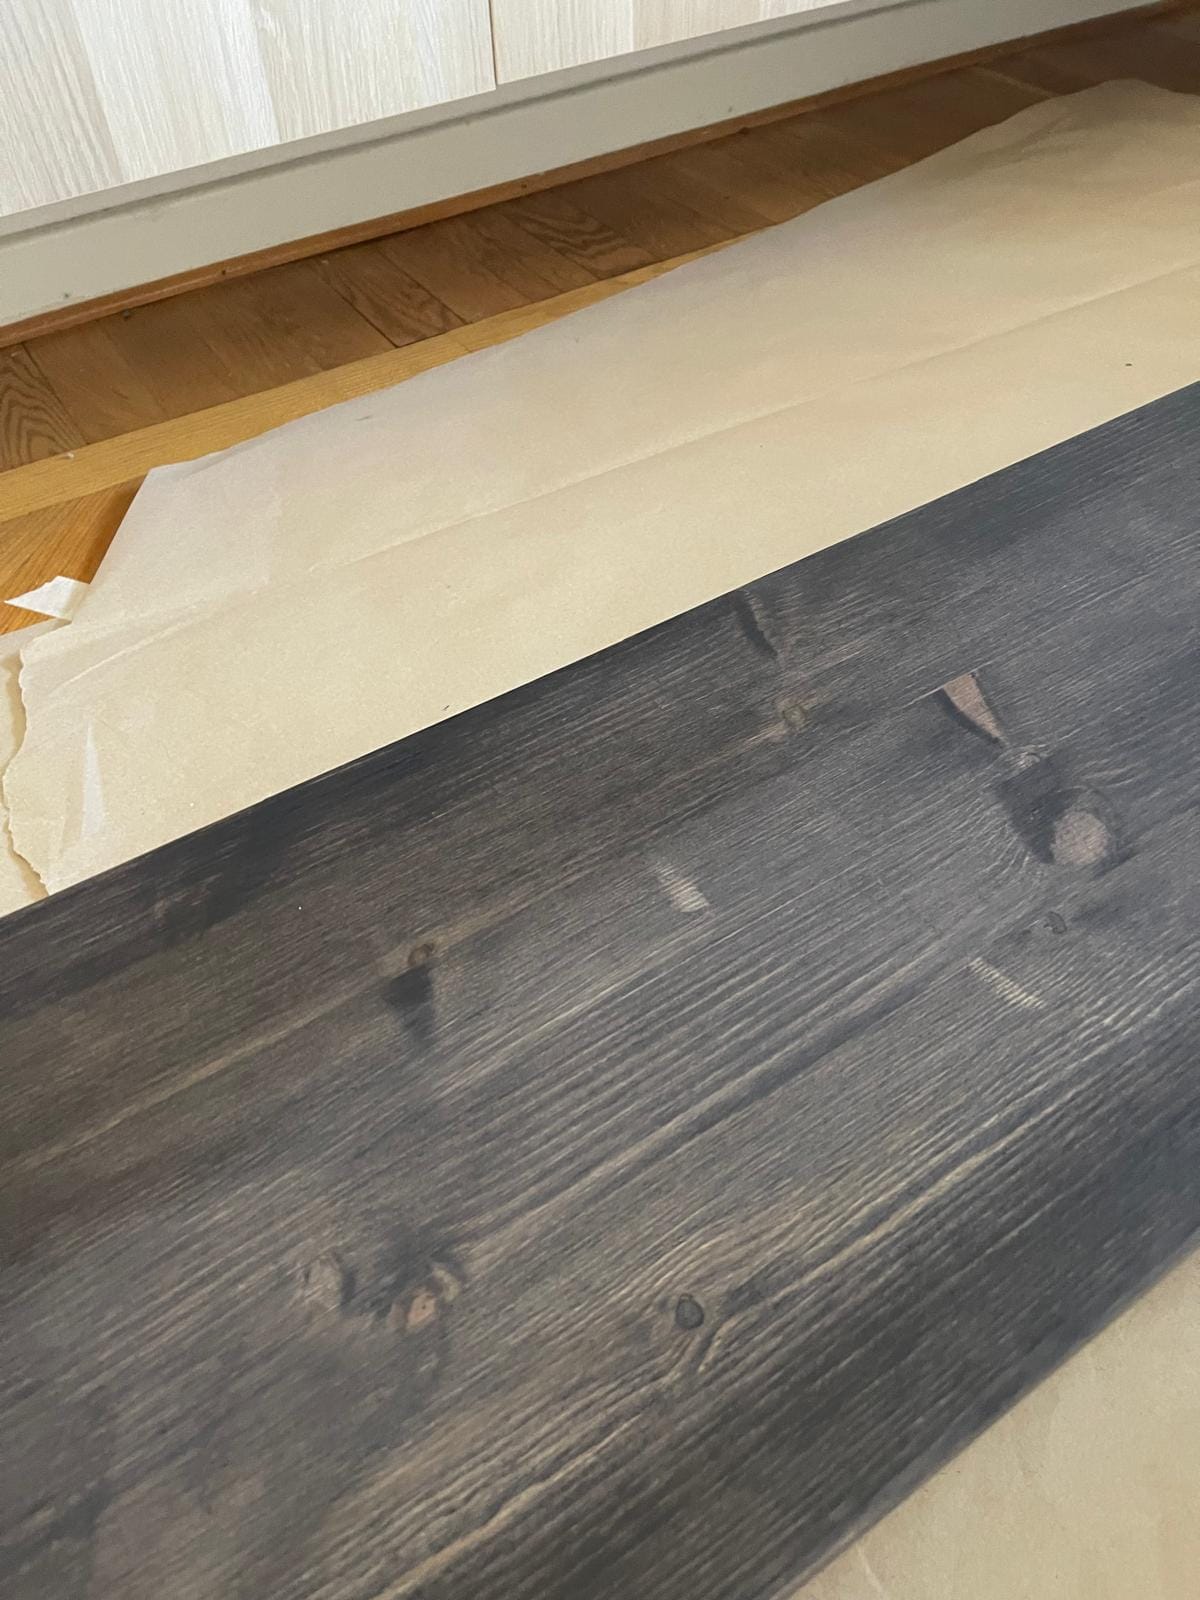
Before we mounted anything, we gave our shelves a coat of dark wood oil paint. It added this gorgeous, moody warmth that really made the grain pop. But here’s the thing—we said we were beginners, and we weren’t lying. We had no idea how to oil shelves properly, and it showed. The edges looked super wonky, uneven, and streaky.
Cue the Einhell TE-RS 18 Li orbital sander—this tool seriously saved this project. We sanded everything down and started again, but this time, we came prepared (AKA watched three YouTube tutorials). And guess what? Thanks to its built-in dust collection sock, we could redo everything indoors without turning the room into a dust storm. Lifesaver! Clean floors, clean air, clean results.
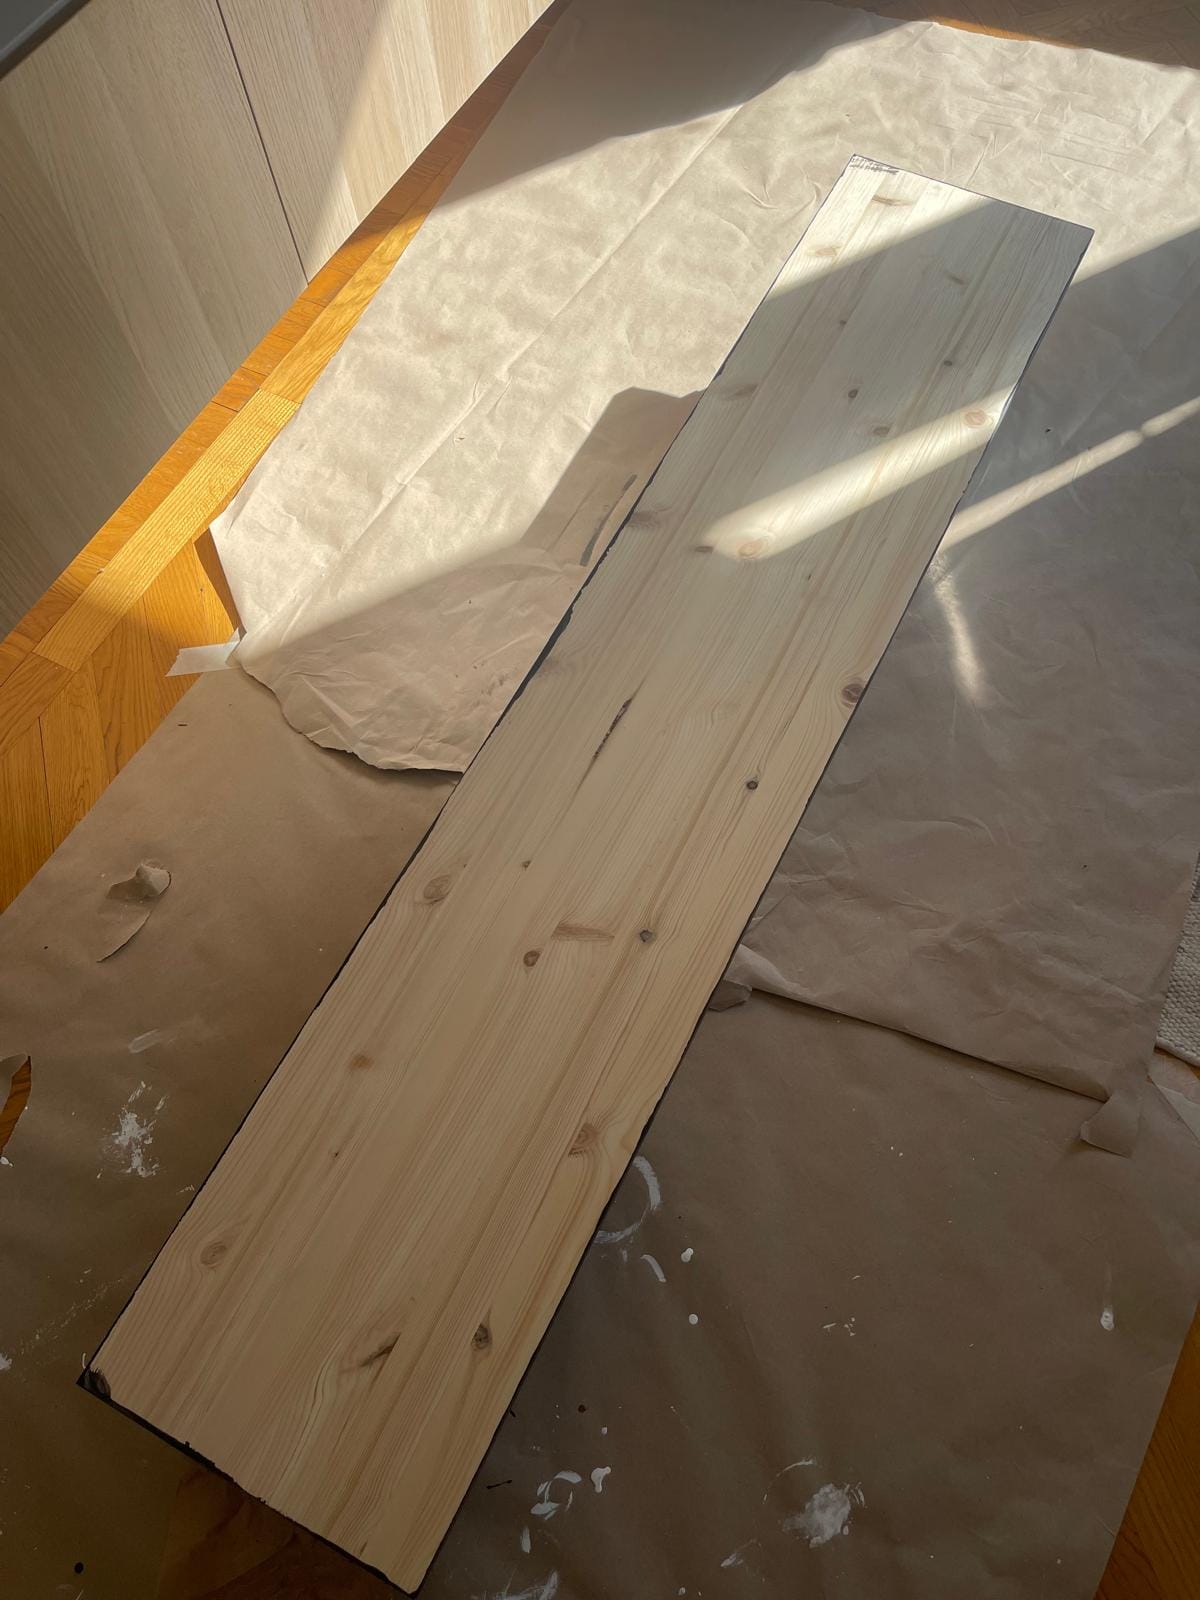
We also saved some extra cash by using sanding pads and sponges we already had at home. No waste, no extra cost.
Step 3: Drill Time (But Make It Quiet)
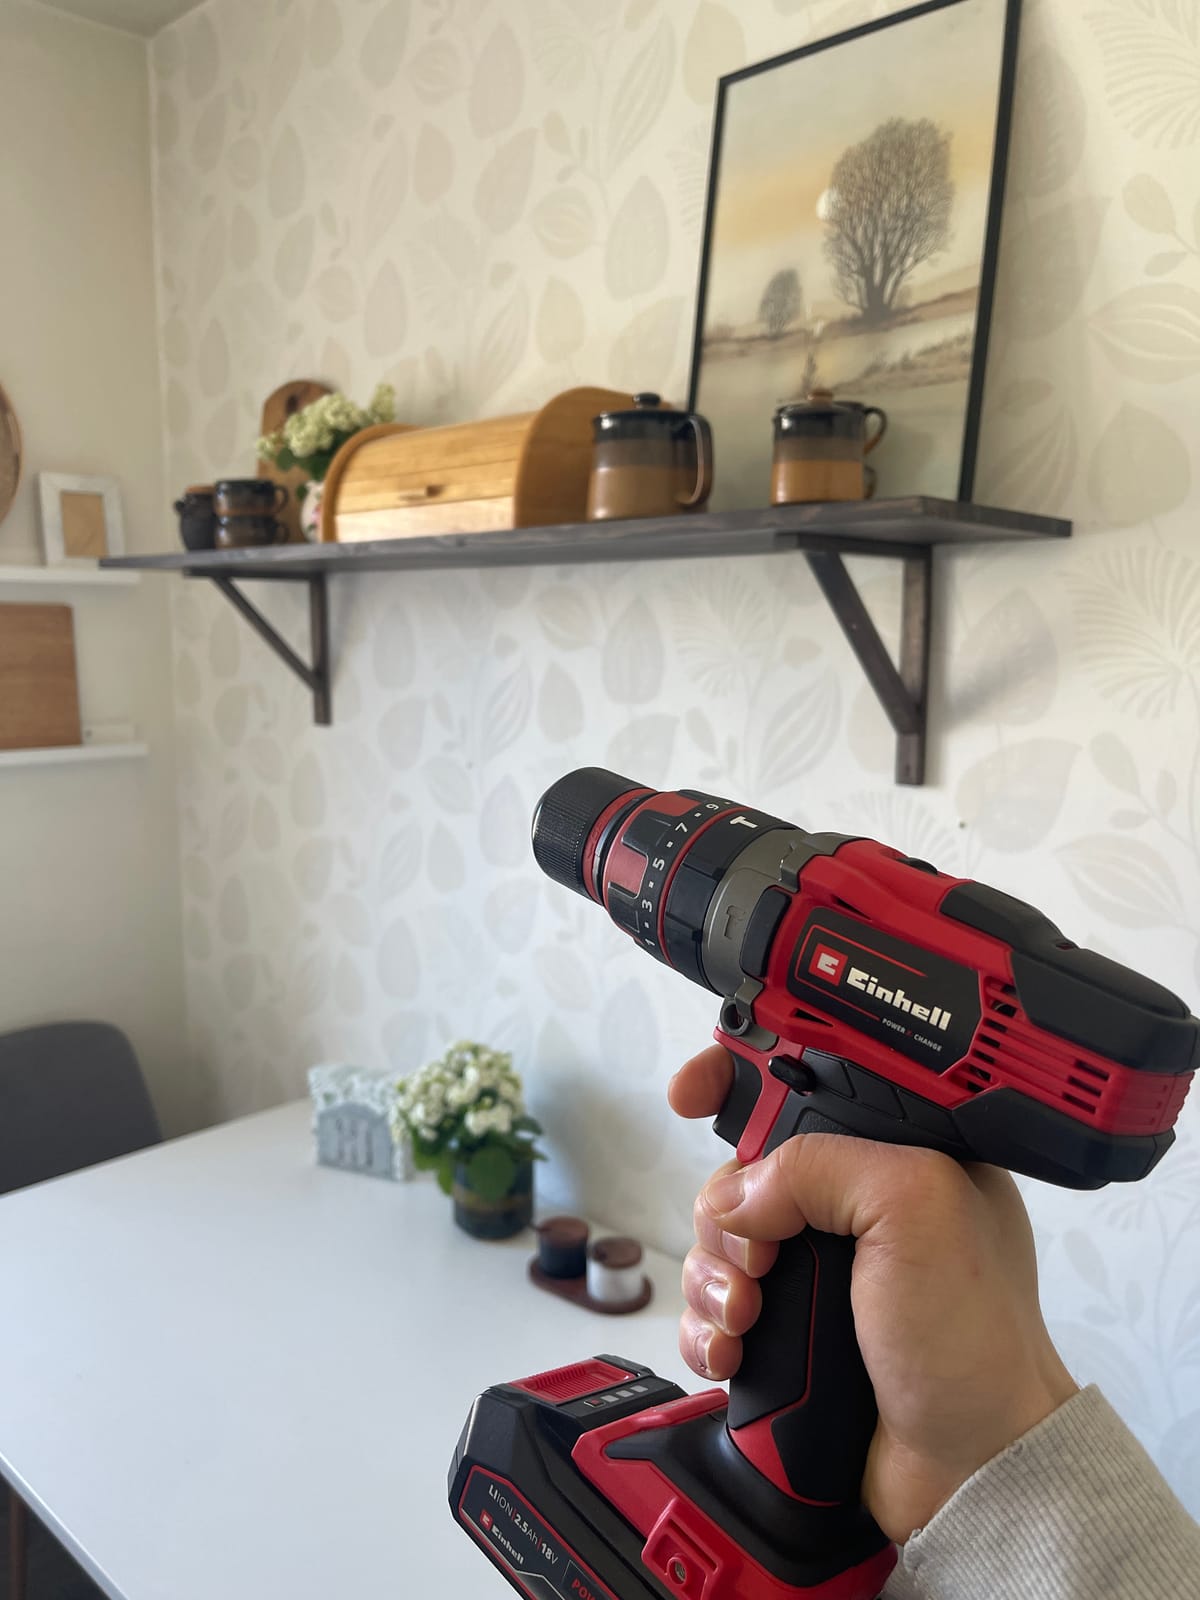
Here’s where things got real. We grabbed the Einhell TE-CD 18/48 Li-i cordless drill and got to work on pilot holes for the brackets. This drill was a dream—lightweight, super easy to control for us newbies, the handle it comes with was key for us, it gave us a lot of extra stability, and the best part? Almost whisper-quiet. We could work on our project well into the evening without worrying about waking up the neighbours (seriously, this was a game-changer). Plus, its hammer function made anchoring into tougher walls feel like slicing through butter.
Once our holes were ready, we mounted the brackets. The drill handled this like a champ—no stalling, no wobbling. It gave us just the right amount of power without being intimidating.
Step 4: Attaching the Shelves
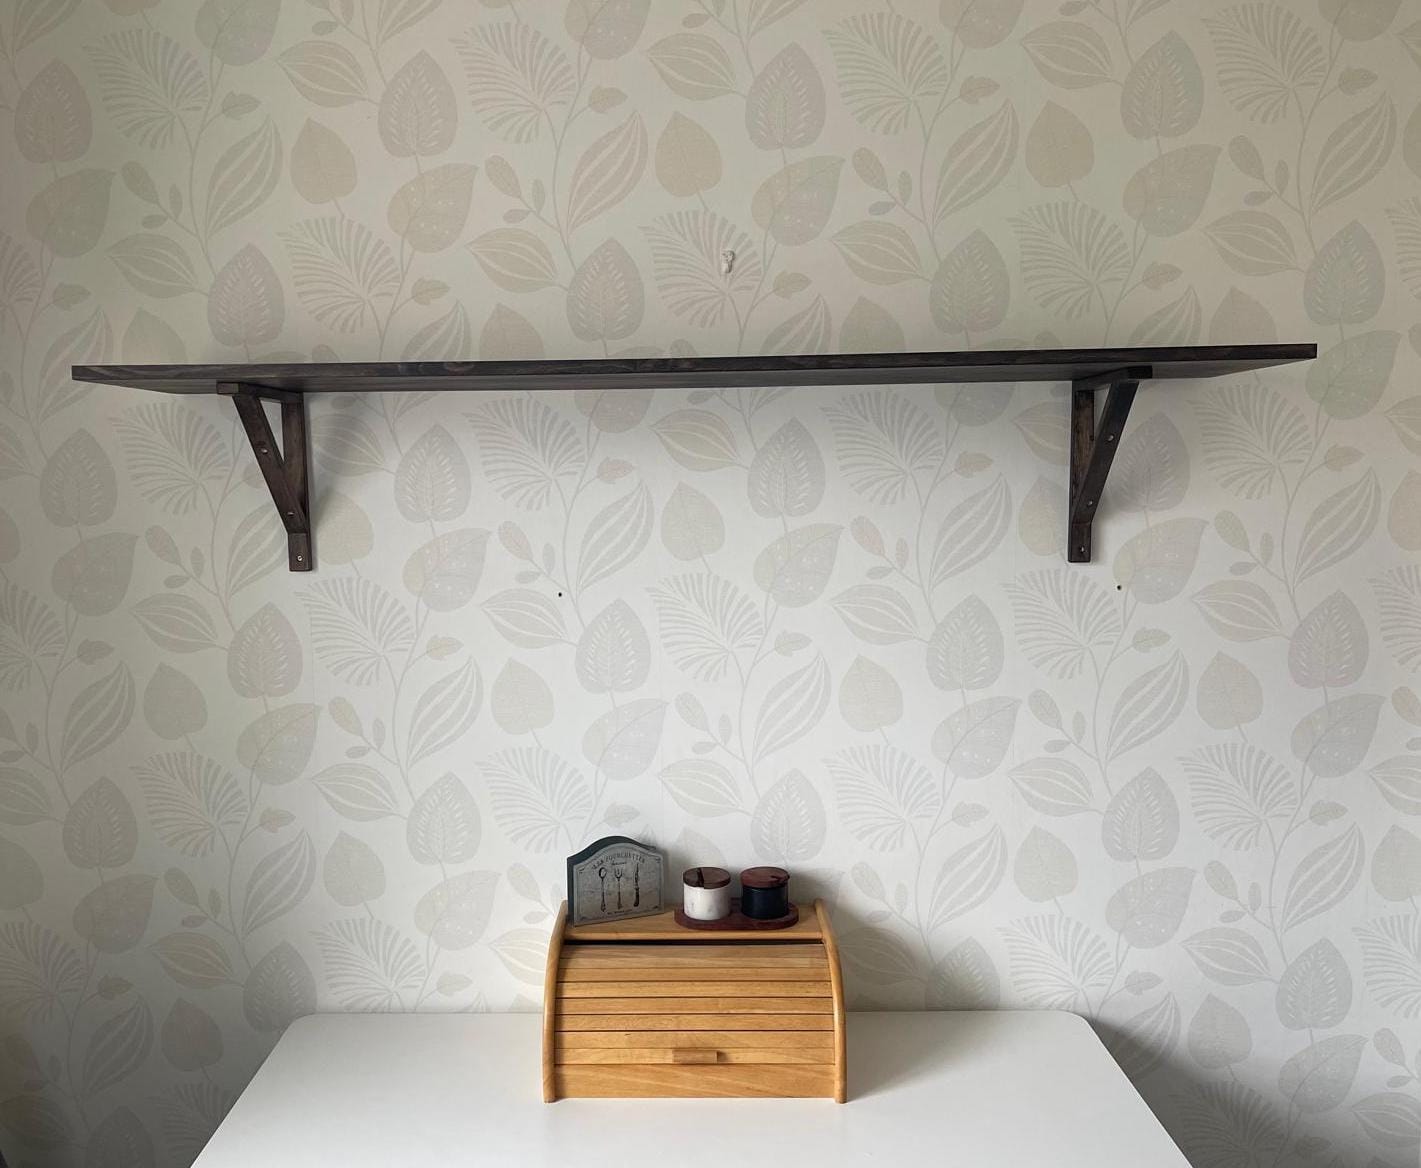
Now for the moment of truth—placing the shelves onto the brackets and securing them in place. We double-checked everything with a level, adjusted where needed, and tightened the screws. Watching it all come together was so satisfying.
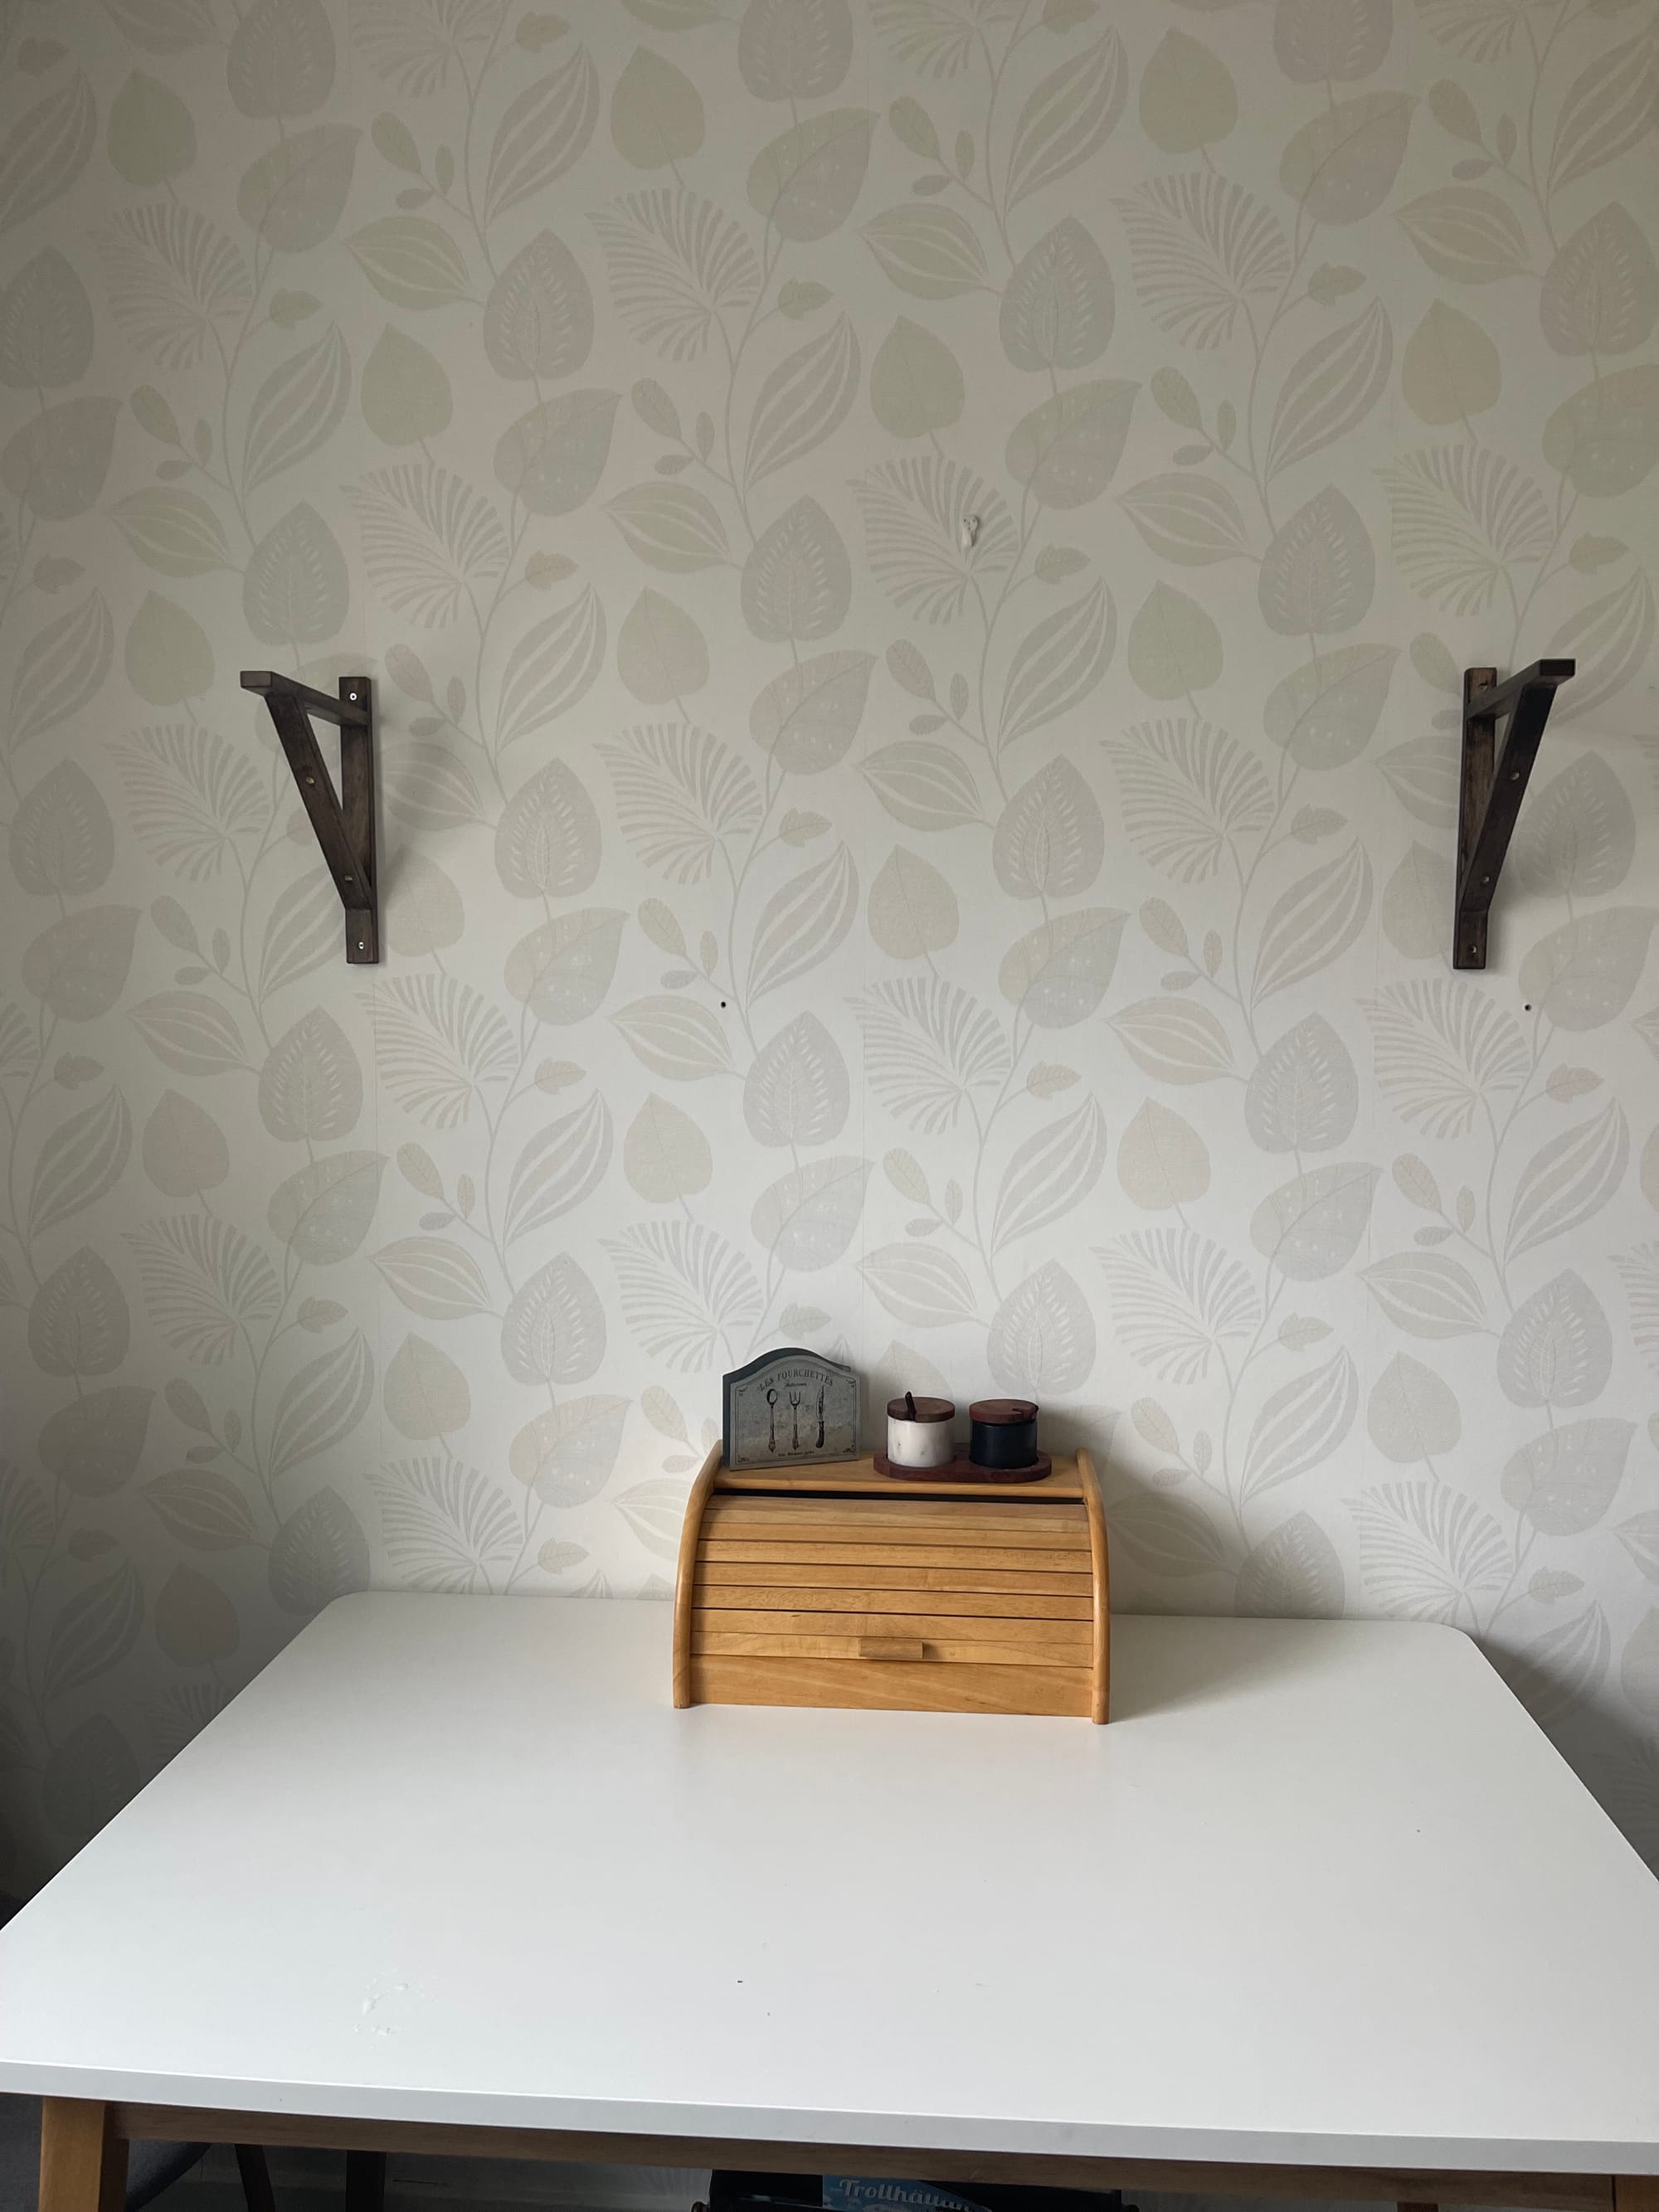
Step 5: The Grand Finish
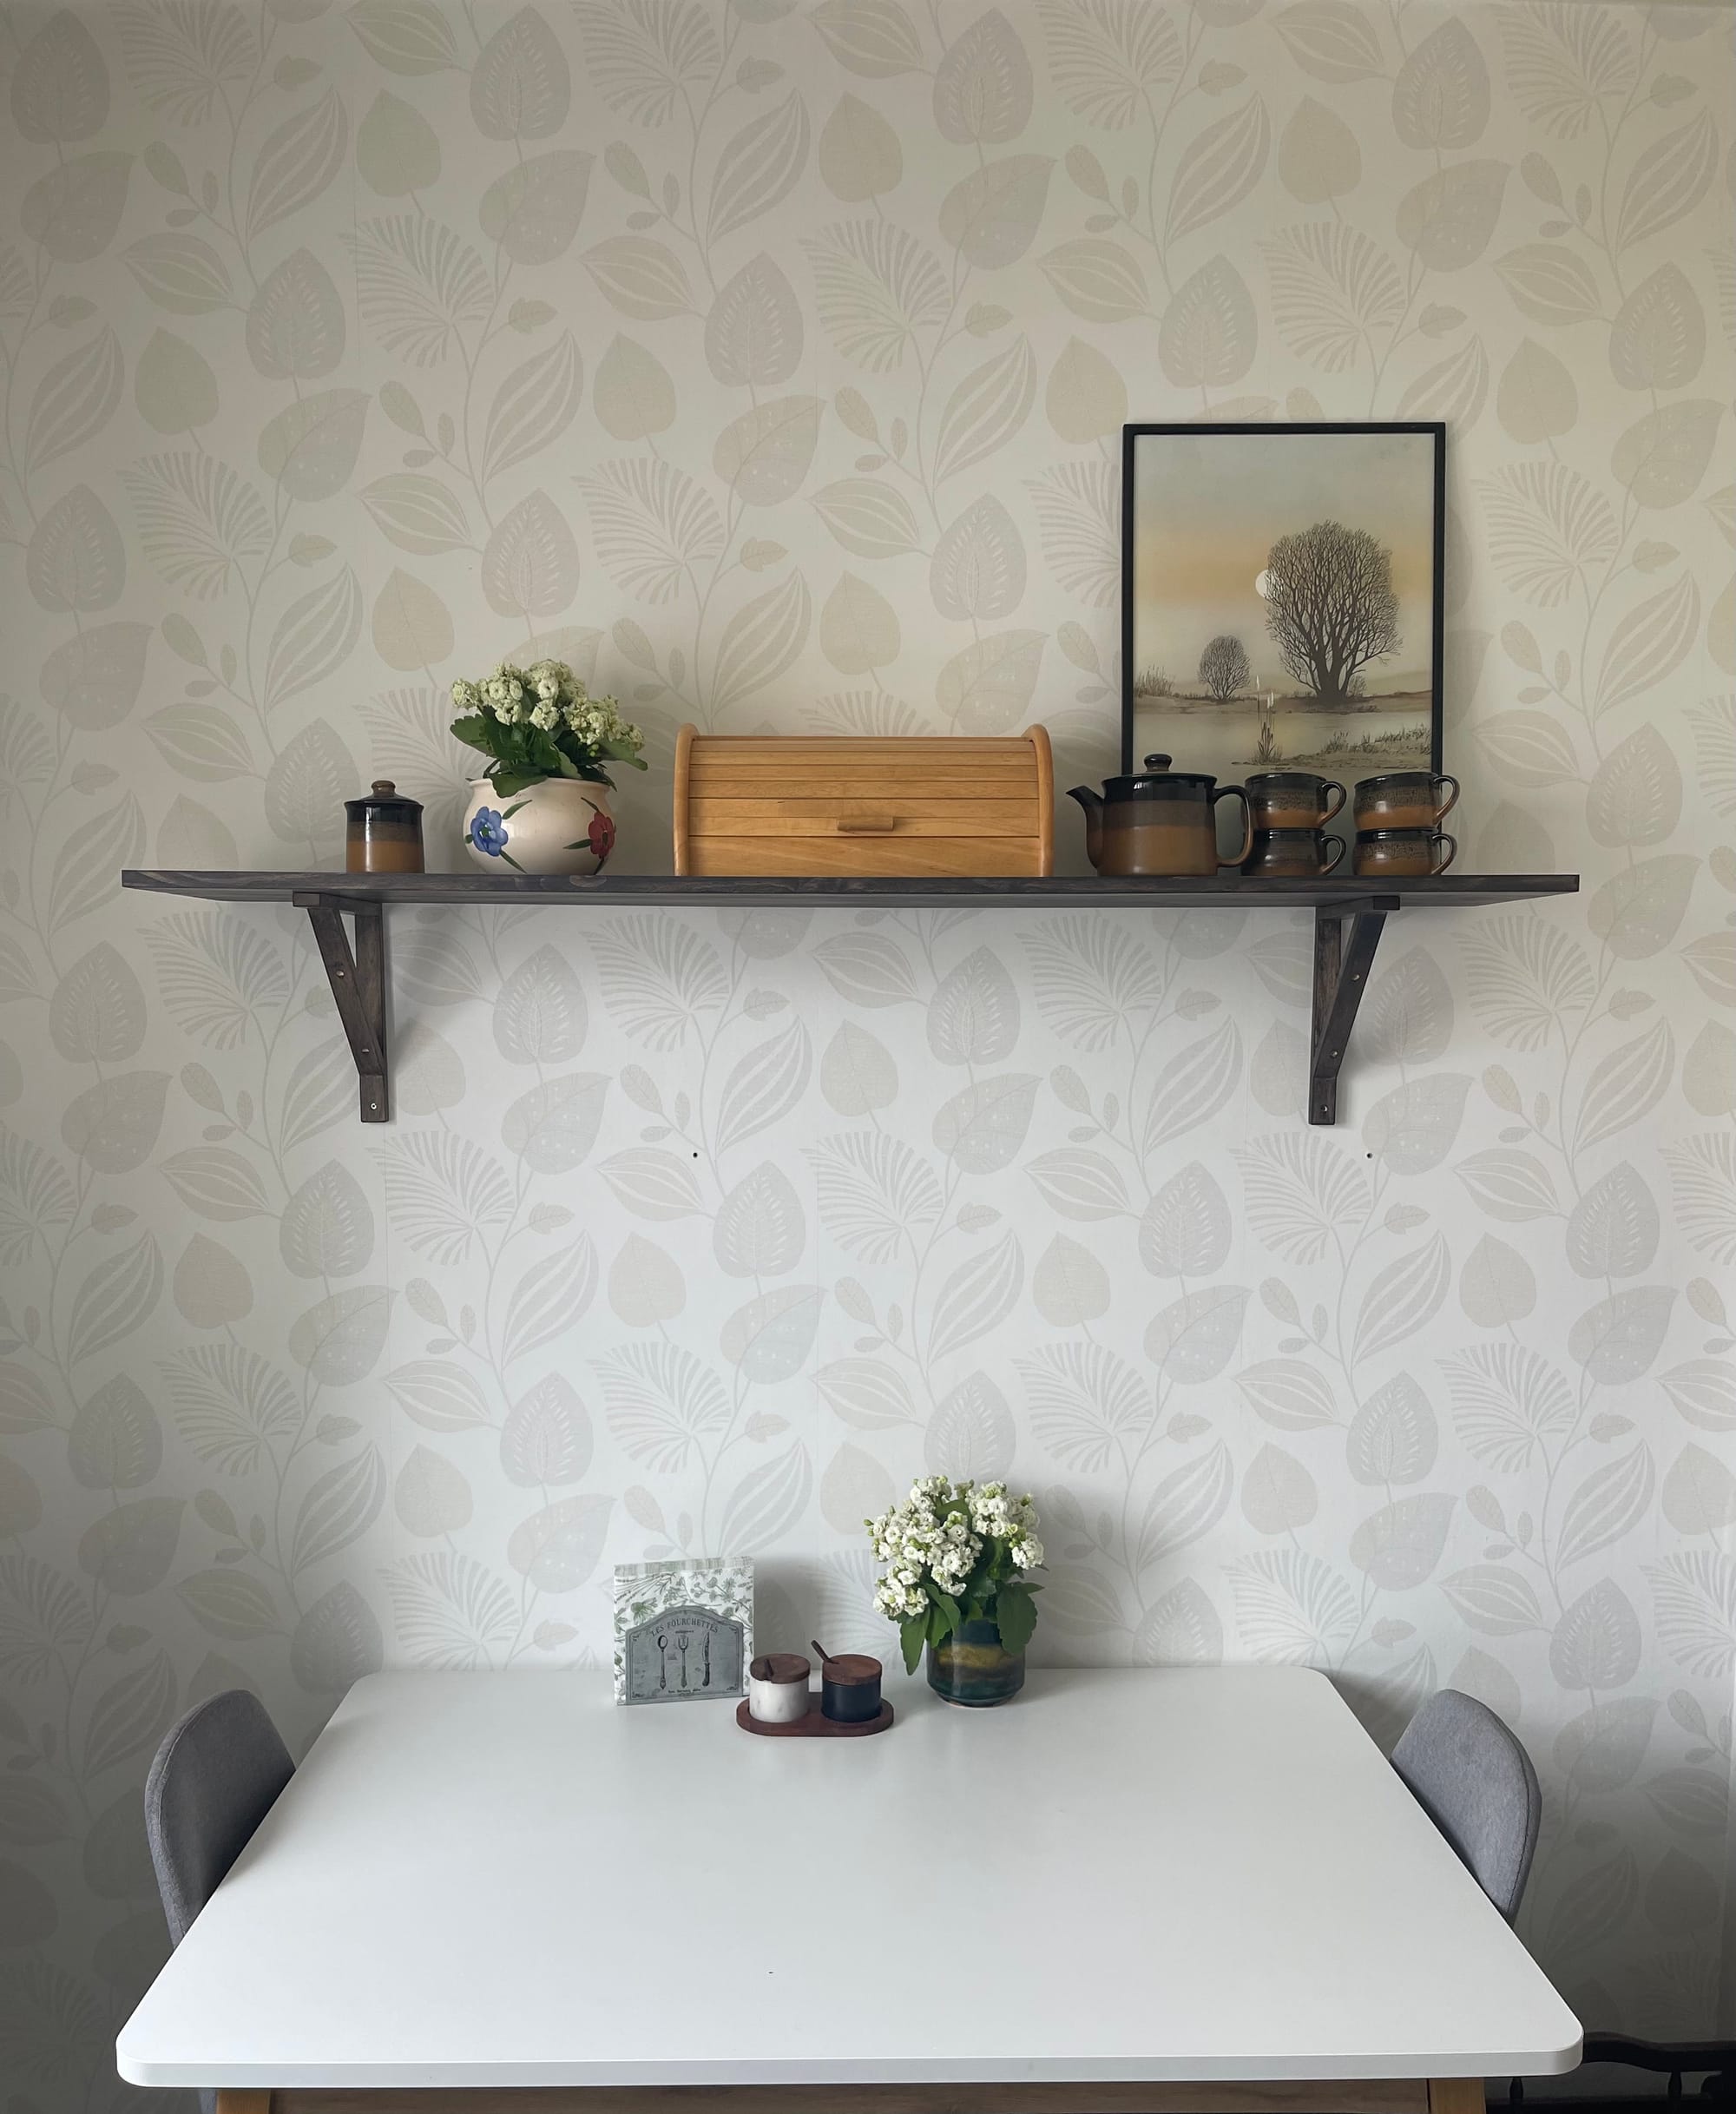
With the shelves in place, we stepped back to take it all in—and wow. What started as a blank, boring wall had turned into a feature space with personality and purpose. There’s something magical about building something yourself, and with tools that support you (instead of frustrate you), the whole thing just feels more fun.

Final Thoughts: Small Project, Big Energy
Installing shelves might sound simple, but the joy and pride that come with it? Huge, especially since they were the first ones we ever did. If you’ve been itching to start your DIY journey, this is your sign. Grab some shelves, a brush, and a few trusty tools—and see just how capable you are.
Let's build something great!
Don't forget to check our next post in the beginner DIY series with Einhell