Are you ready to give your entryway a glow-up without blowing your budget? Let me walk you through how I created a stylish, renter-friendly, tiled doormat for under £50 in just one weekend. Spoiler alert: It’s easier than you think, and it looks SO much more expensive than it actually is!
Whether you’re a DIY newbie or a seasoned pro, this project is fun, functional, and totally doable. Plus, it’s completely removable for renters who want to add a little wow factor without upsetting the landlord, or if you’re like me and don’t like to fully commit to tiling your actual floor, this is perfect for you! Here’s everything you need to know to create your own.
What You’ll Need
• Plywood: Picked up from the offcuts section at B&Q (budget-friendly and great for small projects).
• Tile squares: I snagged a pack for just £30.
• Grout: To secure those tiles in place.
• Tile edging: Only £3! This gives the doormat a finished, professional look.
• Tile paint (tester pot): £4. Perfect for customizing or touching up tiles.
Step-by-Step Guide
1. Measure Twice, Cut Once
Start by measuring the area where your doormat will go. I wanted mine to be removable (because I love to change my mind and also would be amazing for renter life too), so I made sure the plywood base fit perfectly in the space without being fixed to the floor.
2. Prep the Plywood
Cut your plywood to size or have it trimmed at the store (most places will do this for free!). Sand down any rough edges for a smooth finish.
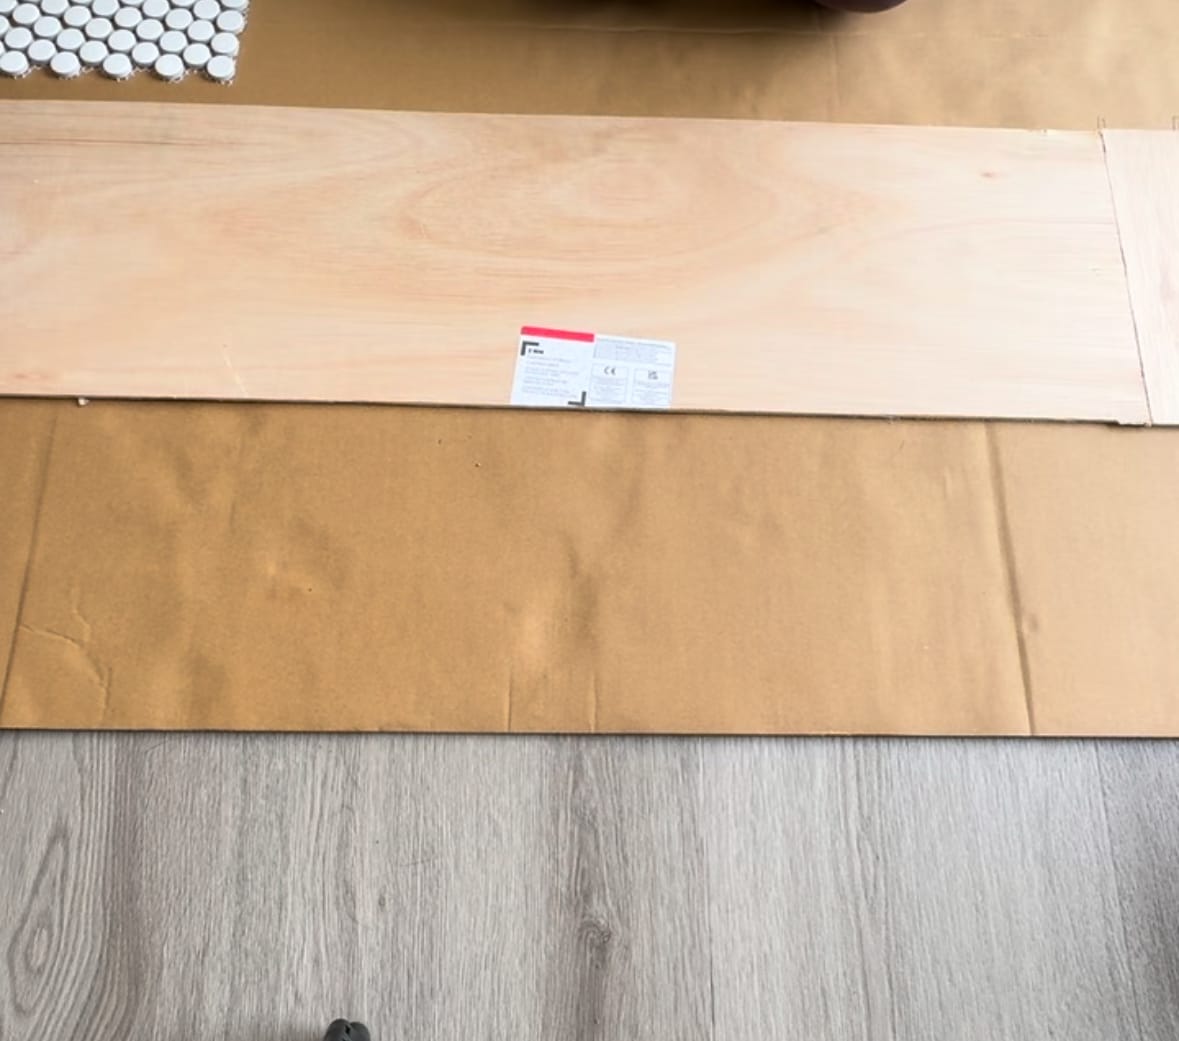
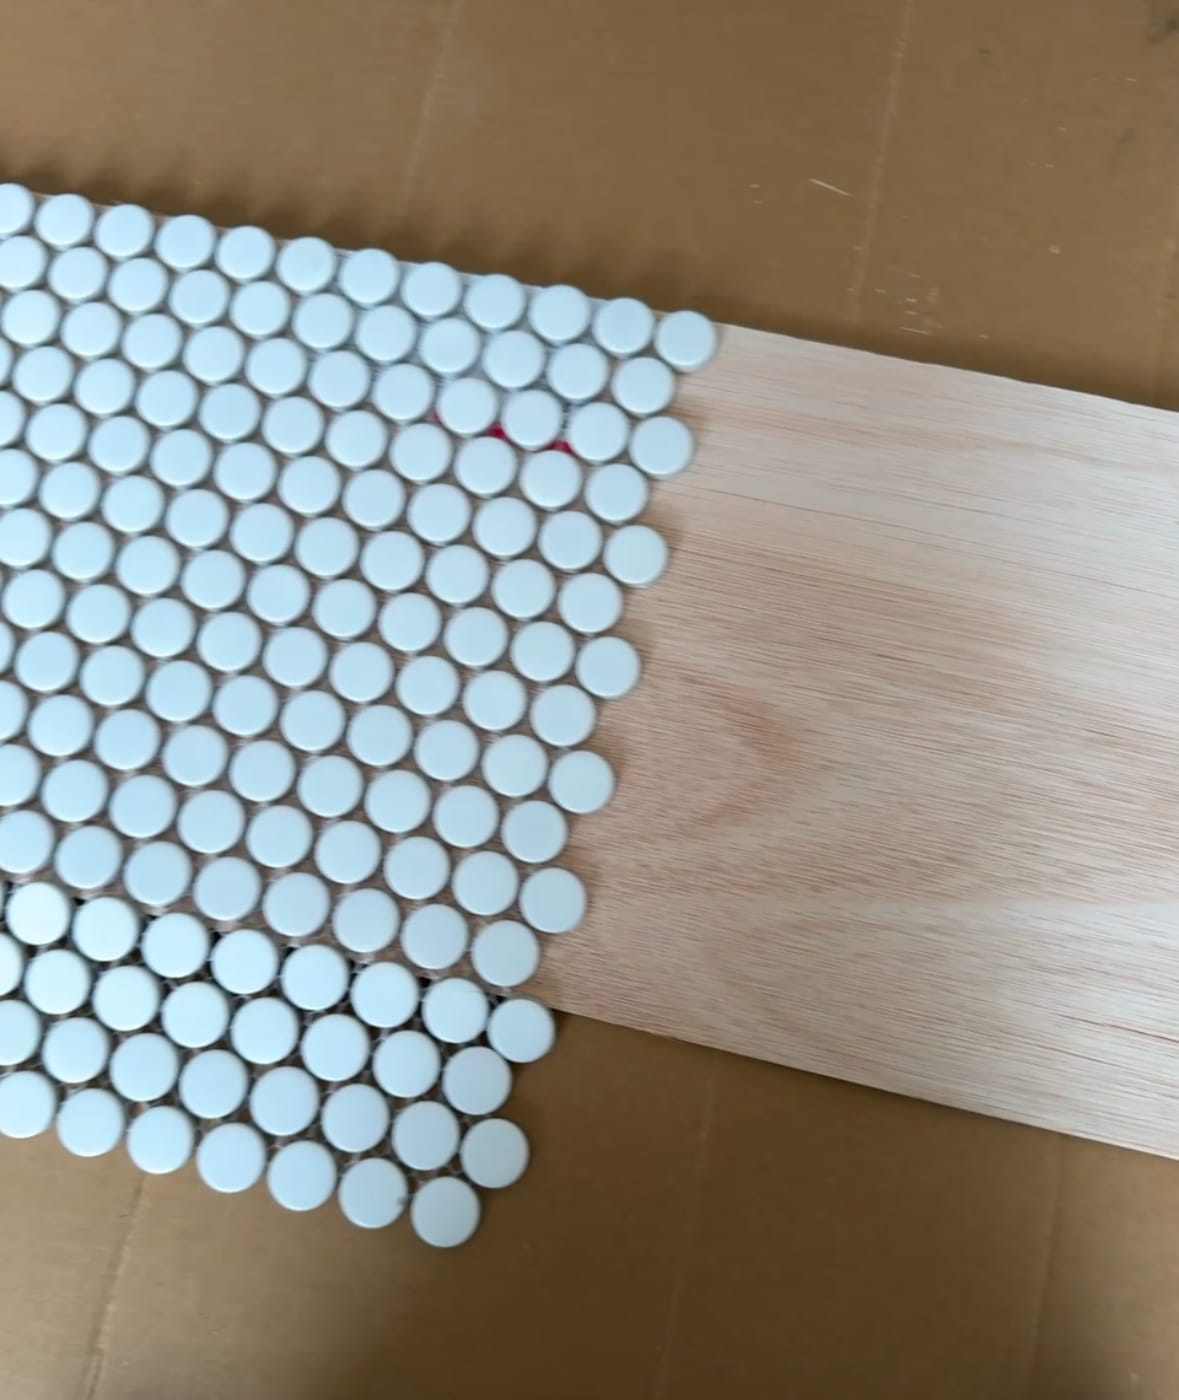
3. Lay Out Your Tiles
Before grabbing the grout, have a play with the layout of your tile squares. This step is basically like doing a giant jigsaw puzzle—except the finished product looks way cooler.
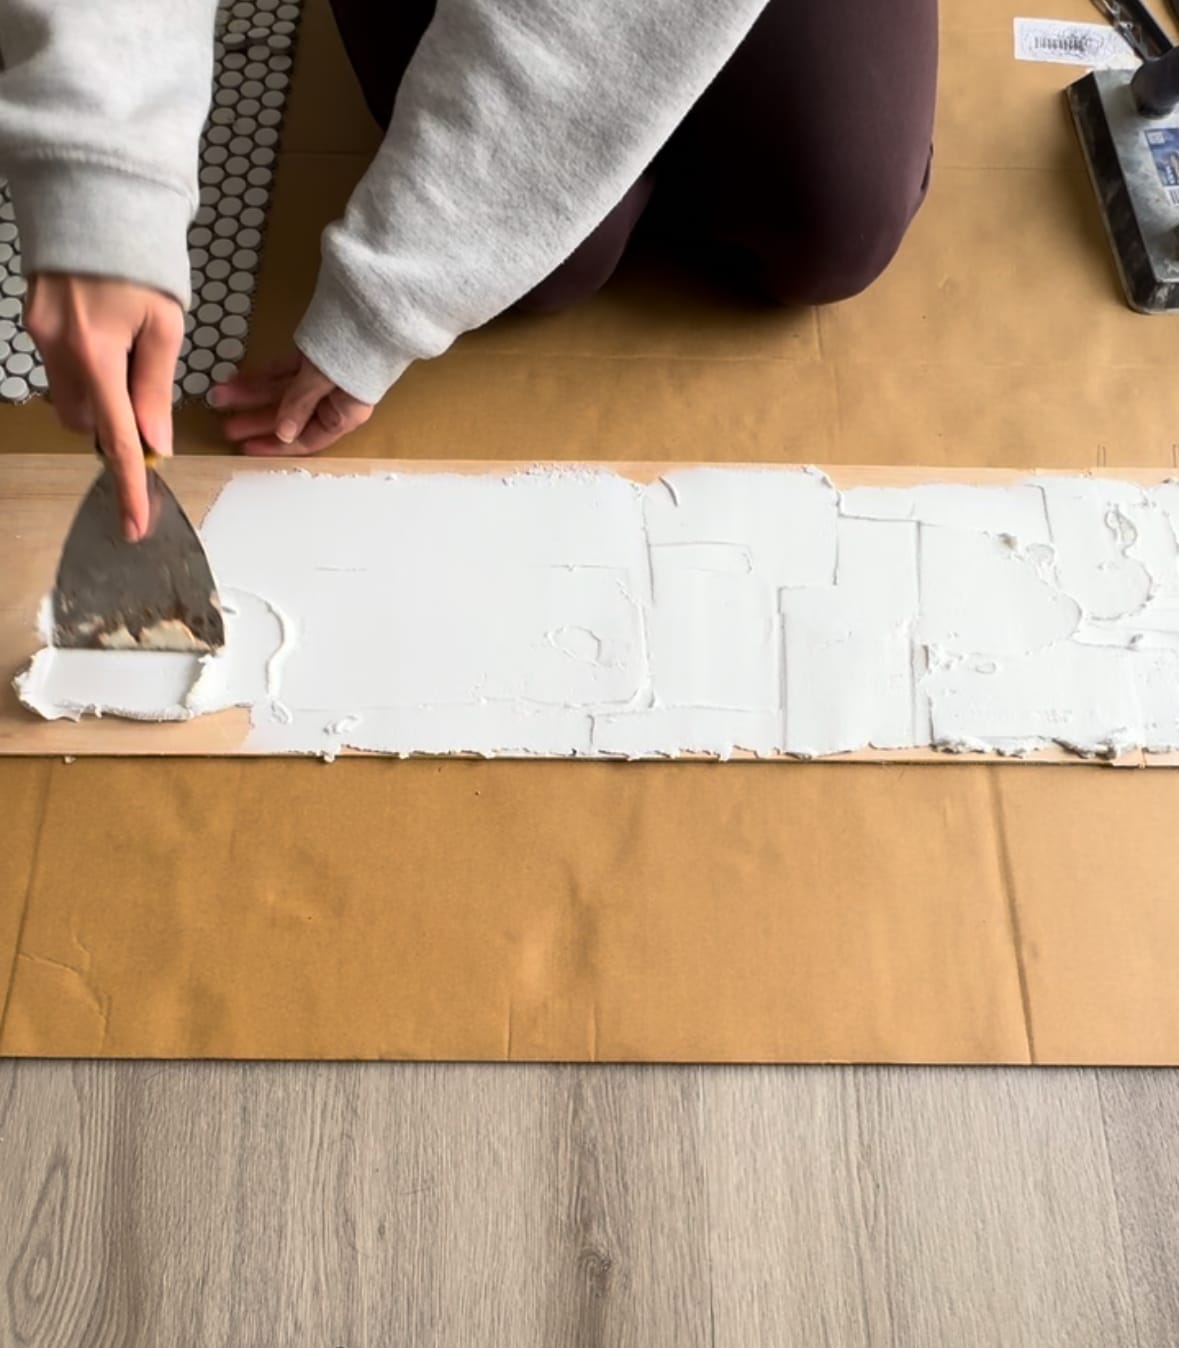
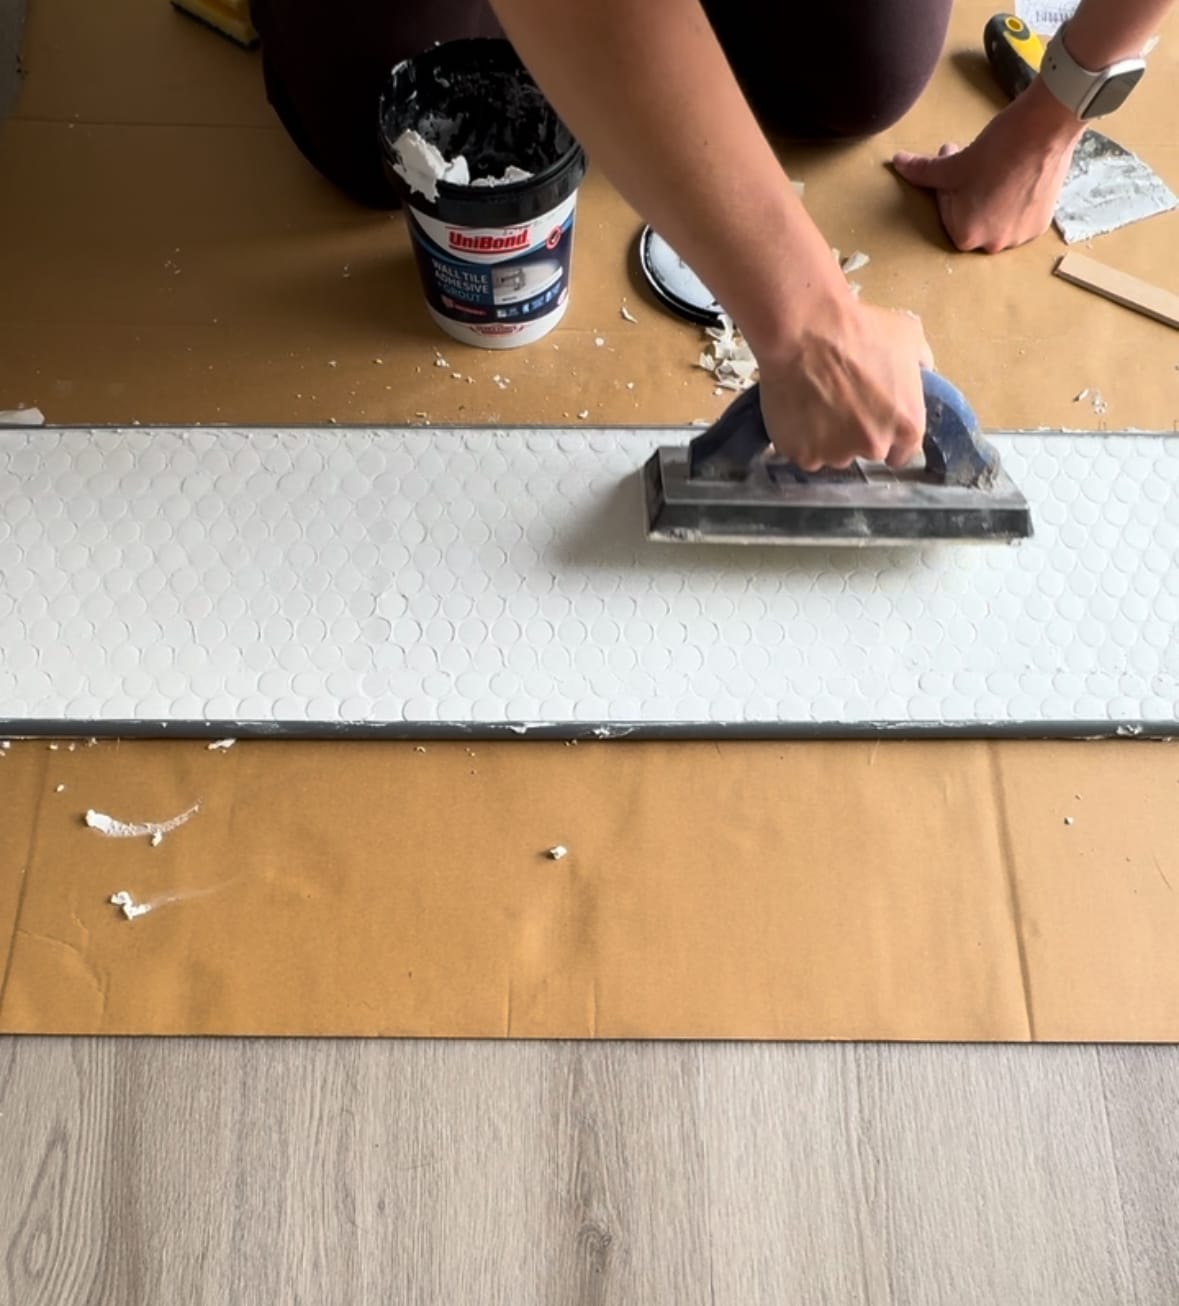
4. Time to Grout
Mix your grout and apply it to the plywood base. Press the tiles firmly into place, ensuring they’re level and evenly spaced. Wipe away any excess grout as you go (trust me, it’s easier to do this now than later).
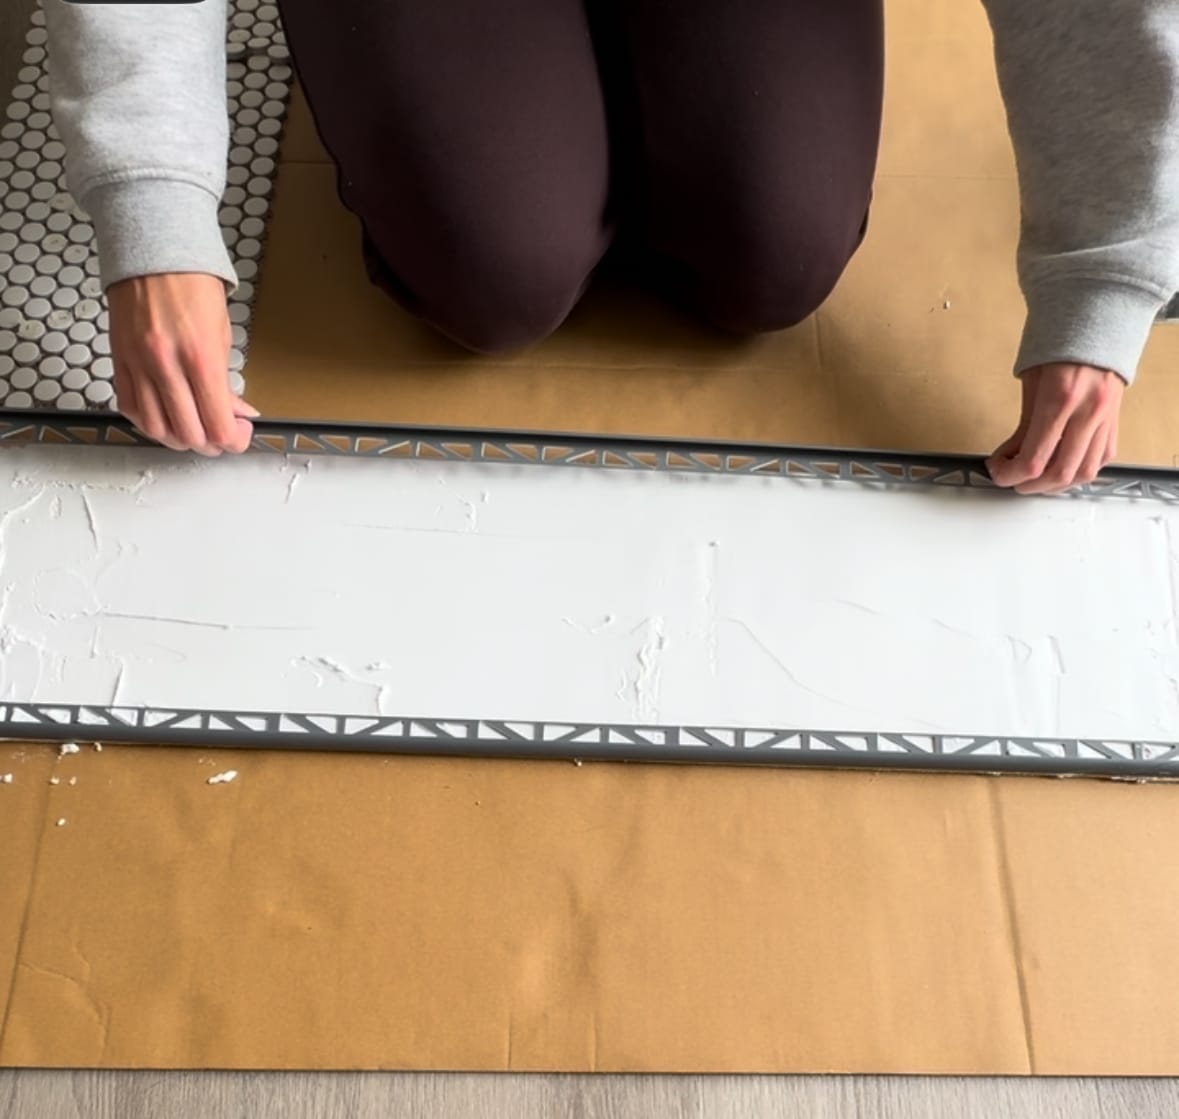
5. Add Tile Edging
This £3 superstar gives your doormat a clean, polished edge that looks high-end but takes almost no effort. Simply measure, cut, and attach it around the edges.
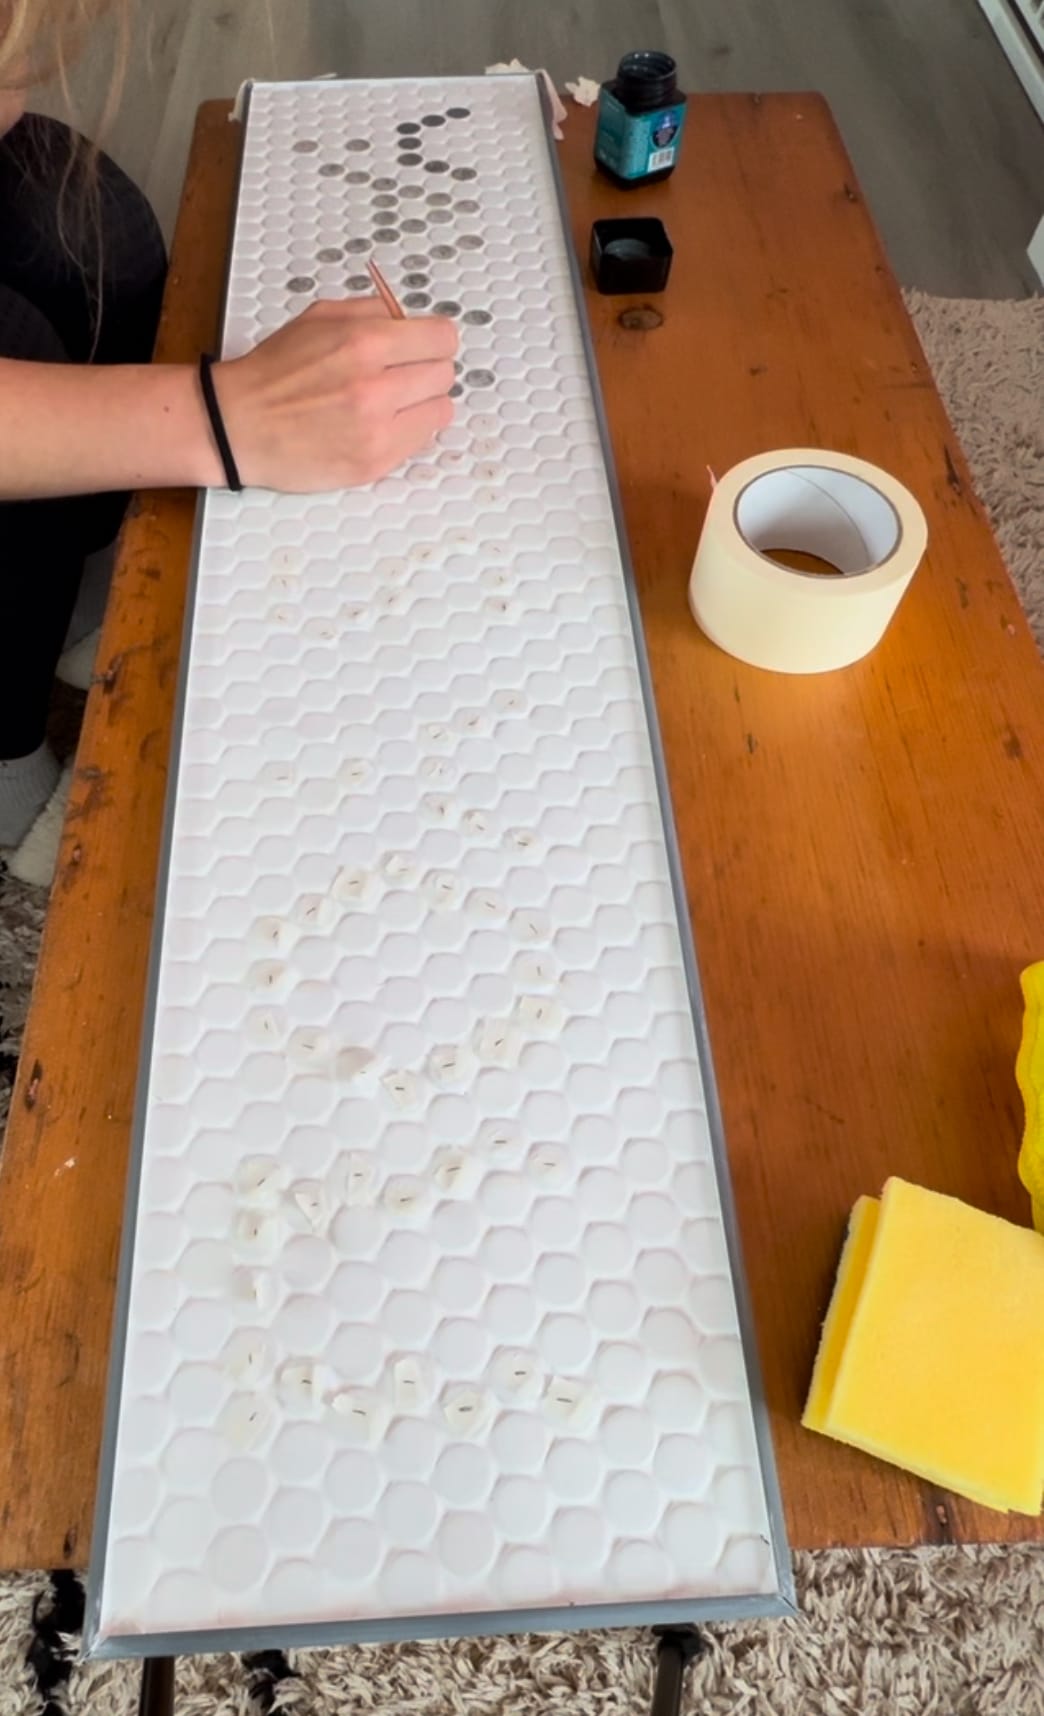
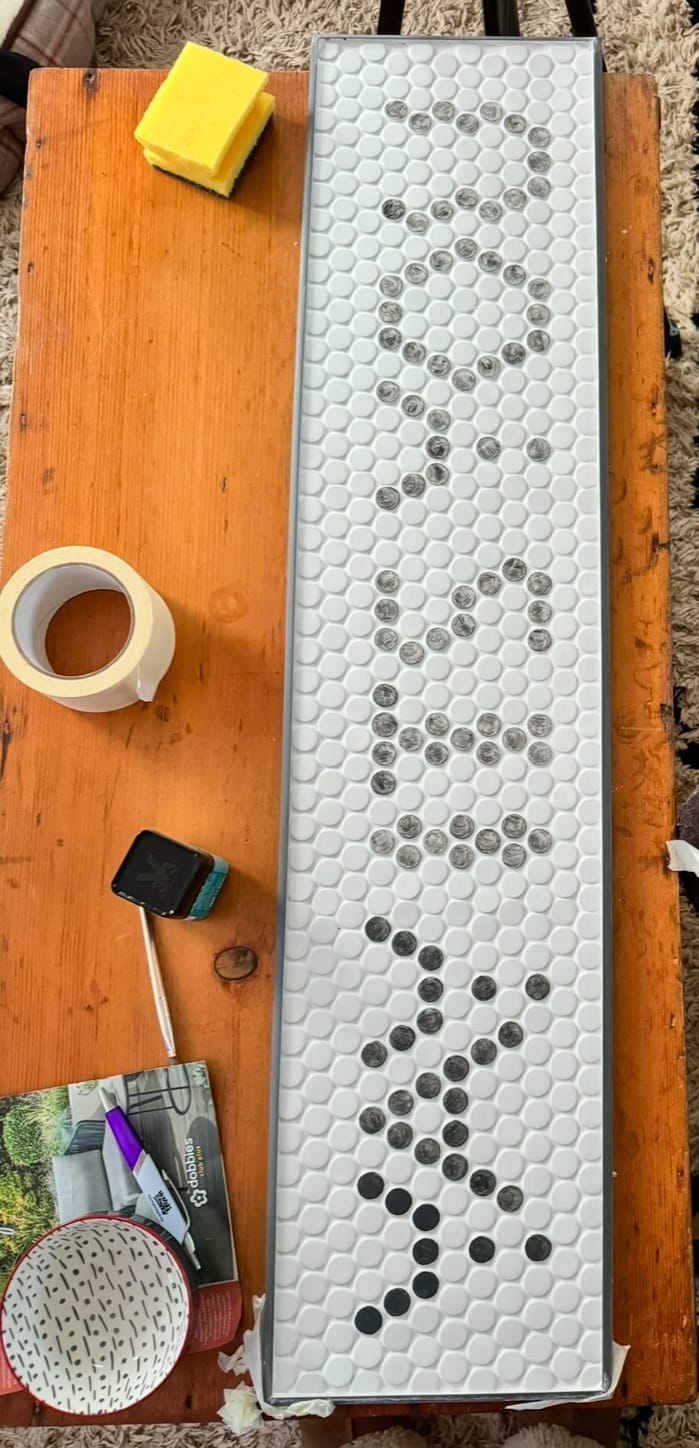
6. Paint your slogan!
If you want to personalize your doormat, what do you want your doormat to say!? You can play around with word choice, type text and colour for this! I used Pinterest to get some ideas here and planned it all out with little cut offs of tape. Now’s the time to break out that £4 tile paint tester. Add some subtle details or keep it classic—it’s totally up to you!
7. Let It Dry
Patience is key! Let everything set and dry overnight so it’s durable and ready for action.
Budget Breakdown
This project came in comfortably under £50, proving that you don’t need to spend a fortune to create something that looks luxe:
• Plywood: £5 Discounted from the offcuts section.
• Tile Squares: £30.
• Grout: Already had it, but a small bag costs around £5.
• Tile Edging: £3.
• Tile Paint Tester: £4.
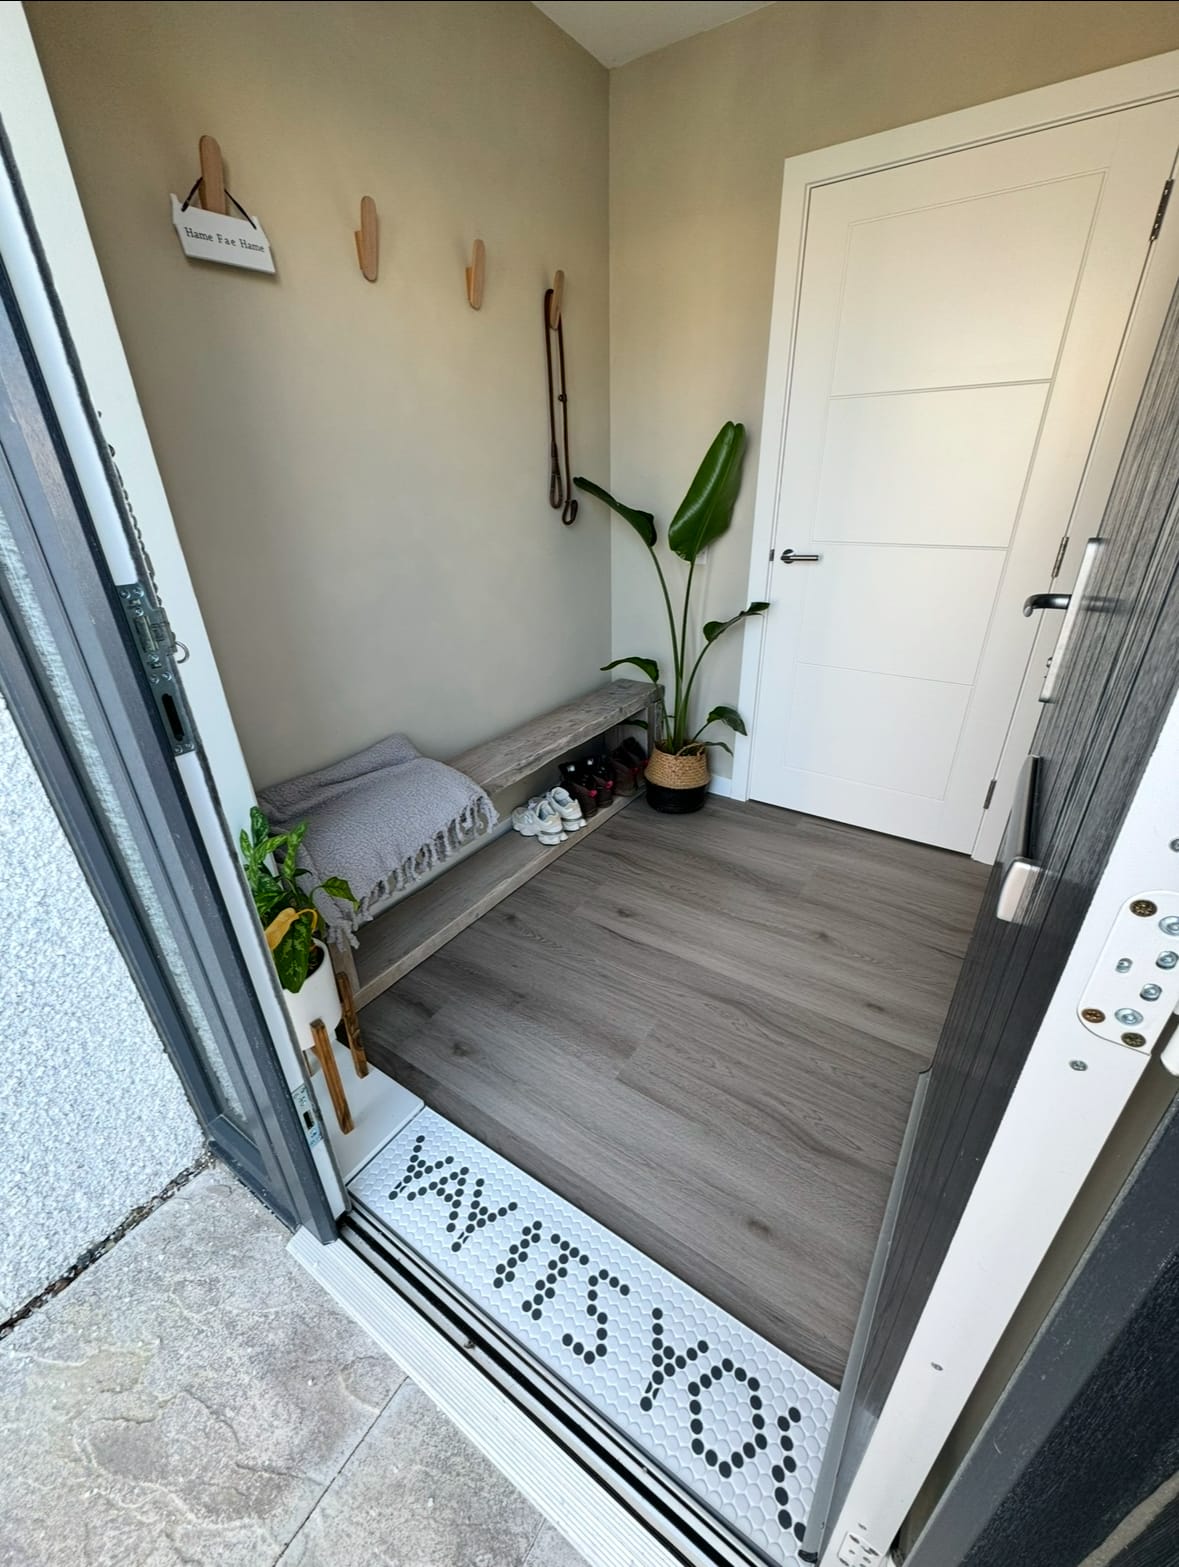
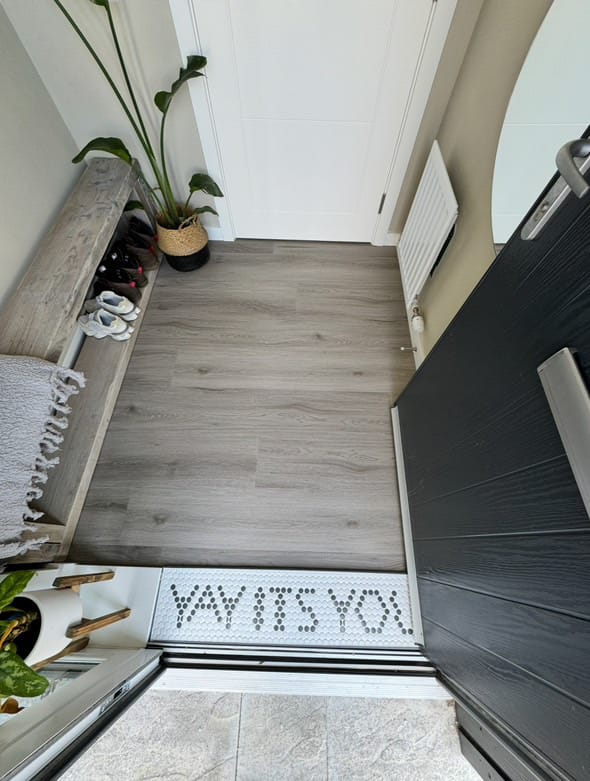
The Results
I can’t even tell you how happy I am with how this turned out! From the bare plywood to a chic tiled doormat in one weekend—it’s a total transformation. The tiles add such a polished look, and the fact that it’s removable makes it the perfect DIY doormat for the fellow non committer and a renter-friendly hack.
This little project was proof that DIY doesn’t have to be intimidating (or expensive). Honestly, if I can do it, so can you!
If you try this out, I’d LOVE to see how yours turns out. Share your photos and tag me—I’m always here to cheer you on or answer any questions.
Happy DIY-ing – Rachel x
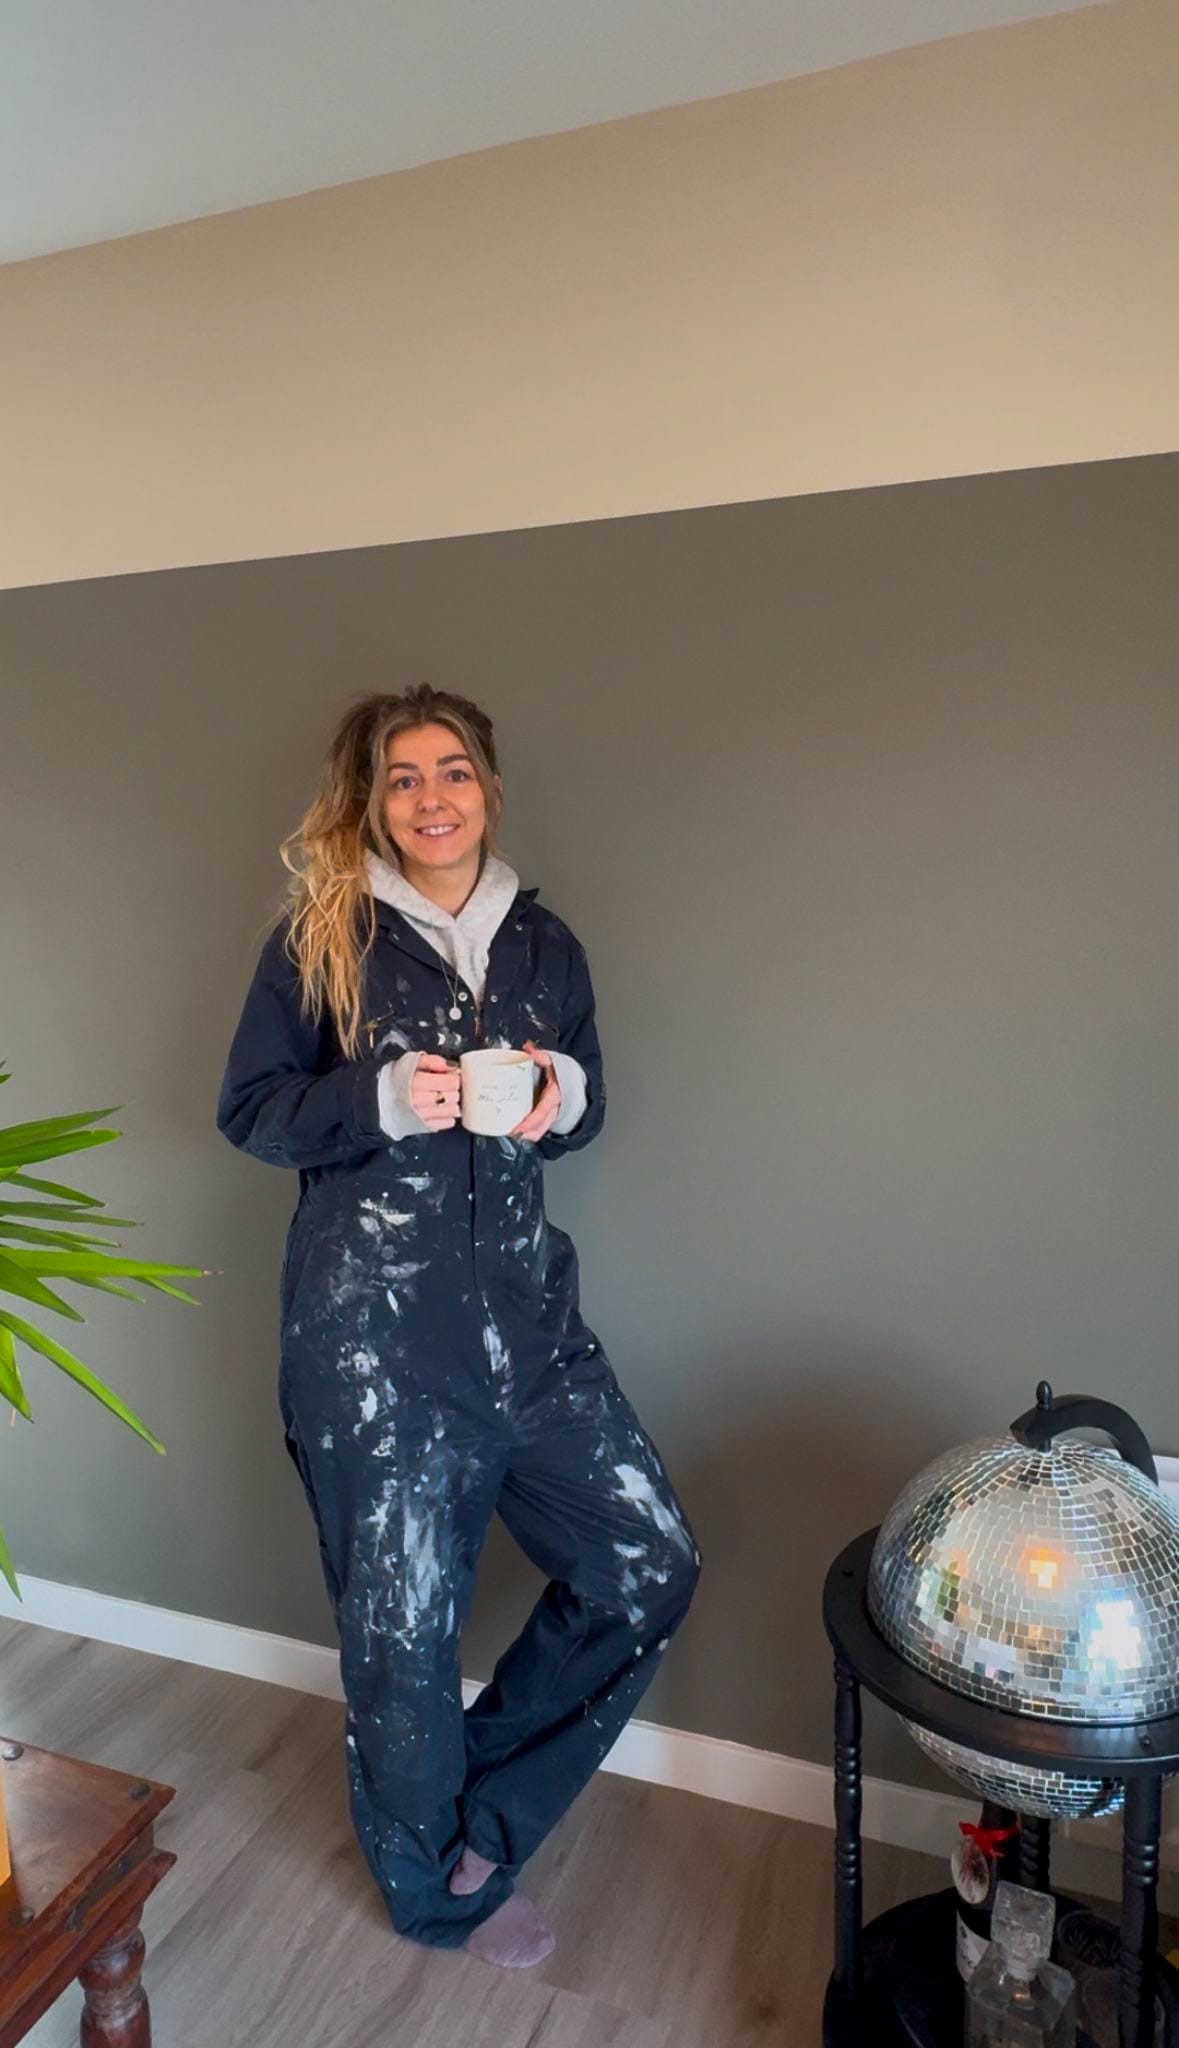
Creator: Rachel
Instagram: @leaveyourmarkathome
Tiktok: @leaveyourmarkathome