
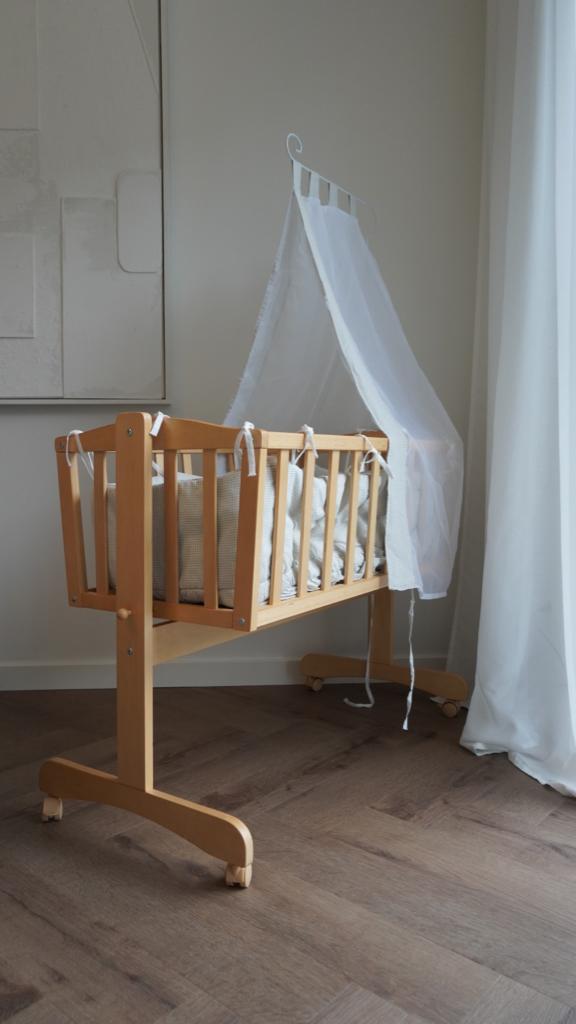
When I received a cradle as a gift for our upcoming baby, I was thrilled. But as I looked at it, I realized it didn't quite fit our home's minimalist and neutral decor. I envisioned a more streamlined and contemporary look for the cradle, so I embarked on a DIY project to give it a fresh makeover. In this step-by-step guide, I'll walk you through how I transformed this cradle into a perfect addition to our living-dining area.
Materials You'll Need:
- Cradle
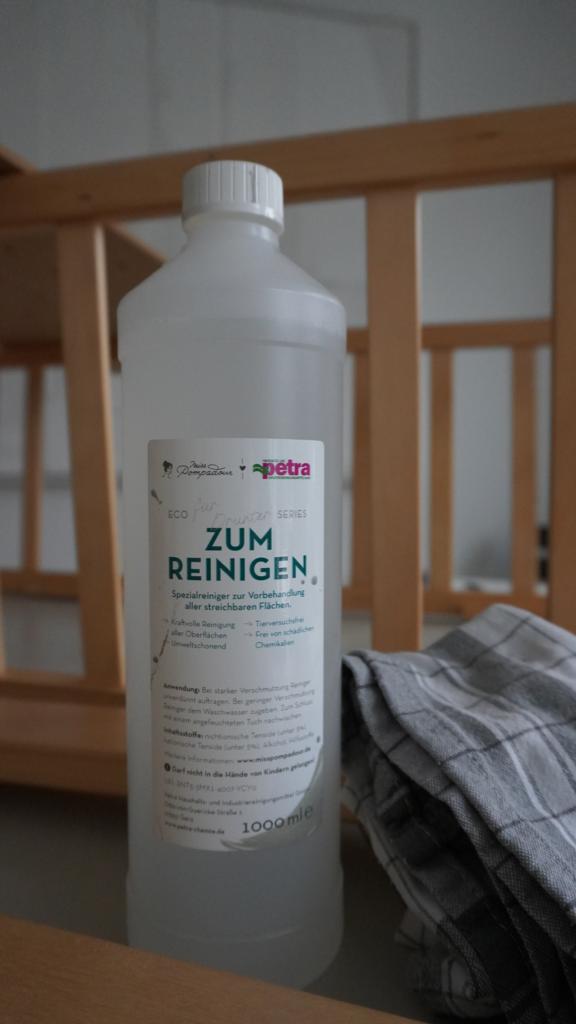
- MissPompadour cleaner
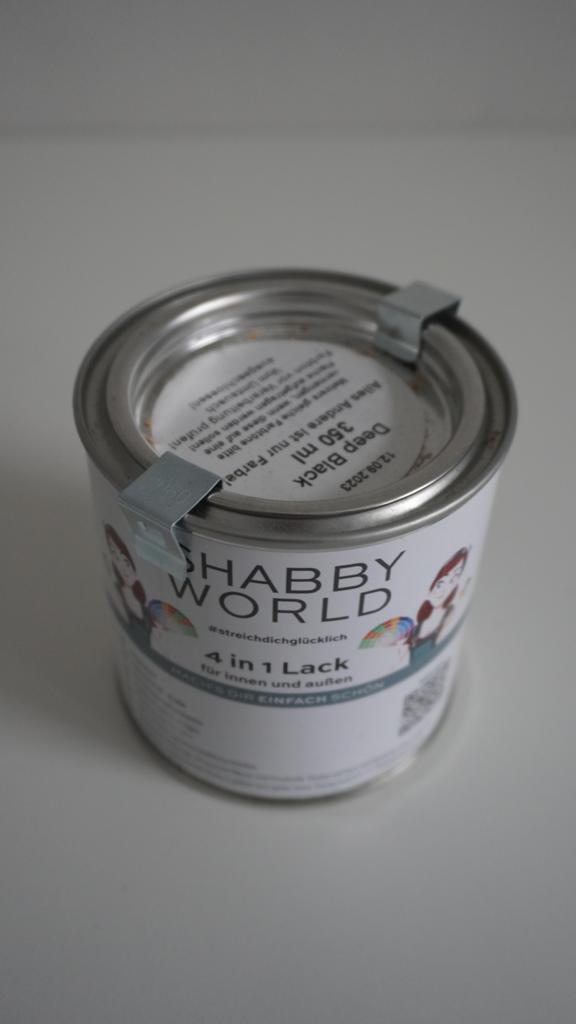
- 4-in-1 paint ('Deep Black Chalk Matt' from Shabby World)
- New screws (if needed)
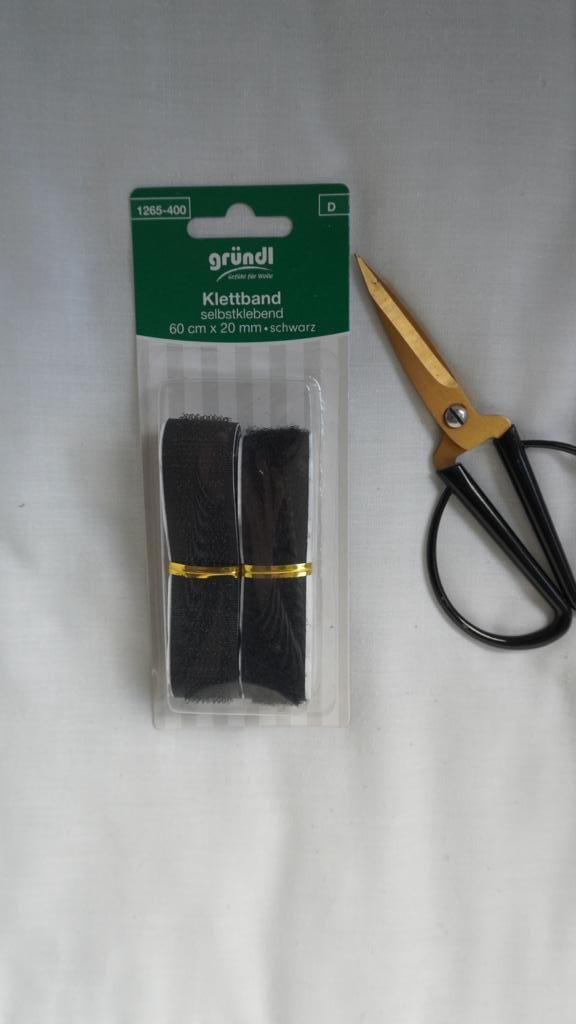
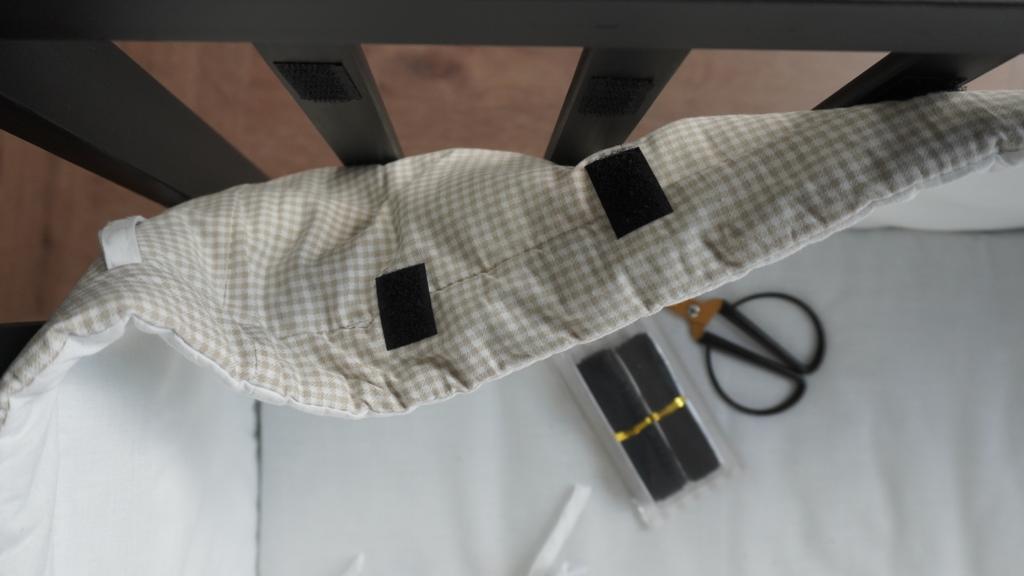
- Velcro straps
- Mattress
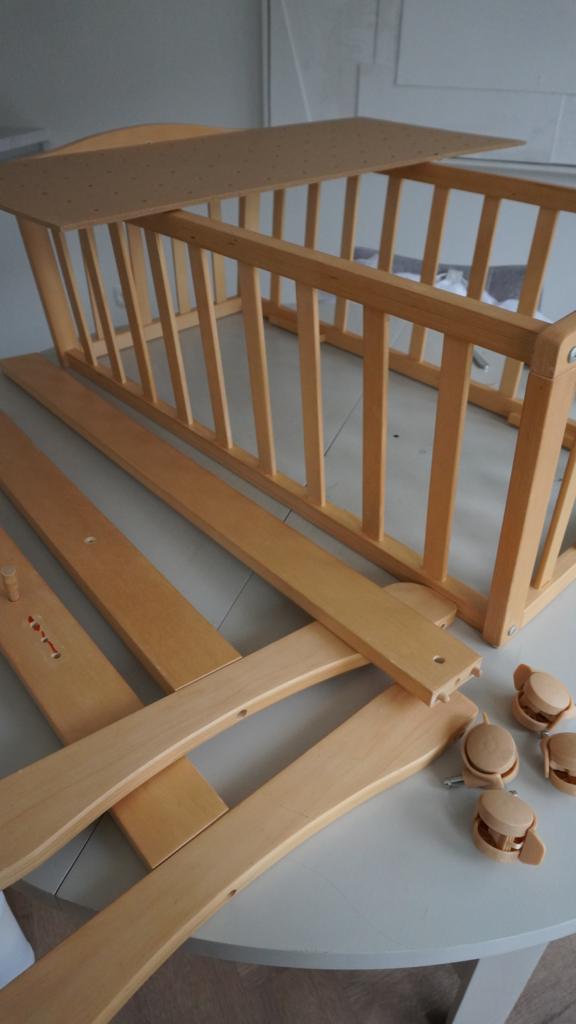
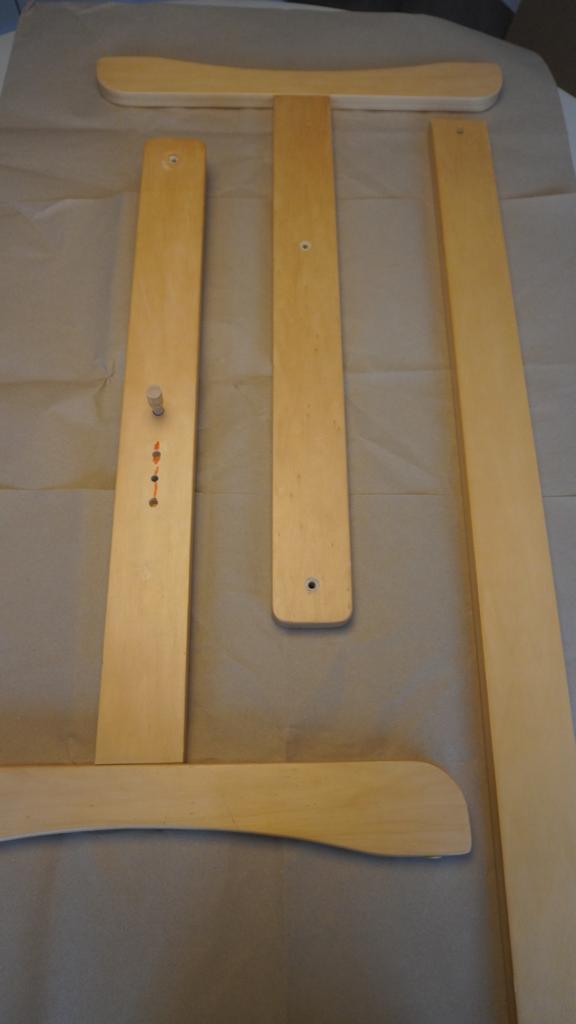
Step 1: Disassembly and Cleaning
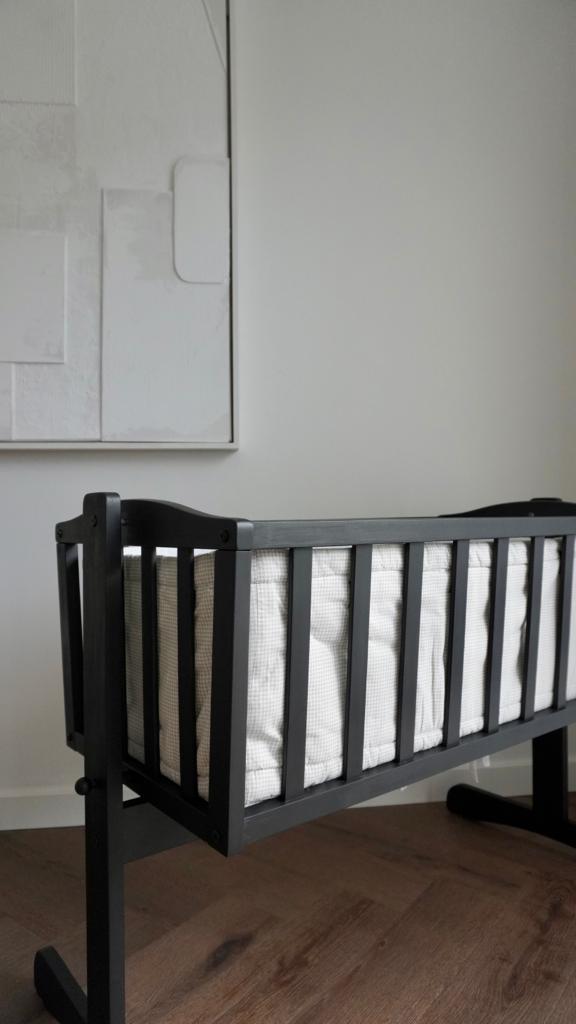
The first step was to disassemble the cradle entirely. I removed the canopy and ribbons because they felt too bulky and playful for our design preferences. Next, I washed all the covers and thoroughly cleaned all the parts using MissPompadour cleaner. To further align the cradle with our home's aesthetic, I decided to remove the wheels. The wheels, although practical, didn't match the new color scheme I had in mind, and our living room isn't particularly spacious, so the mobility they provided wasn't necessary.
Step 2: Applying the First Coat of Paint
With the cradle disassembled, it was time to give it a fresh coat of paint. I chose a 4-in-1 paint called 'Deep Black Chalk Matte' from Shabby World. To achieve a clean and uniform finish, I applied a very thin layer of paint to all the wooden parts. Starting with a thin layer allowed the paint to dry properly and prevented any streaking or uneven coverage.
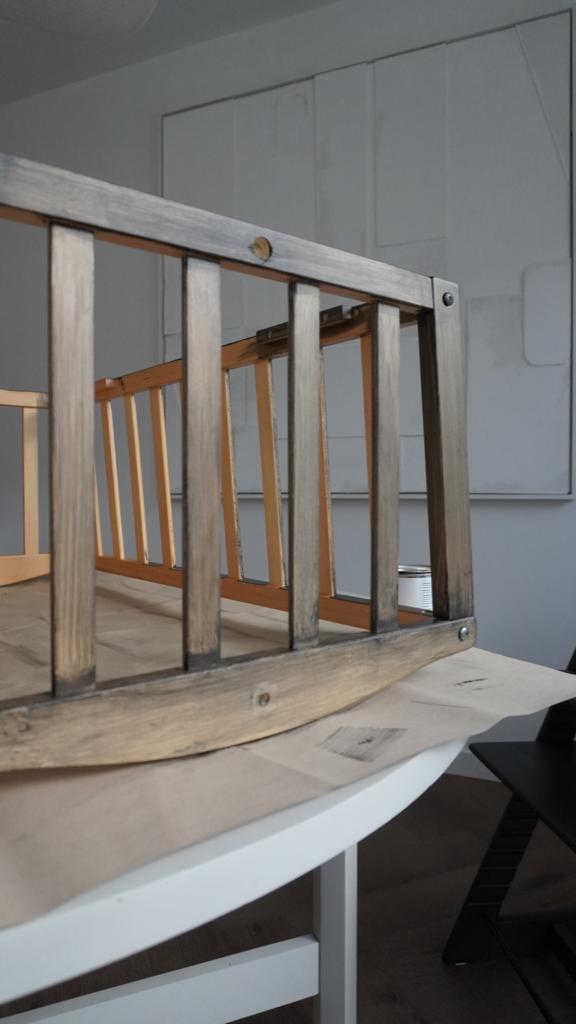
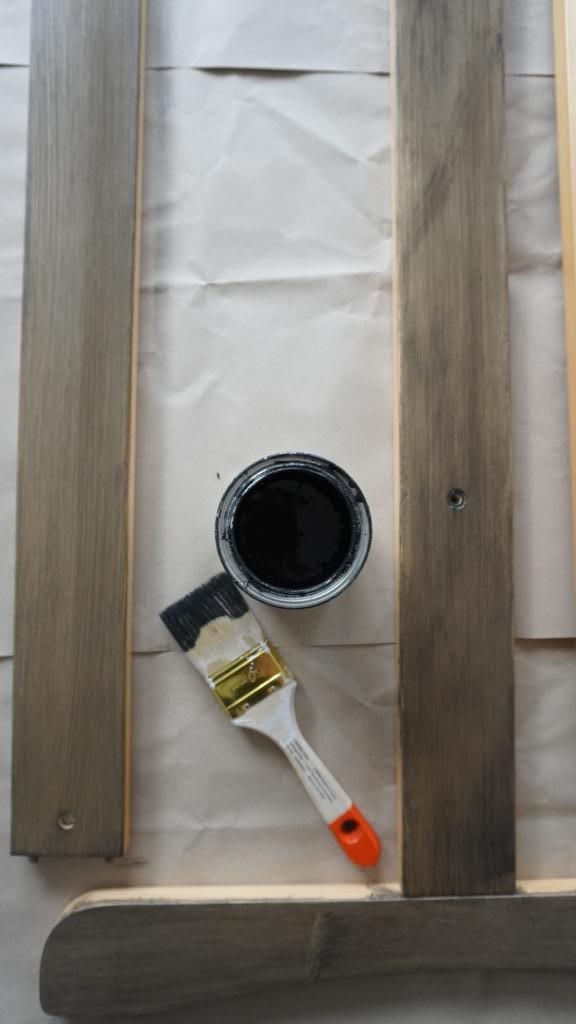
Step 3: Layering the Paint
After the initial coat dried, I applied several more very thin layers of the black paint. This was a deliberate choice to ensure that the wood was no longer visible through the paint. Each additional layer enhanced the depth of the black color, giving it a sophisticated and modern appearance.
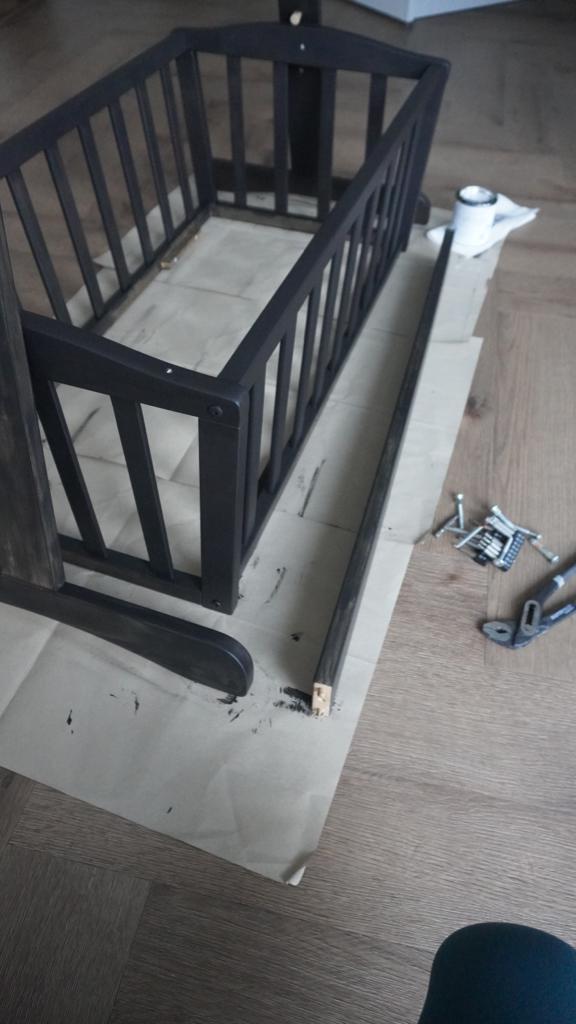

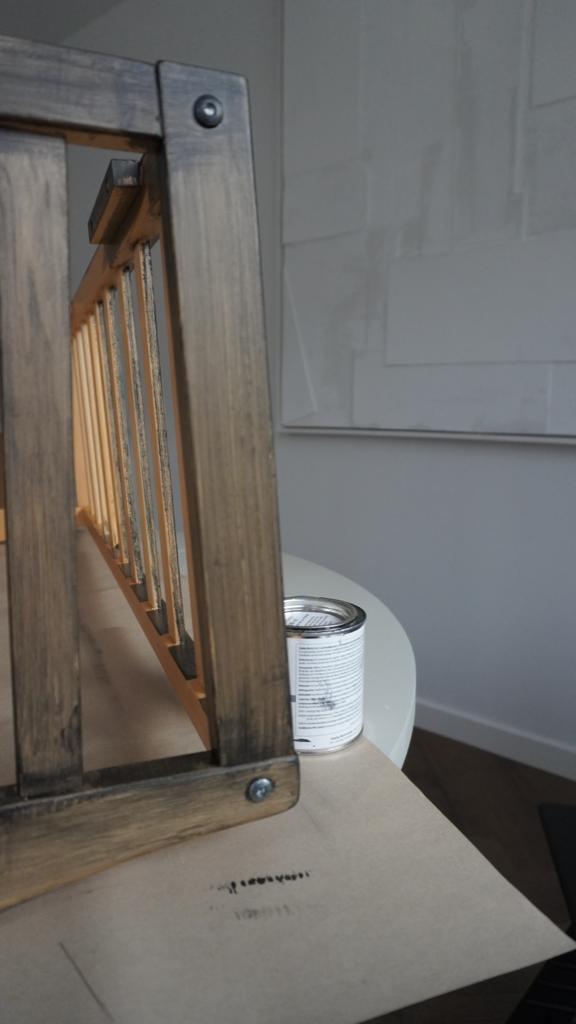
Step 4: Reassembly
Once all the parts had dried and the new black paint had completely transformed the cradle, it was time to reassemble it. During this step, I replaced some of the screws with new ones because the old ones had become bent over time.
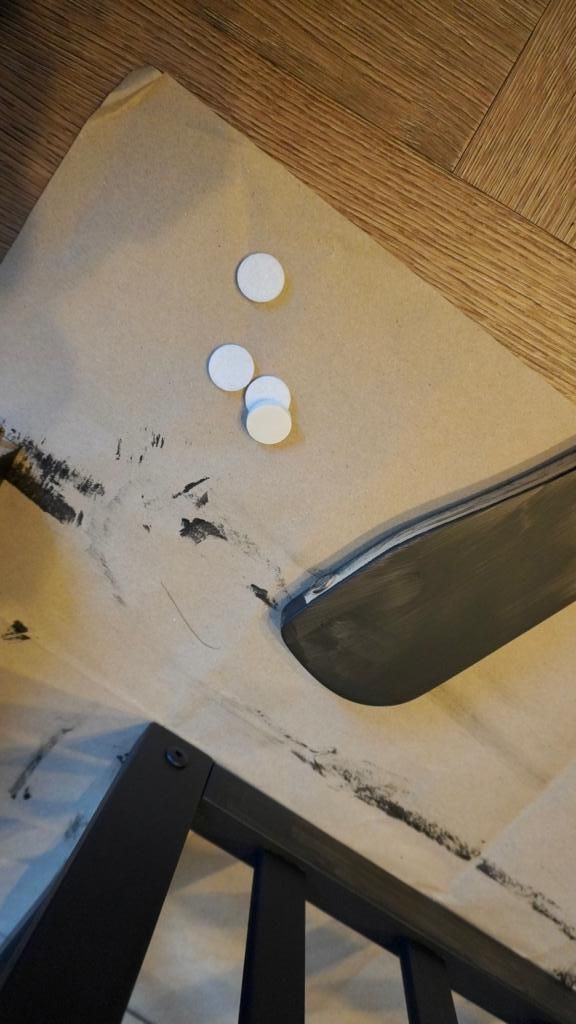
Step 5: Final Touches
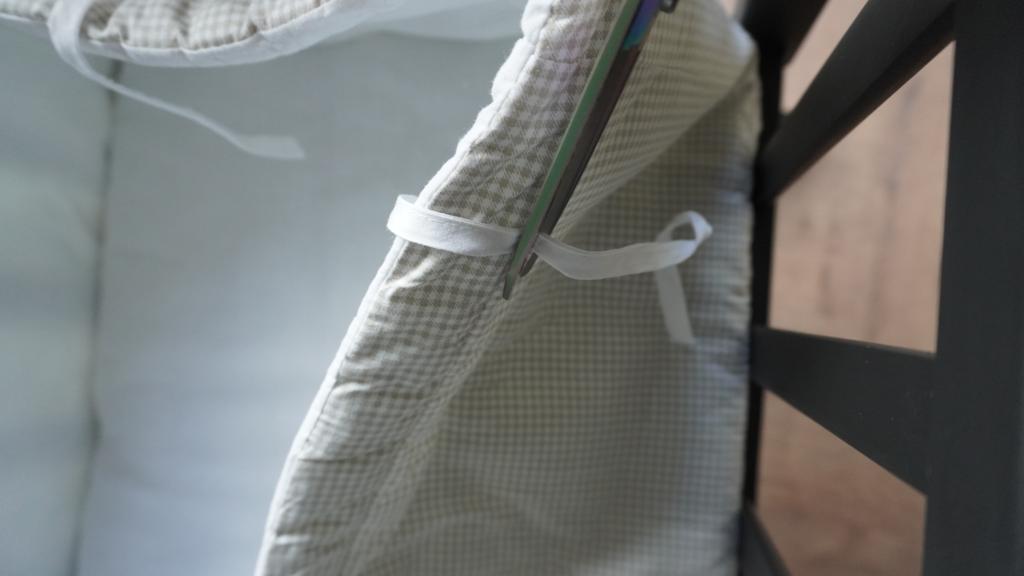
To complete the transformation, I reinserted the mattress and the washed covers. However, I made one more change to the covers. I removed the loops and attached the fabric to the wood using Velcro straps. This change not only maintained the minimalist aesthetic but also made the cradle safer for our little one.
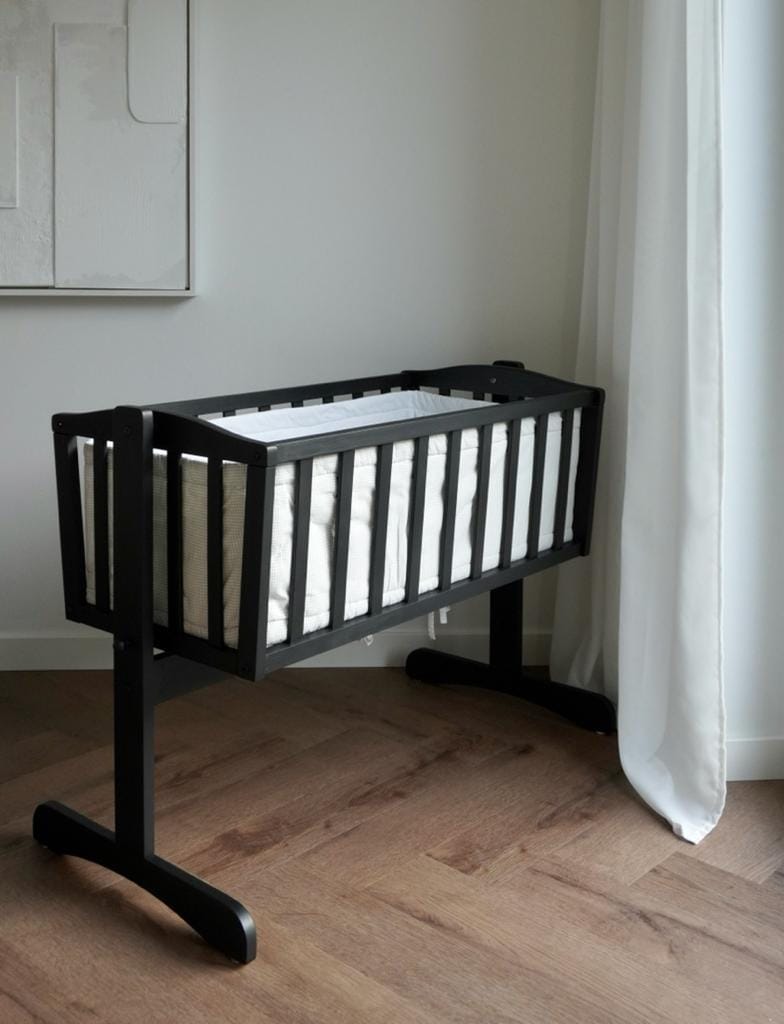
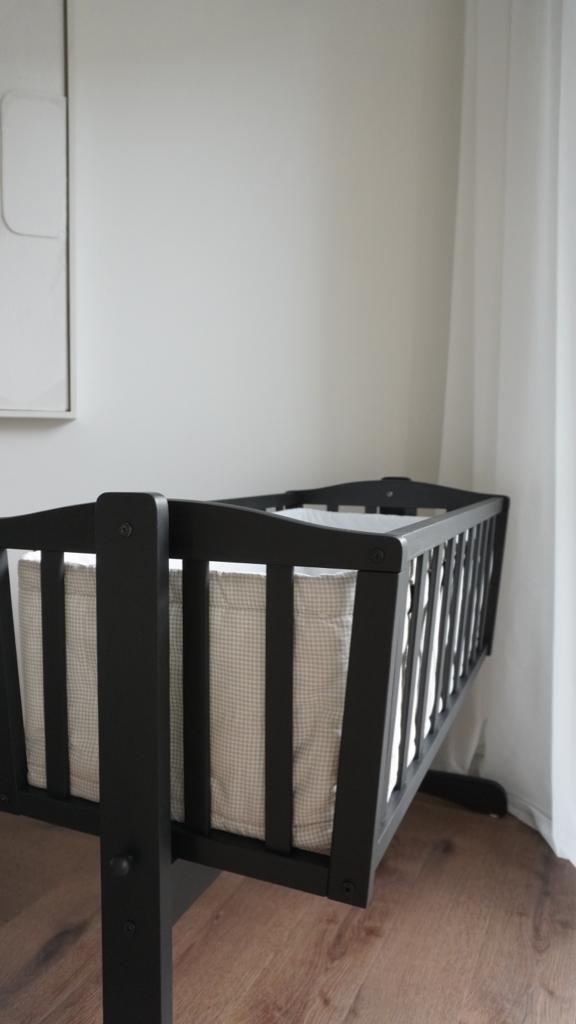
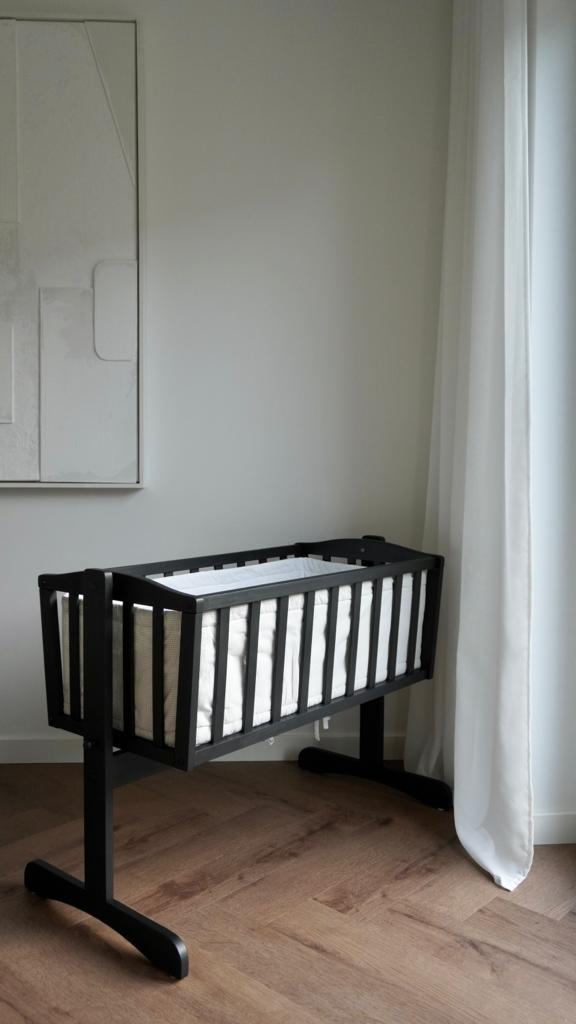
With a fresh coat of black paint and a more minimalist design, the cradle now fits seamlessly into our living-dining area. The DIY project allowed us to maintain our home's neutral and contemporary style while incorporating a functional baby cradle. It's the perfect blend of form and function, and we can't wait to welcome our little one to their stylish new sleeping space.
Creator: Alex
Instagram: @lets.create.247