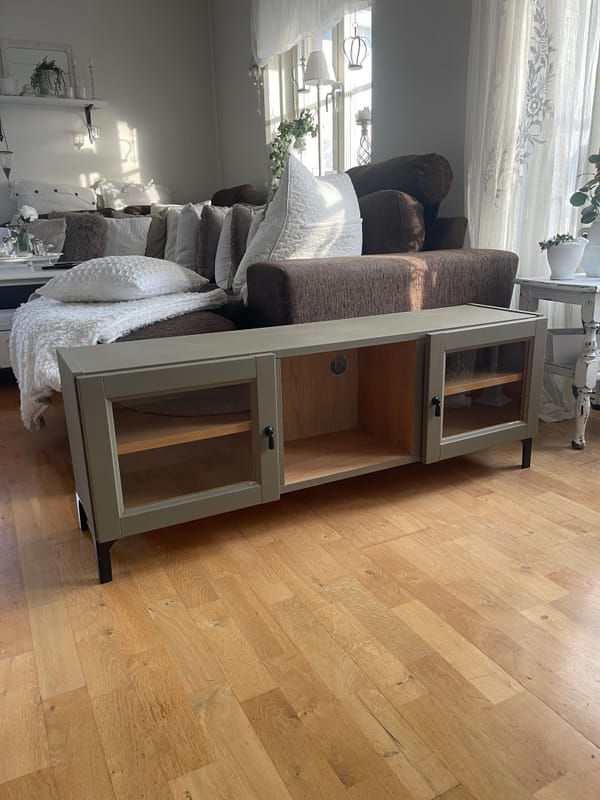
Designing a little corner where creativity can truly thrive has become a favourite trend among modern parents—and for good reason. Kids don’t need huge playrooms or elaborate setups to make magic. Sometimes, all it takes is a thoughtfully designed space that invites them to draw, paint, and explore freely.
Inspired by a brilliant idea I discovered on Instagram, I knew I wanted to recreate a creative corner where my daughter could imagine, experiment, and grow artistically—without chaos taking over the house. The result is a simple, functional, and beautiful art station that blends seamlessly into our home while being completely kid-friendly.
Here’s exactly how you can create your own creative corner at home.
Materials Needed
- Magnetic whiteboard sheet
- Paper roll (45 cm wide or similar)
- IKEA MÅLA paper roll holder
- Small L-shaped brackets
- Screws and wall plugs
- Acrylic wall holders
- Strong clear adhesive tape
- Magnetic clips
- Crayons, pencils, and washable markers
- Plastic paint plates (IKEA works perfectly)
- Scissors
Step-by-Step
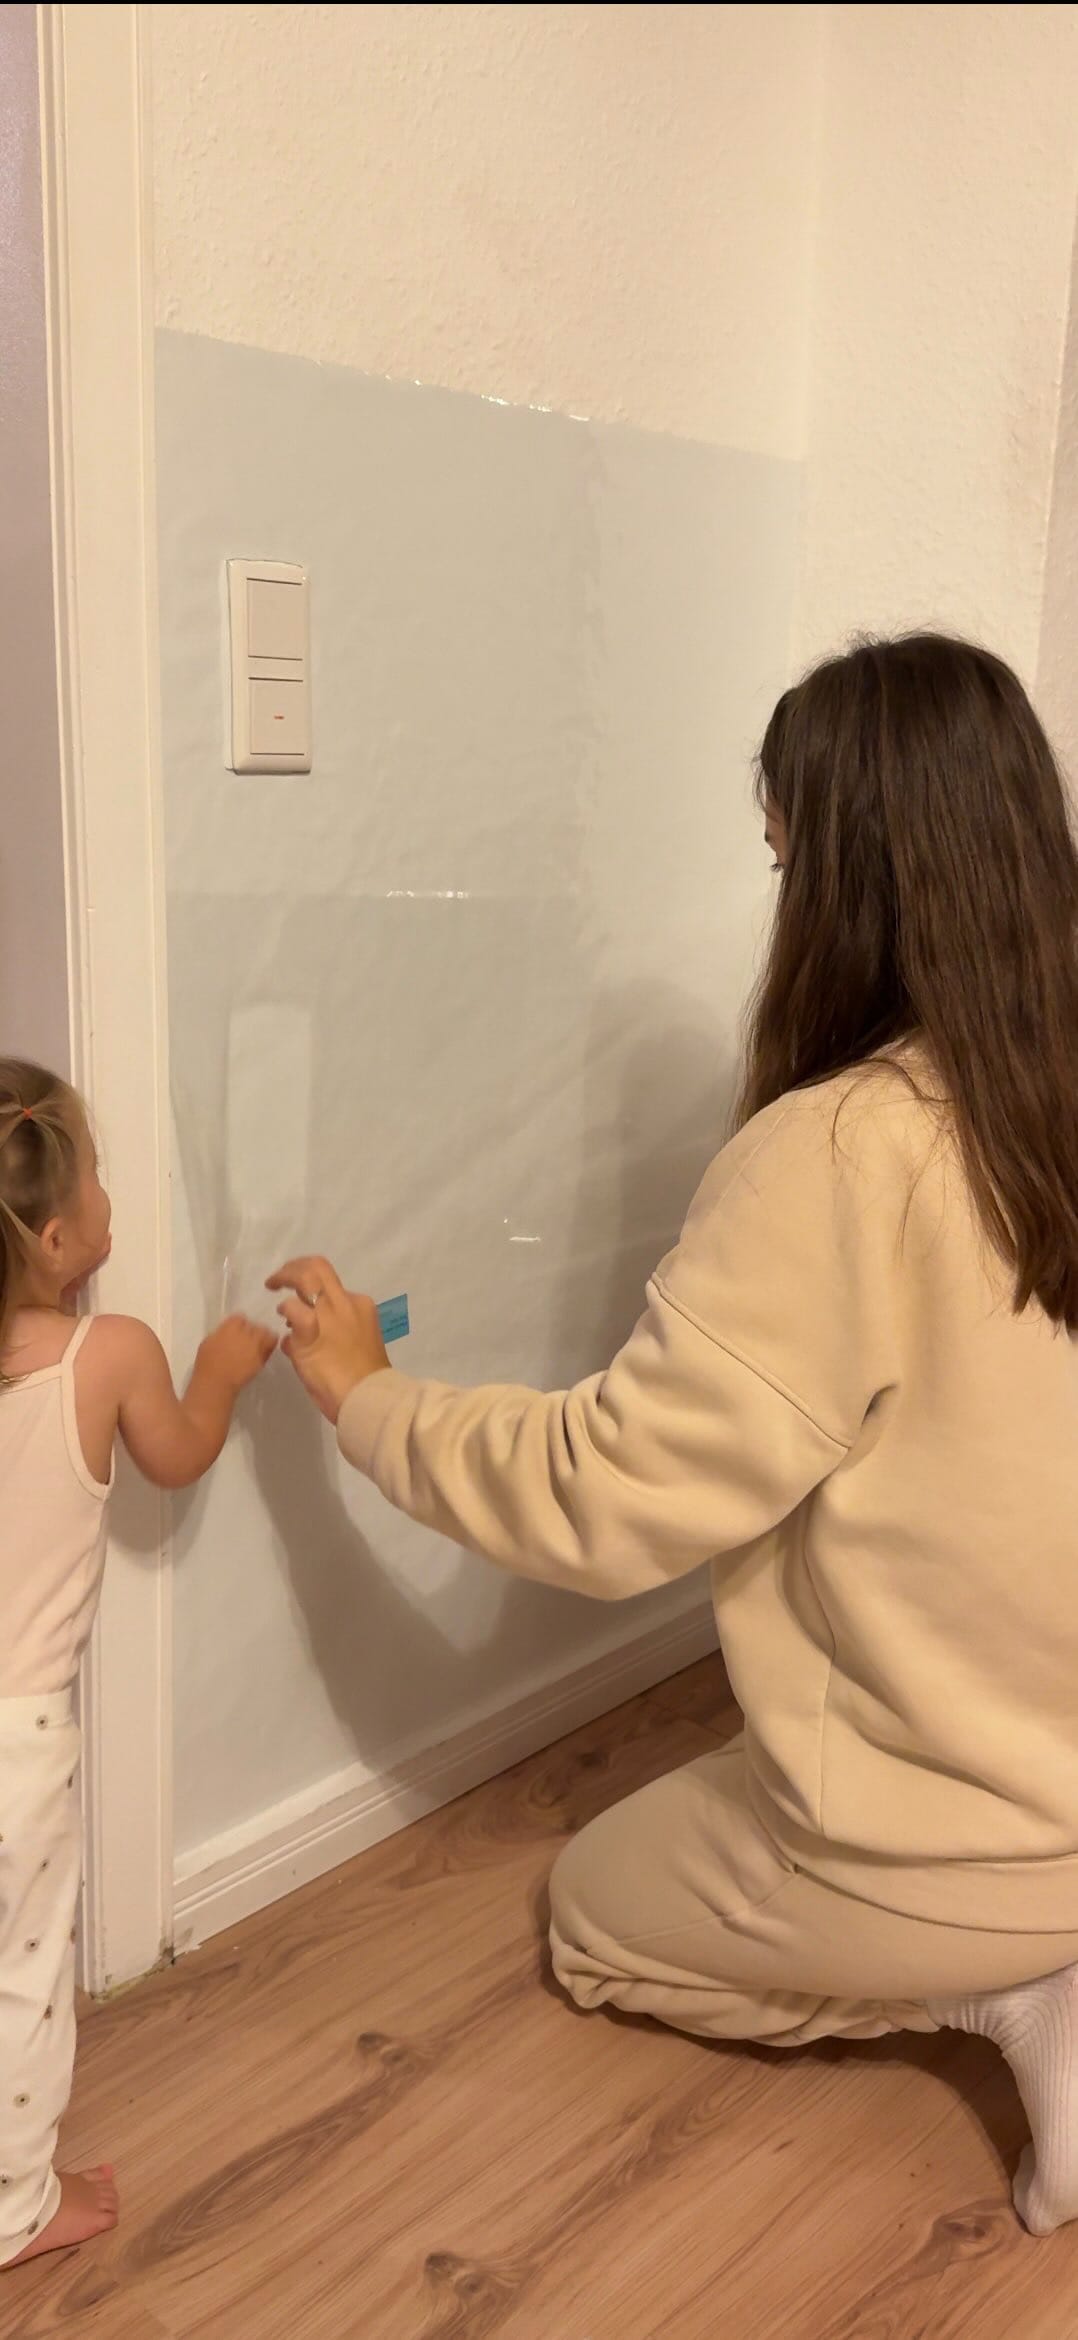
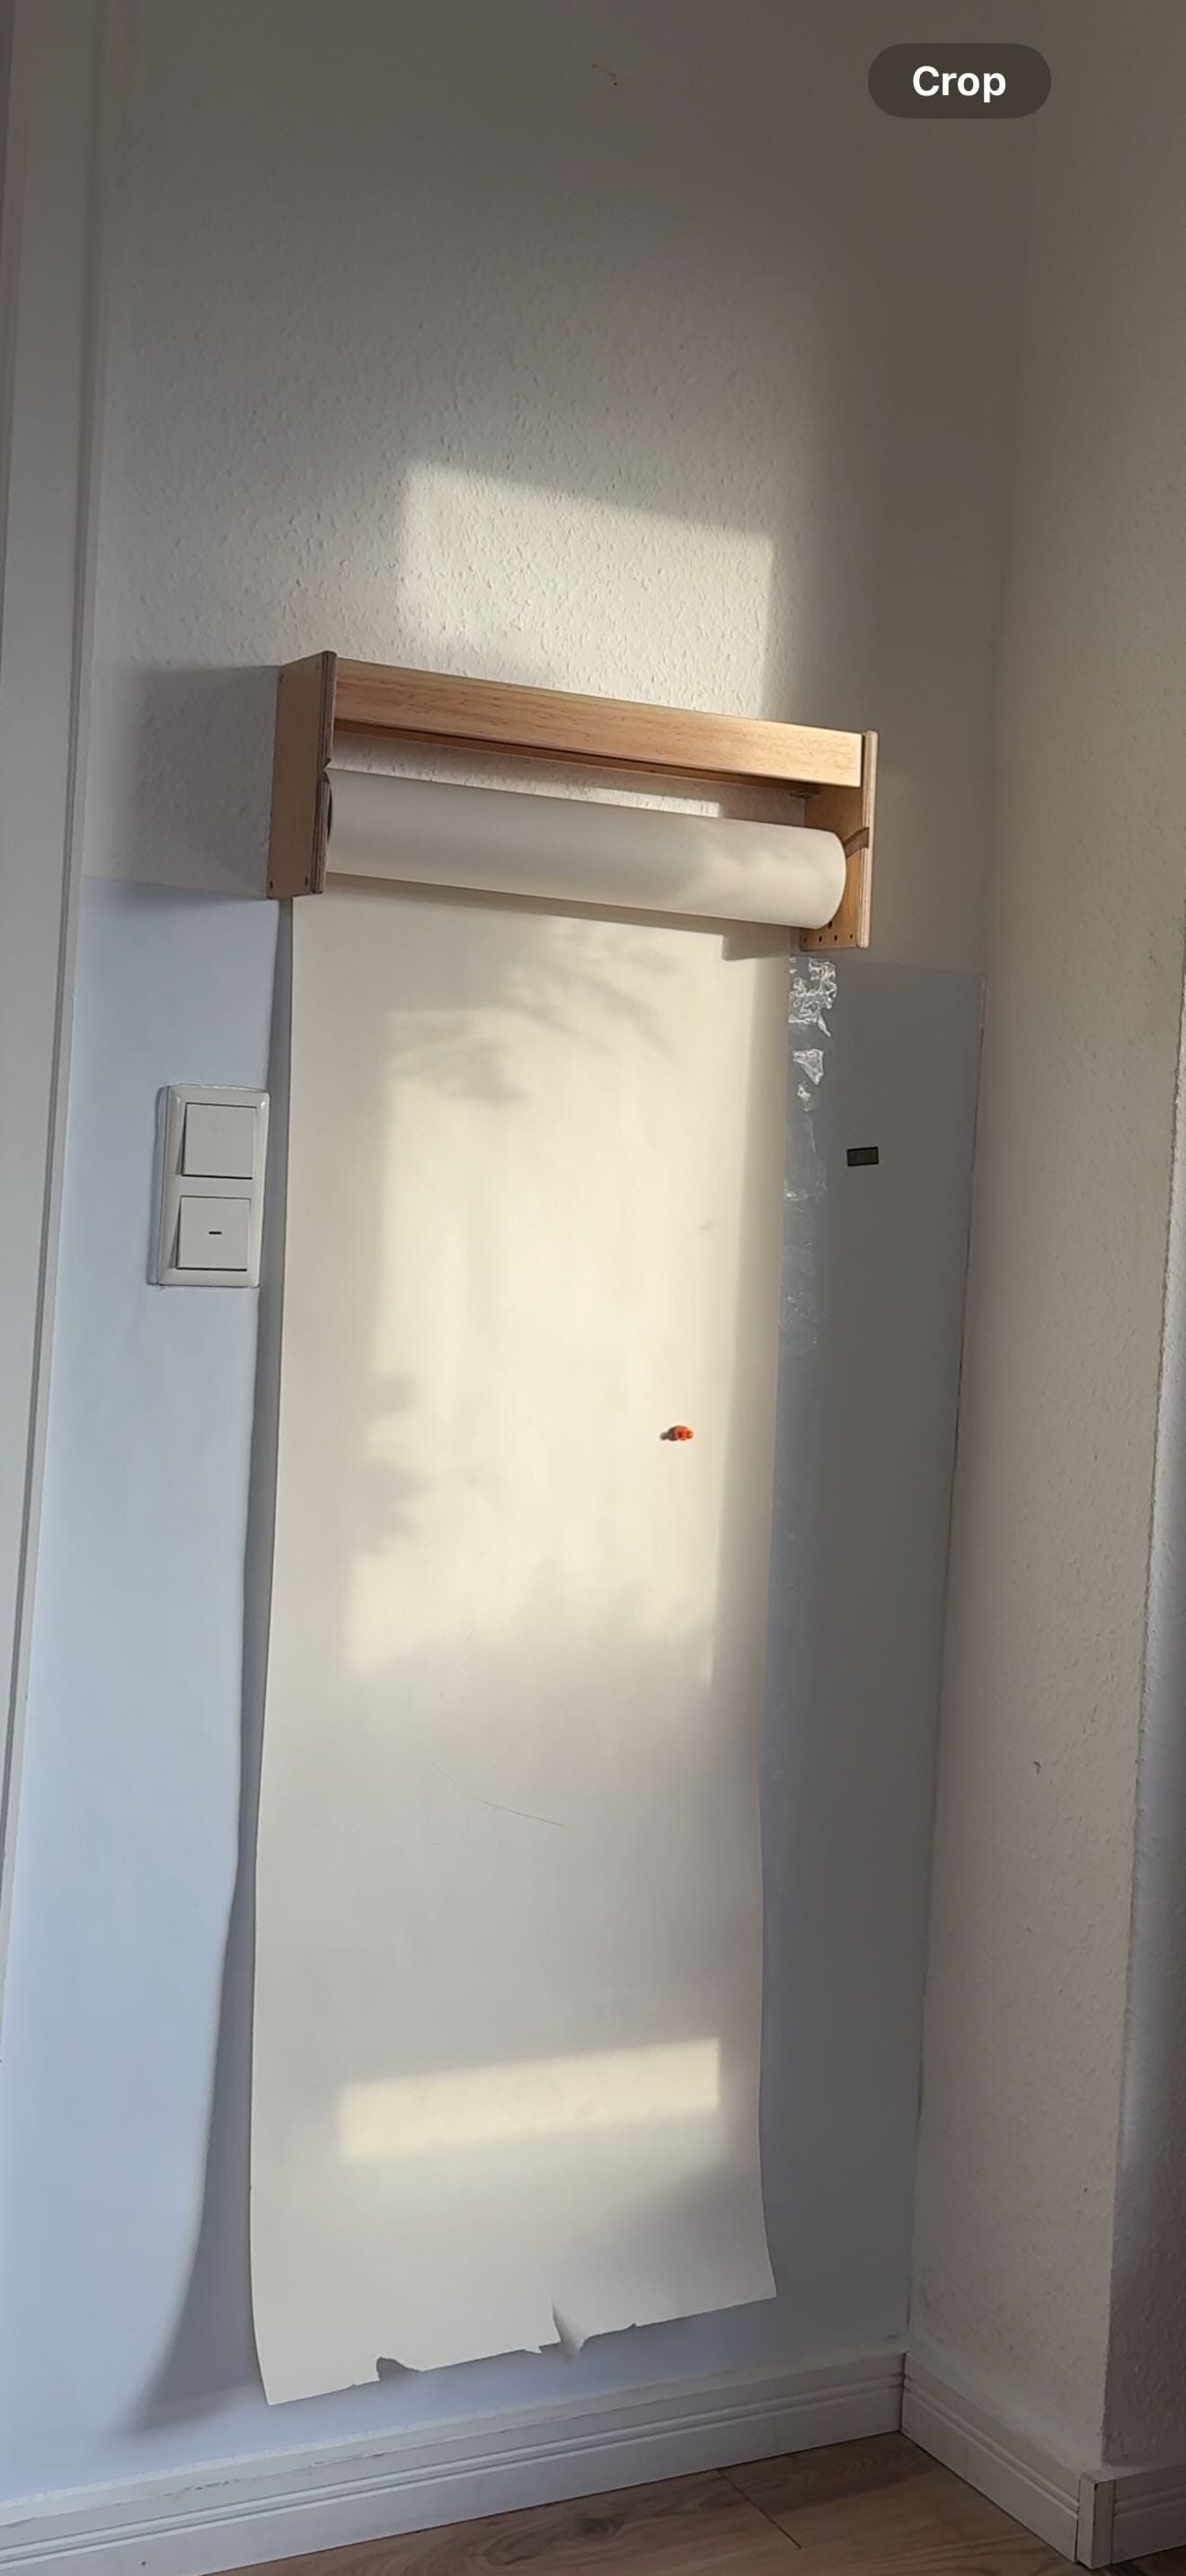
Step 1: Prepare the Base Layer
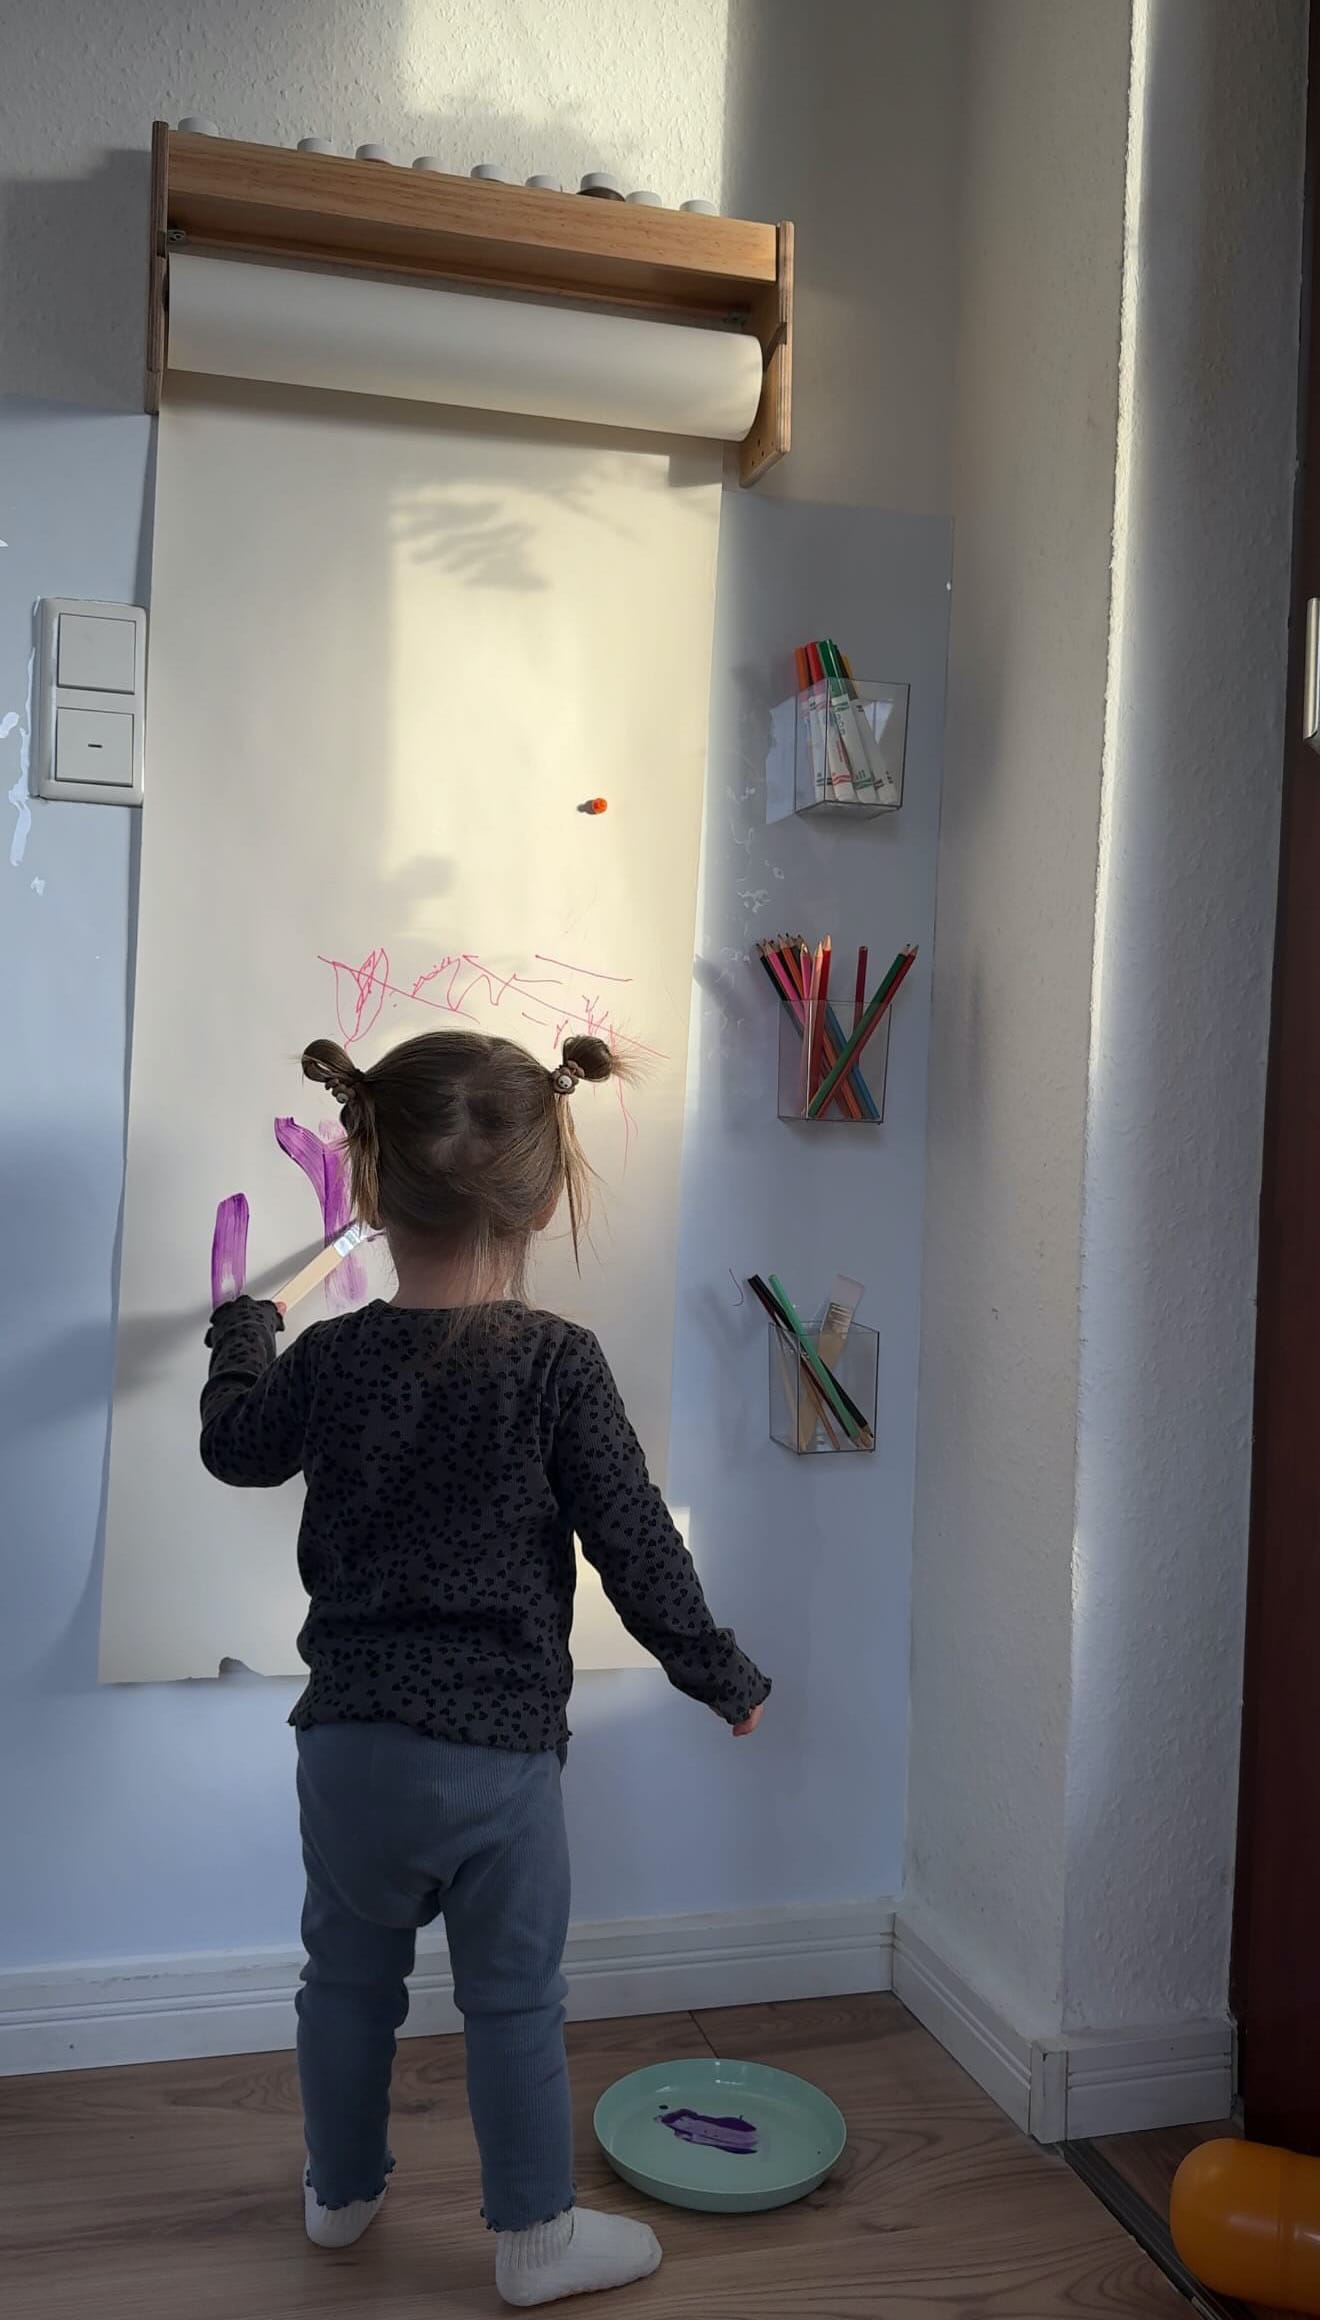
Start by installing a magnetic whiteboard sheet on the wall. This sits underneath the paper roll and serves two purposes: it protects the wall and allows you to use magnetic clips later. Make sure the sheet is wider than your paper roll. For example, our paper roll is 45 cm wide, so we chose a 70 cm wide magnetic sheet to give enough room on both sides.
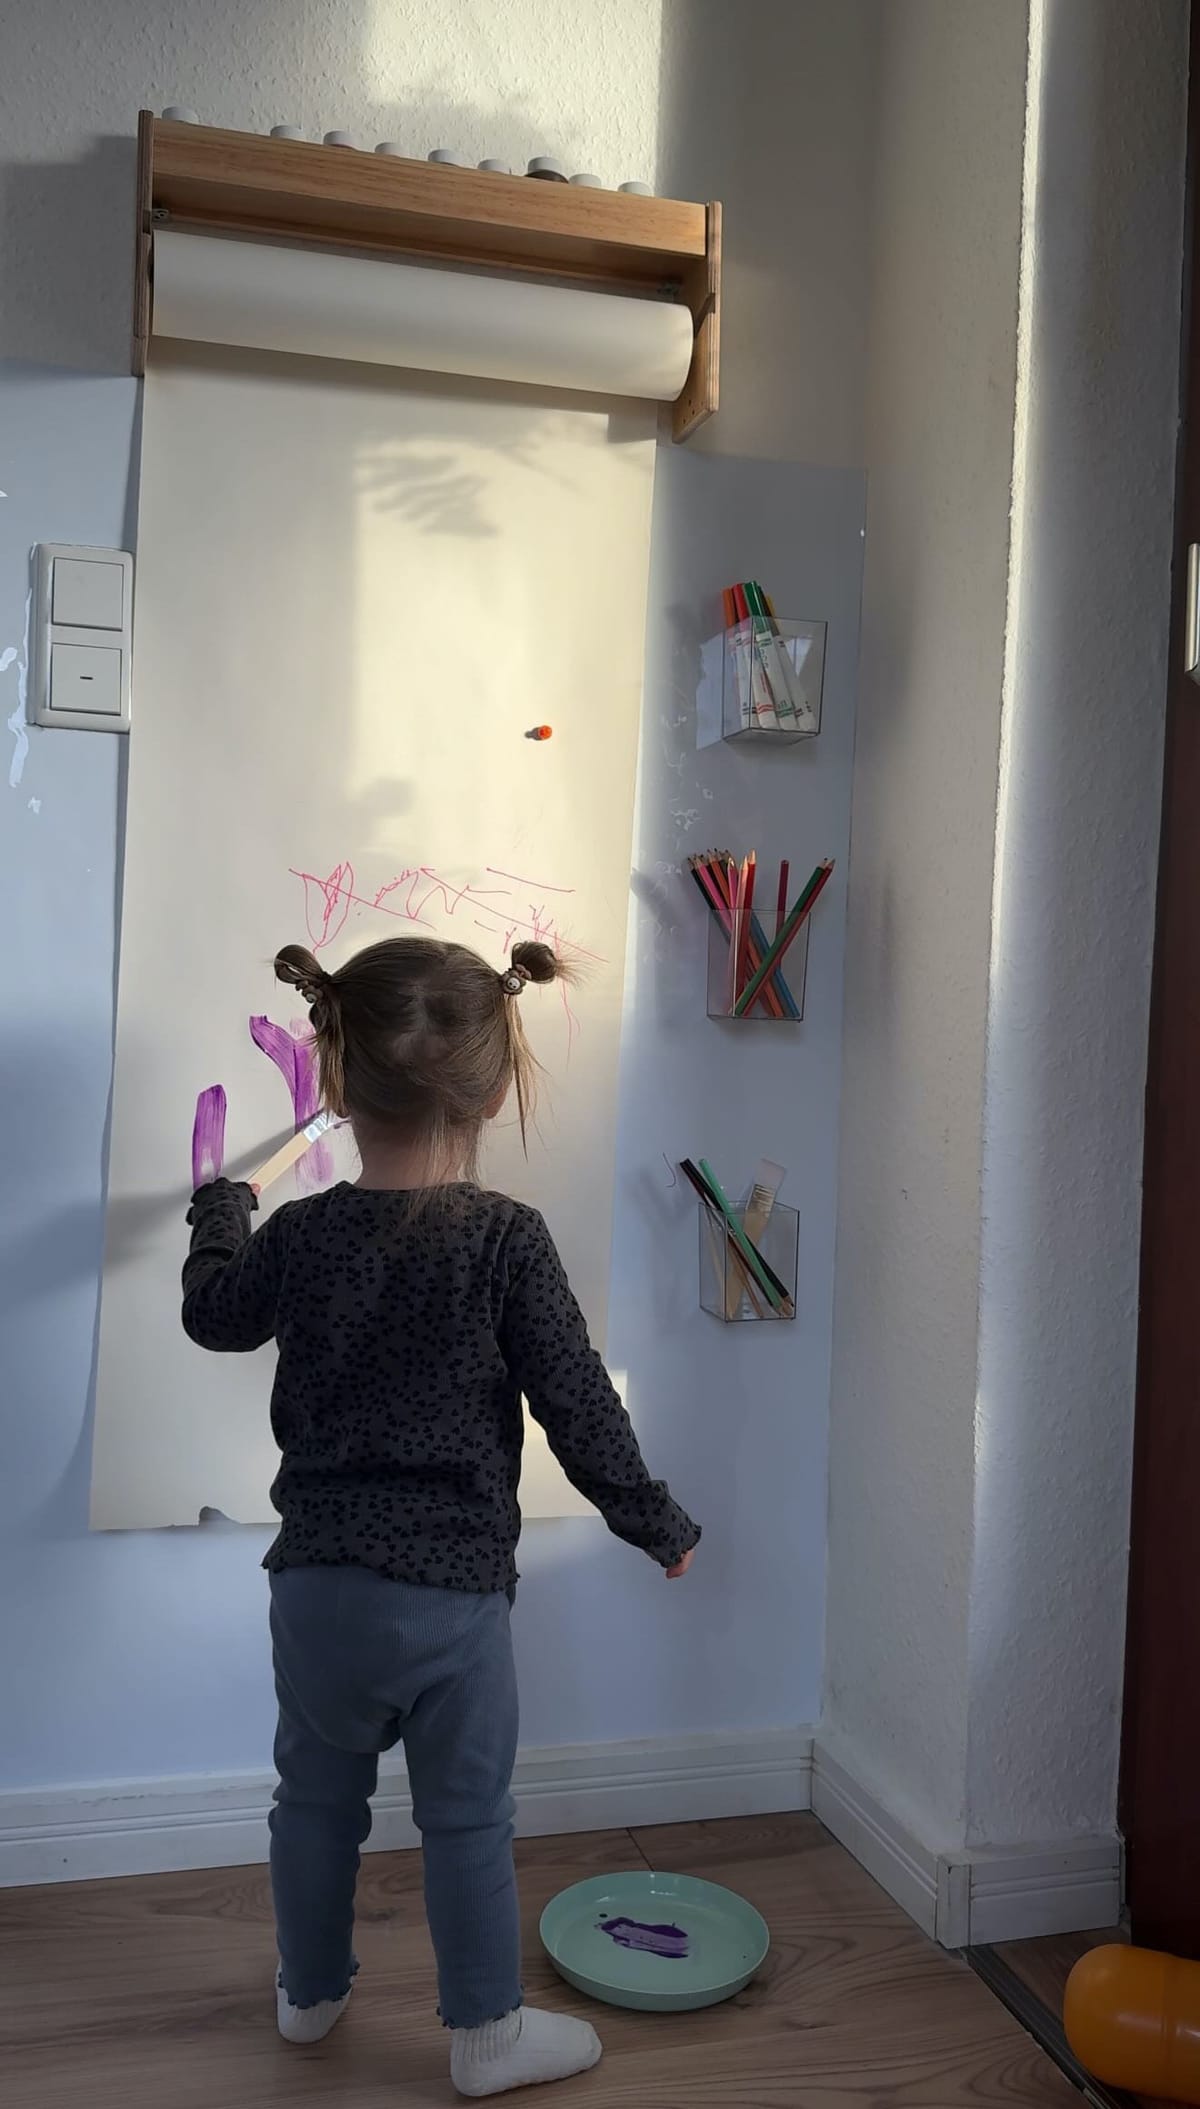
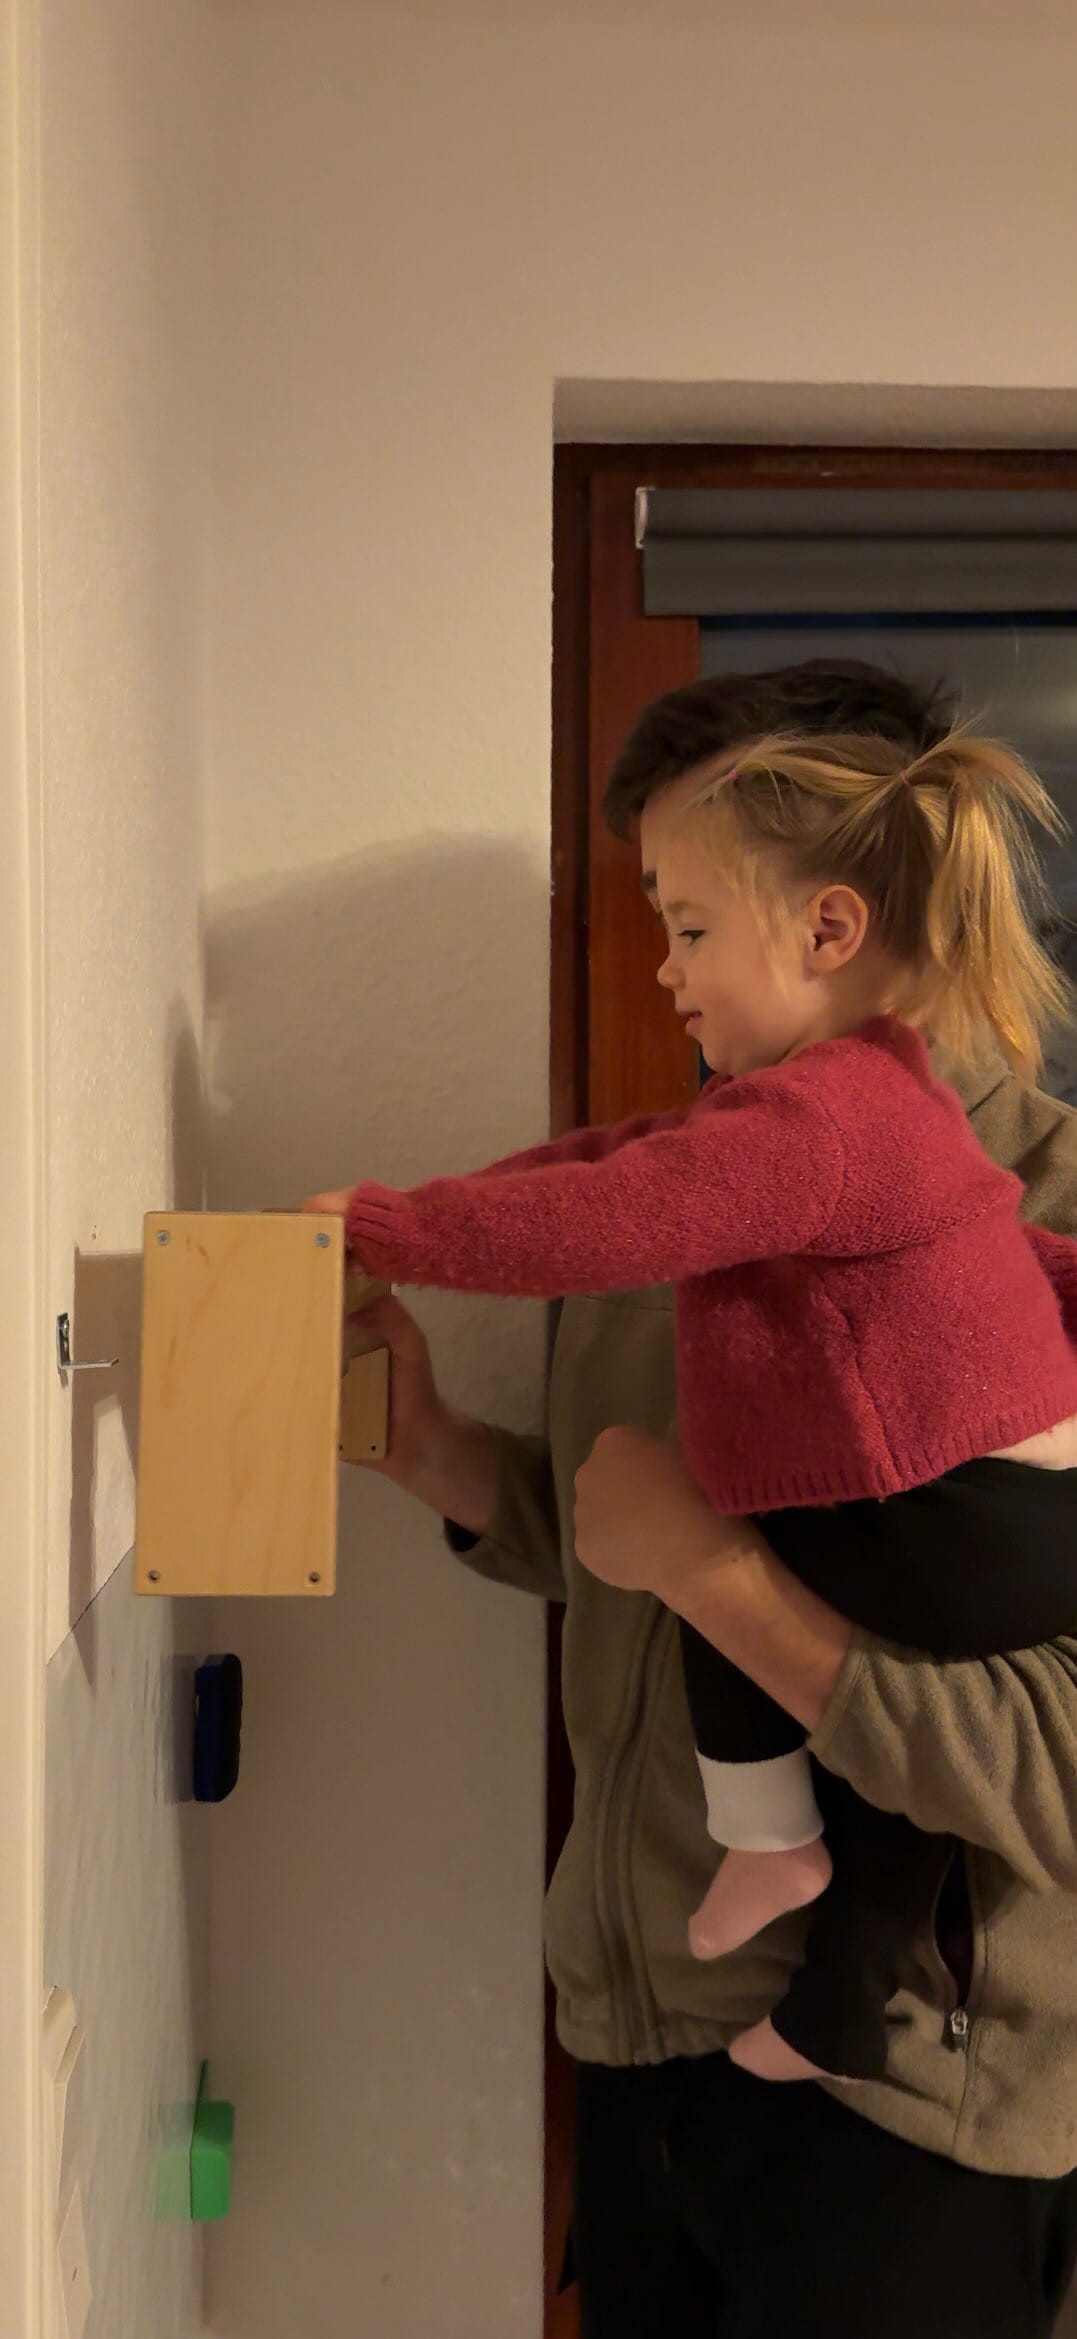
Step 2: Install the Paper Roll Holder
Next, attach the IKEA MÅLA paper roll holder to the wall. We secured ours using small L-shaped brackets on each side to keep it firmly in place. The MÅLA holder comes with a red cutting edge, but we chose not to attach it so the paper could hang freely without interruption. When it’s time to cut the paper, scissors work perfectly and keep things simple.
We installed the paper roll holder at around 150 cm high, but this is completely flexible. The ideal height depends on your child’s age and how you want them to interact with the space. The goal is to make it accessible while still allowing the paper to roll down smoothly.
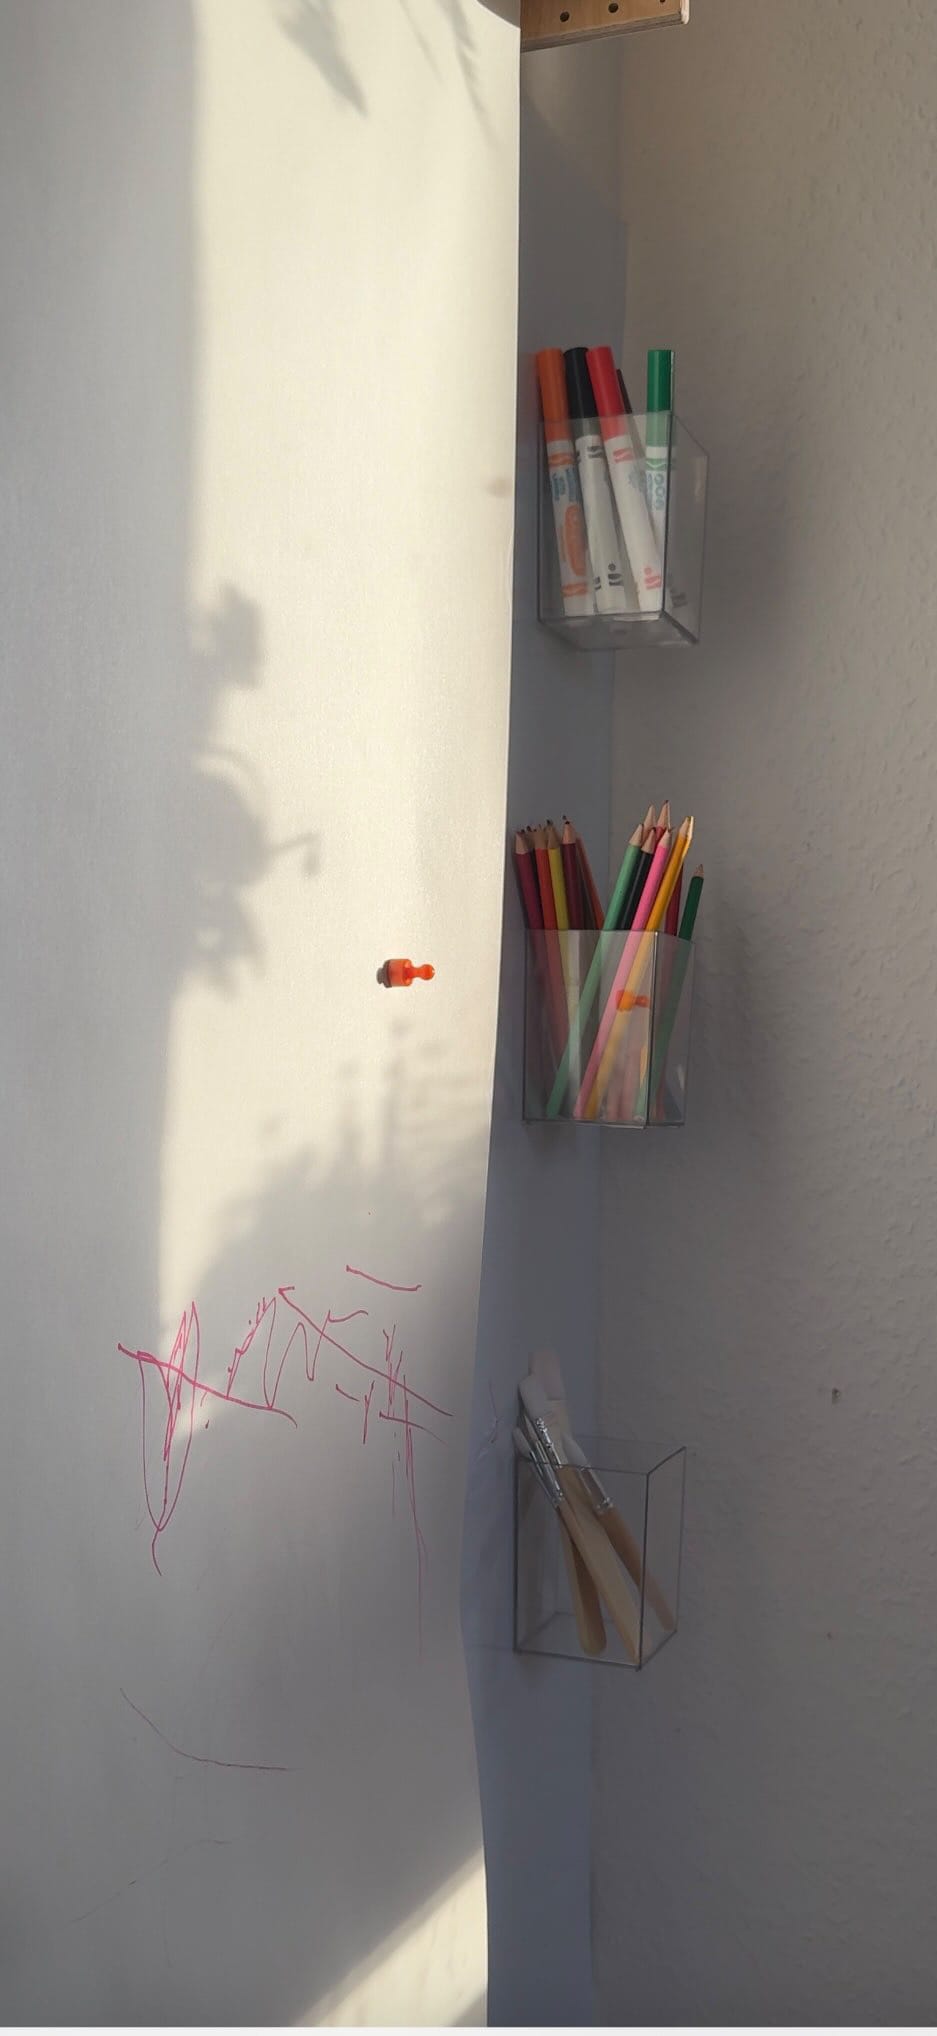
Step 3: Set Up Storage for Art Supplies
To keep everything tidy and within reach, we attached acrylic holders directly to the wall using strong, clear adhesive tape. These are perfect for storing crayons, pencils, and washable markers, and they make it easy for kids to grab what they need without help.
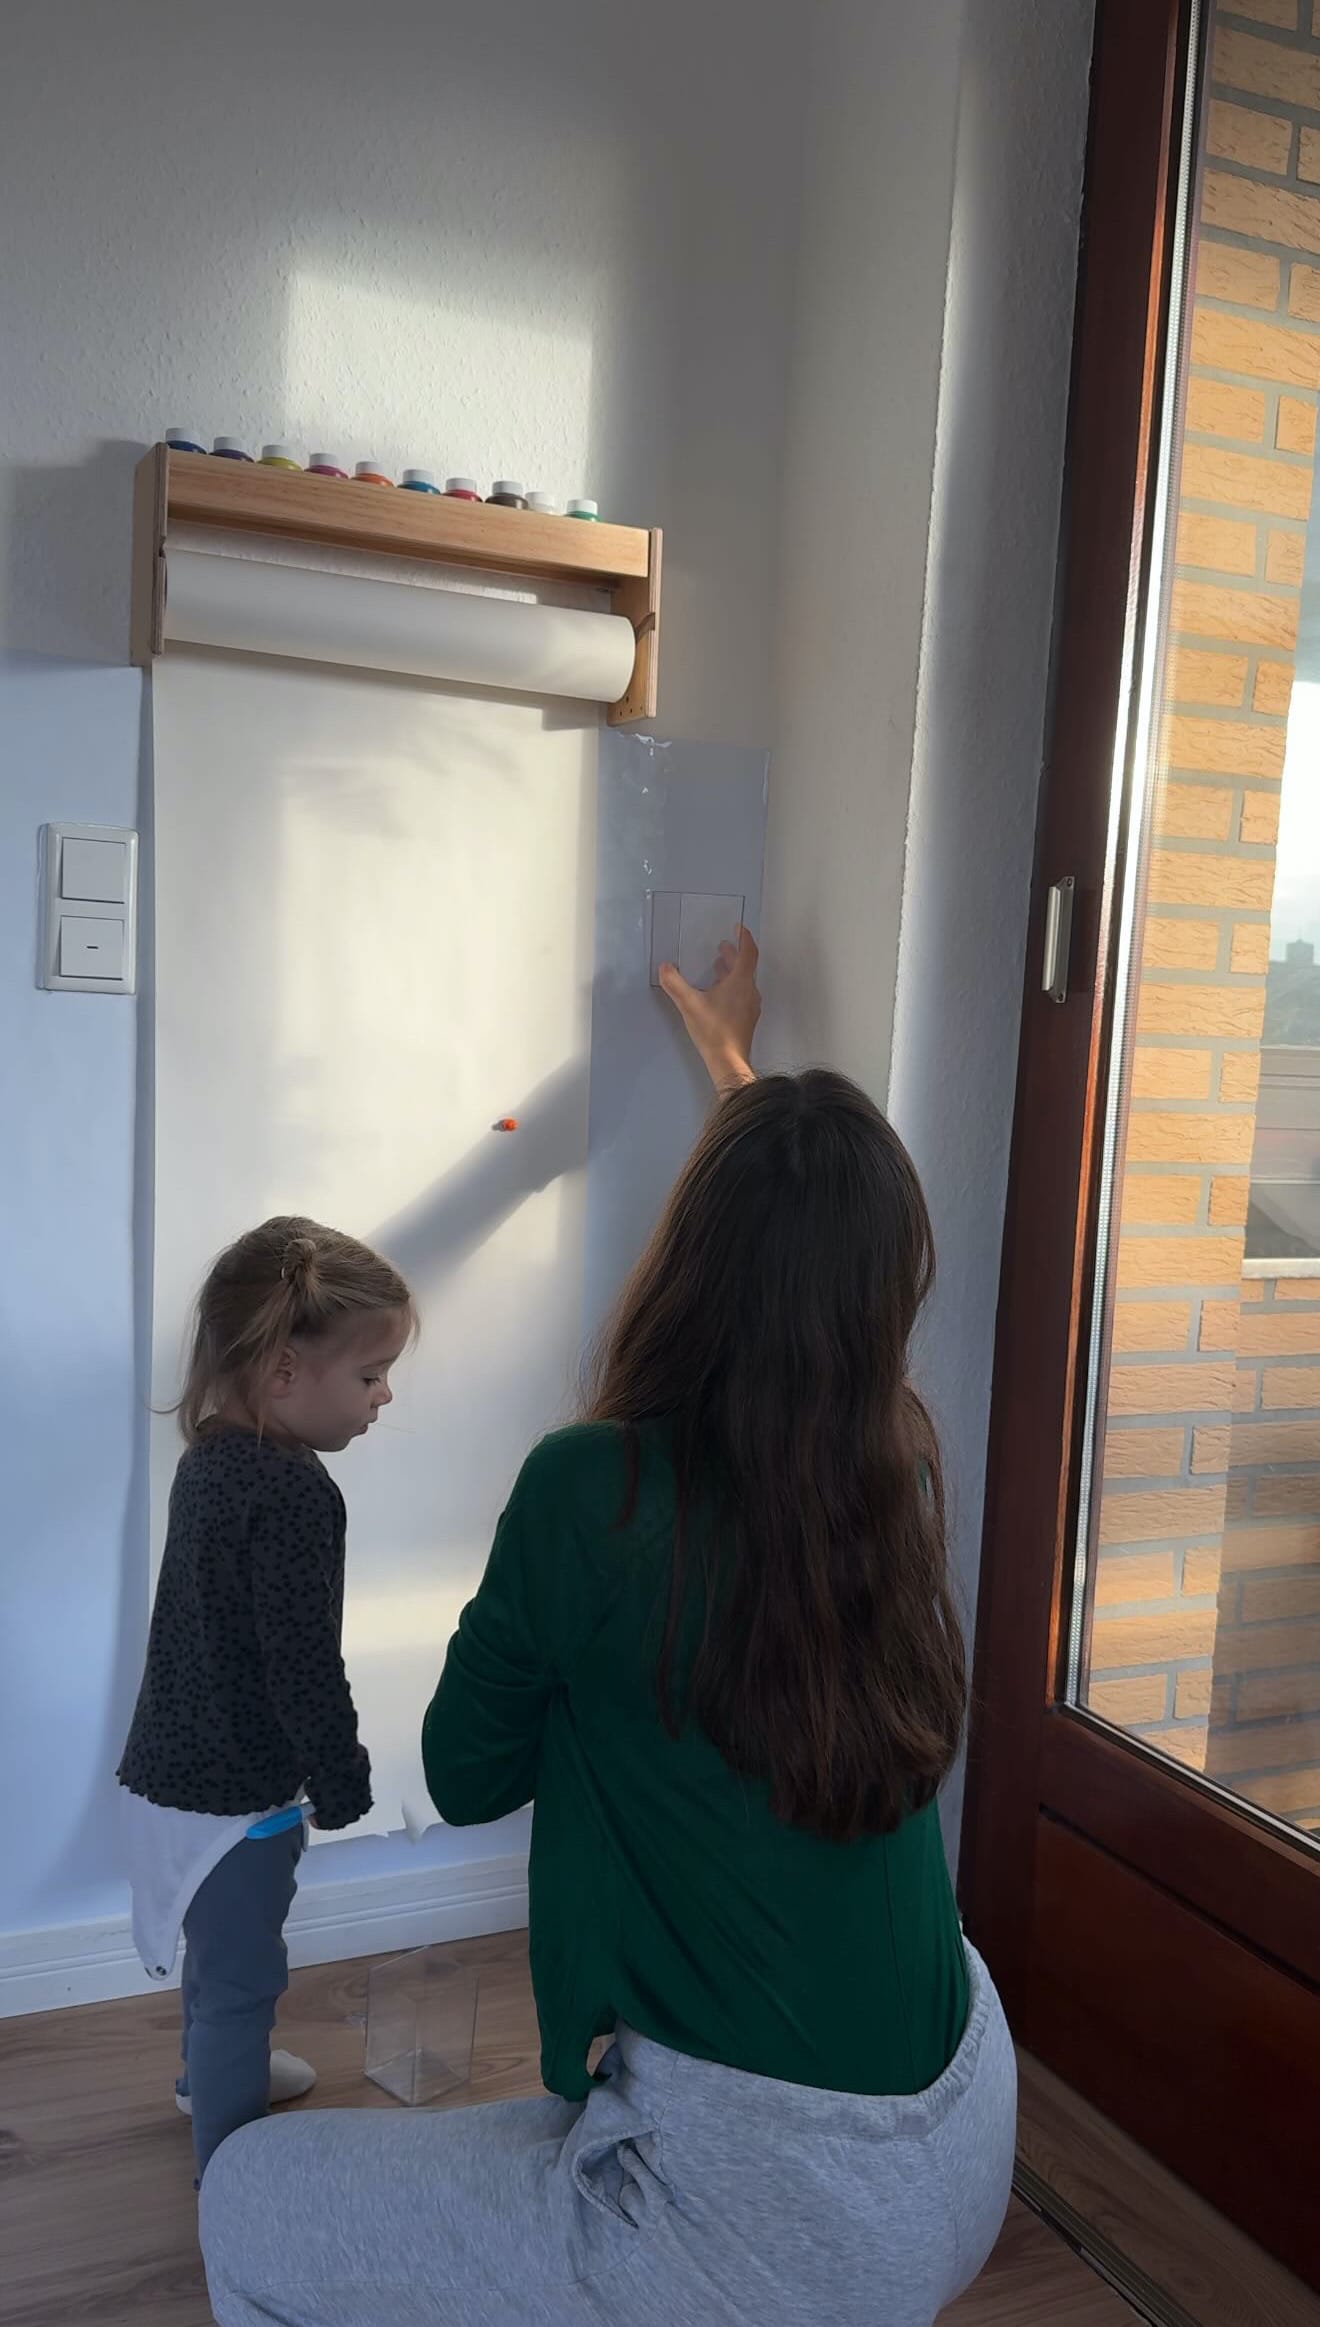
Step 4: Keep the Paper Steady
Magnetic clips are a simple but brilliant addition. They hold the paper securely against the magnetic sheet while your child draws or paints, preventing the paper from curling or moving mid-masterpiece.
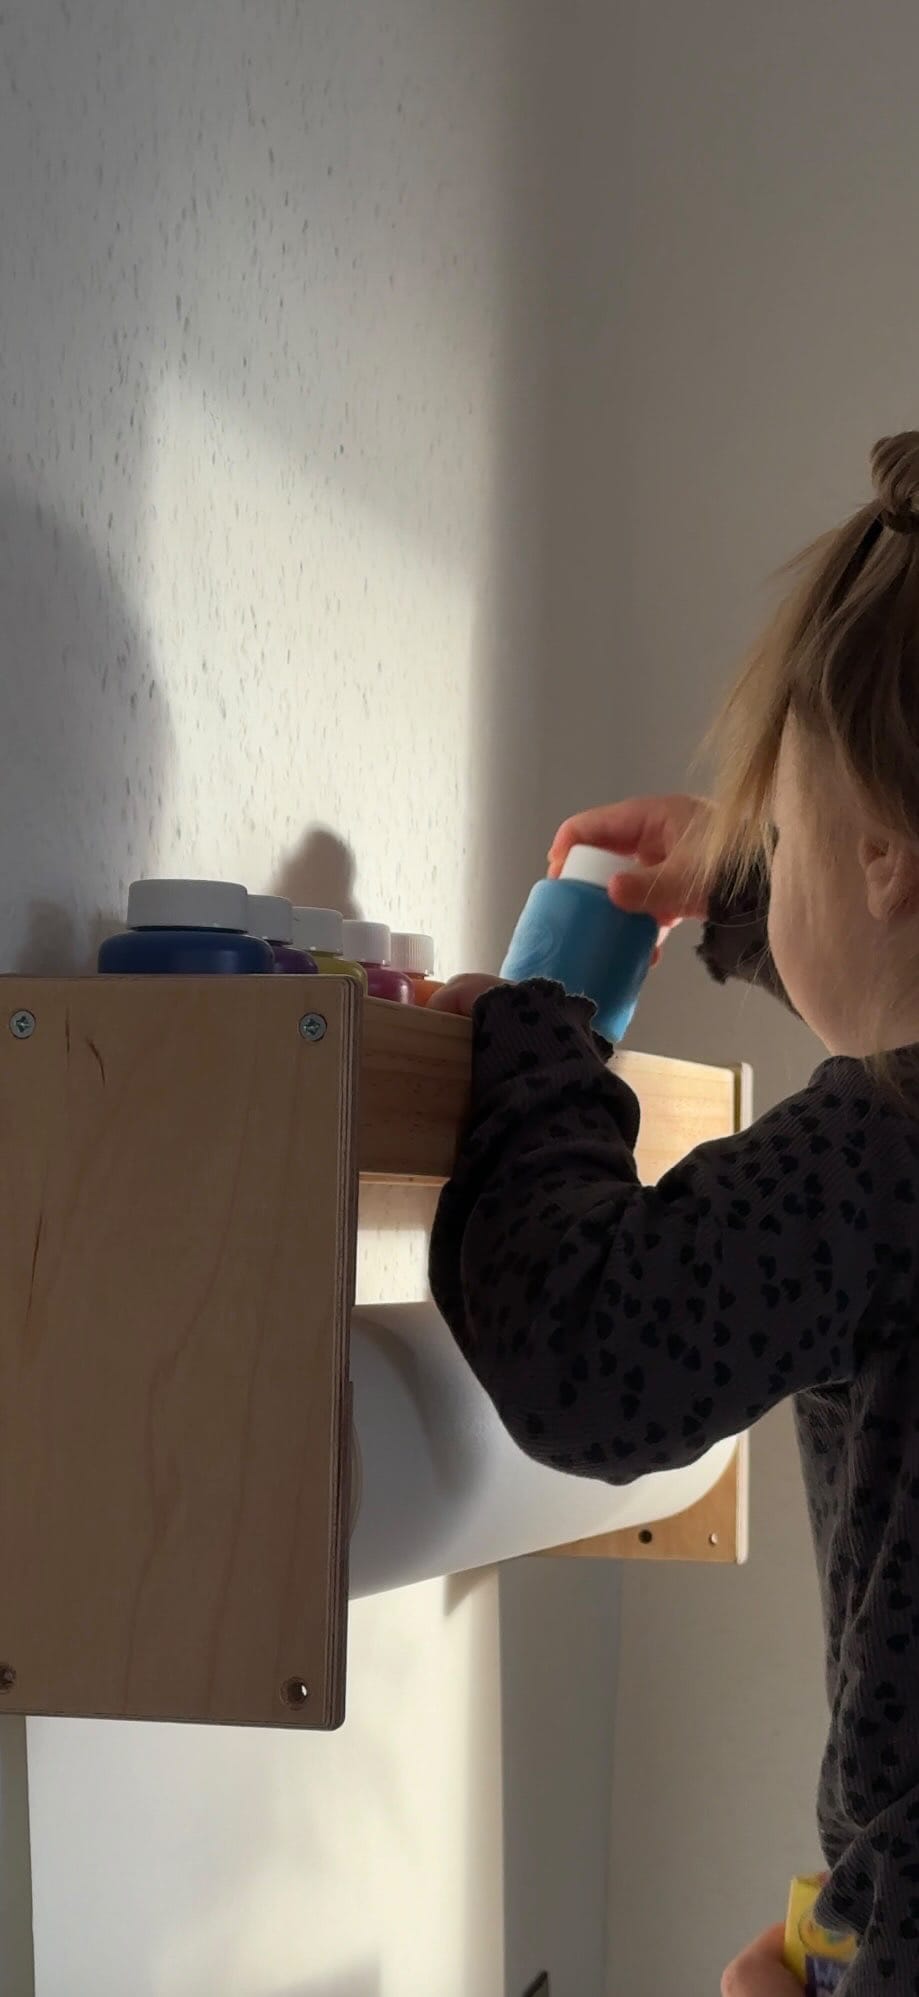
Step 5: Add Easy-Wash Paint Plates
For painting, plastic plates work incredibly well. The ones from IKEA are lightweight, easy to clean, and durable enough for everyday use. Cleanup becomes quick and stress-free, which makes spontaneous creativity much easier to say yes to.
This setup encourages independence, creativity, and mess-controlled freedom. Everything is visible, accessible, and easy to clean, which means kids can focus on creating—and parents can relax knowing the space is practical and contained. It’s also adaptable. As your child grows, you can adjust the height, change the supplies, or expand the setup without starting from scratch.
Creating a creative corner at home doesn’t have to be complicated or expensive. With a few smart choices and simple materials, you can design a space that inspires imagination, supports artistic growth, and fits beautifully into your home.
This little corner has become one of our favourite spots—proof that small DIY projects can make a big difference in everyday family life.

Creator: Victoria
Instagram: @victoriachiorescu