
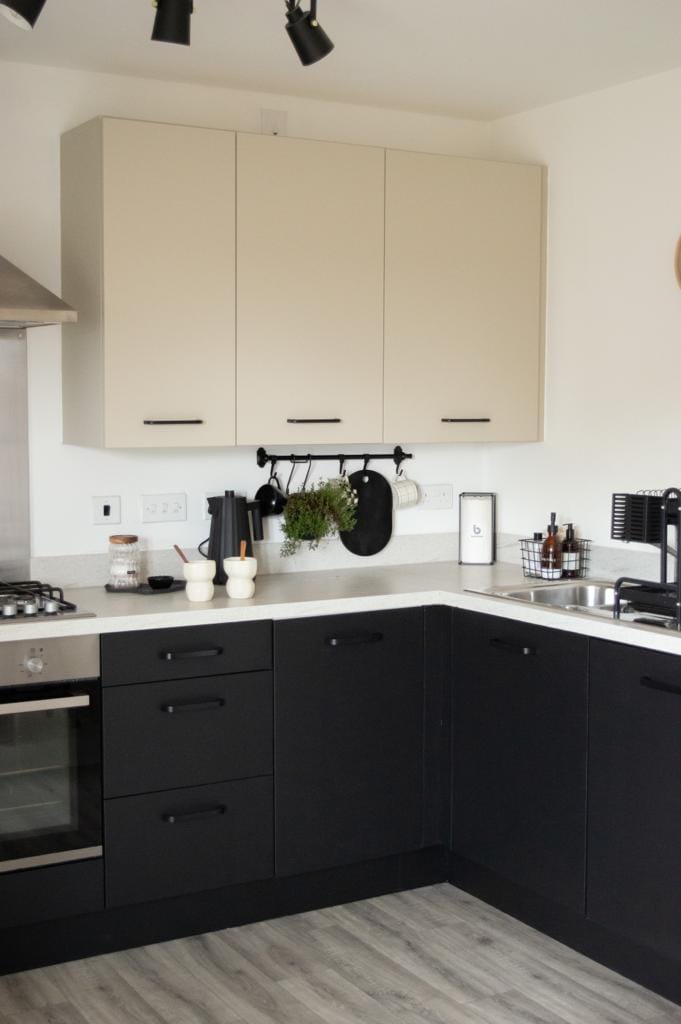
Showing off the power of paint!
Whether your existing kitchen is not to your taste, it's in need of a bit of TLC or you just fancy sprucing it up a little - you can paint it, and completely transform it at a fraction of the cost of a brand new fitted kitchen!
I Used:
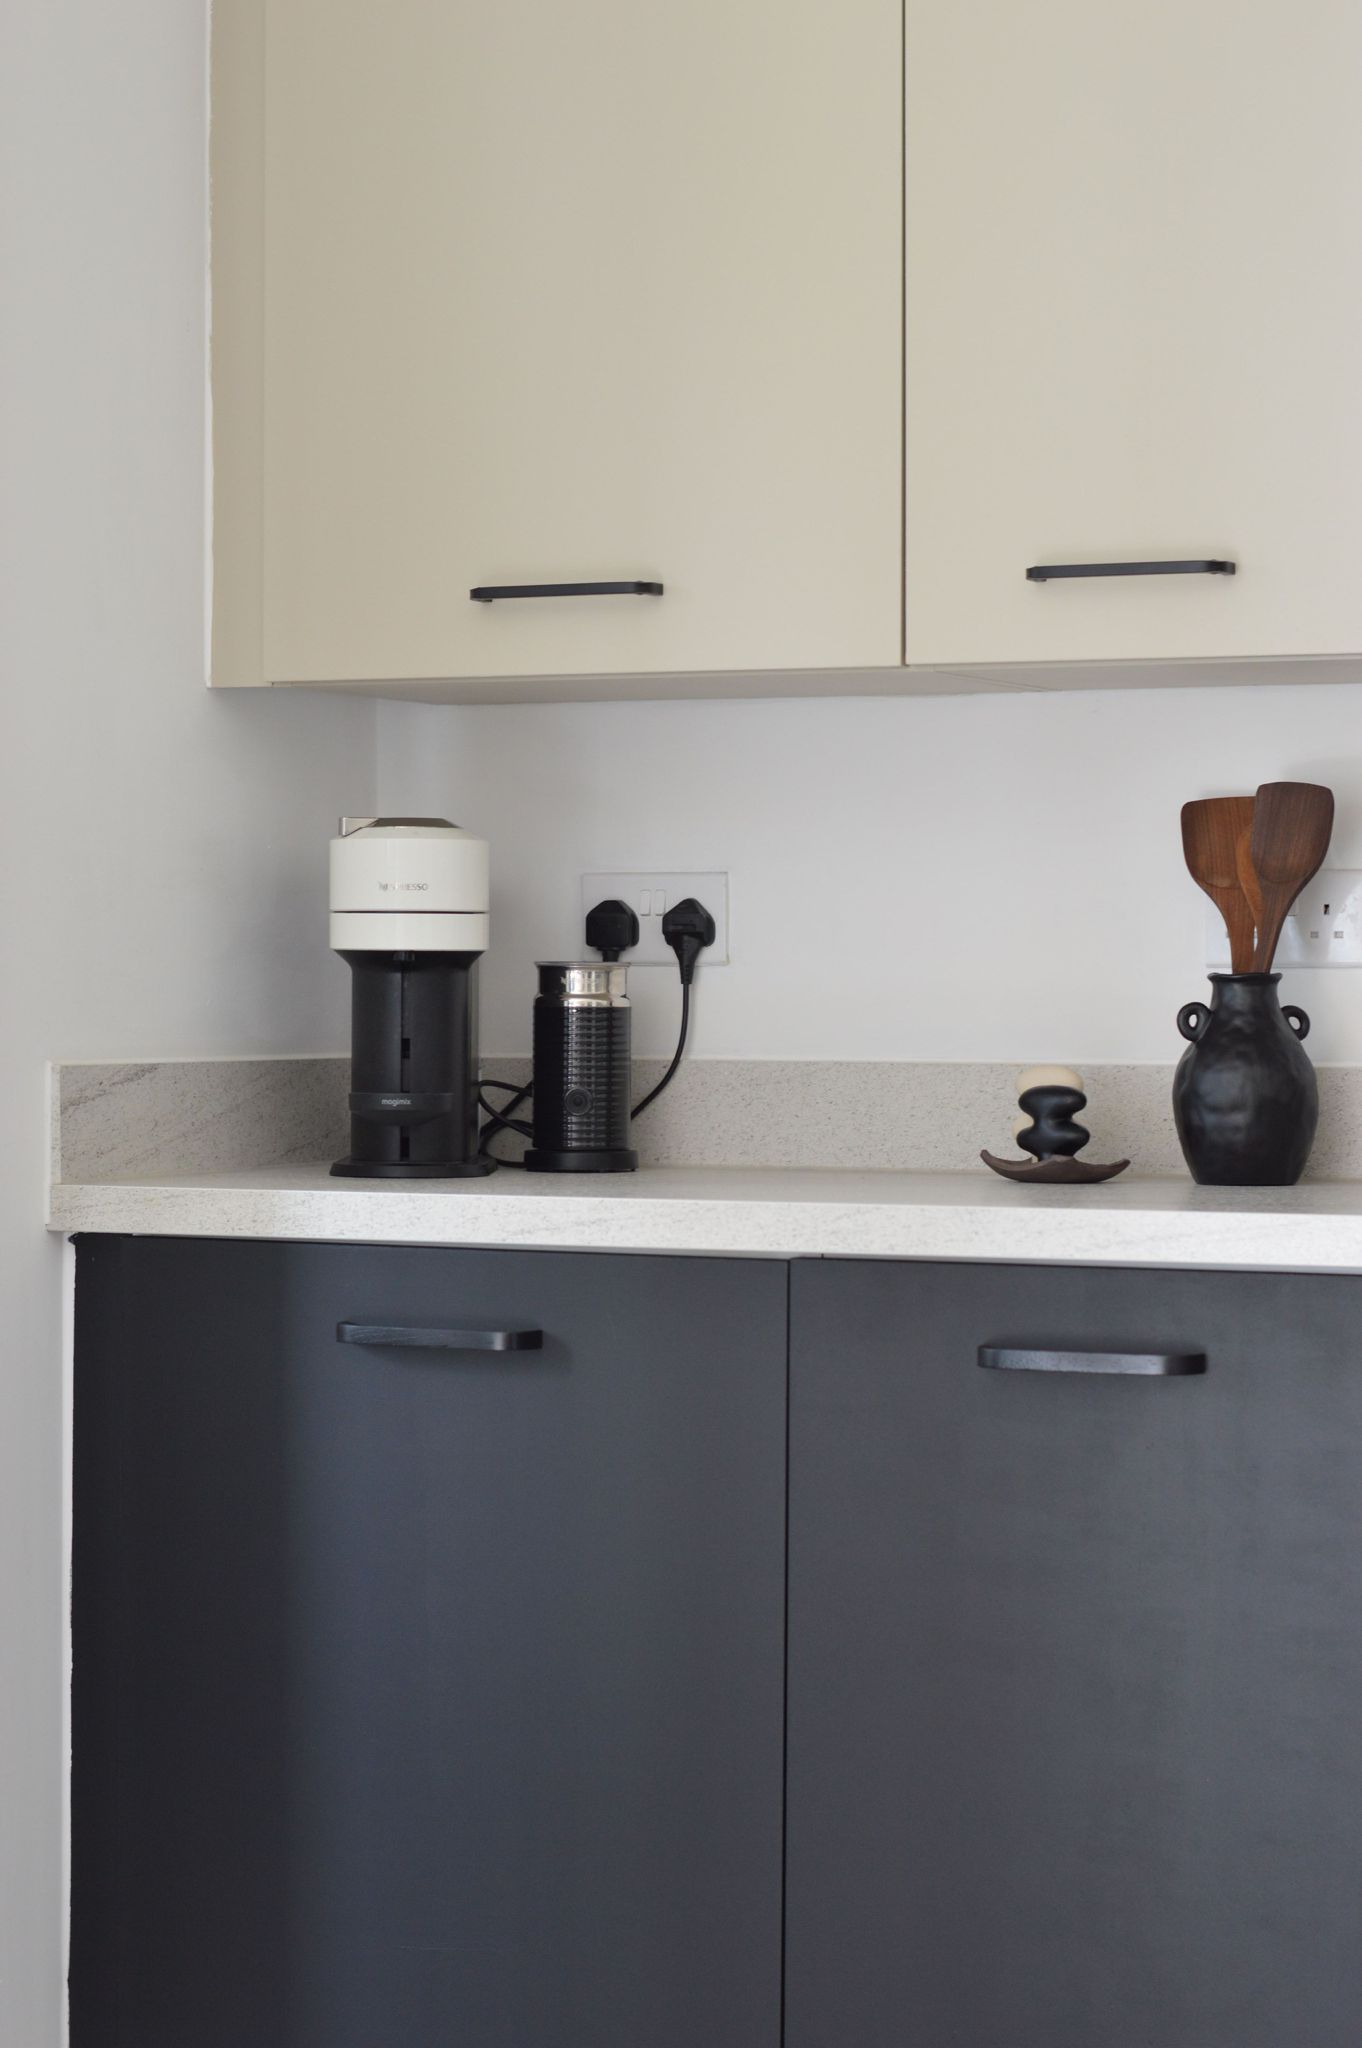
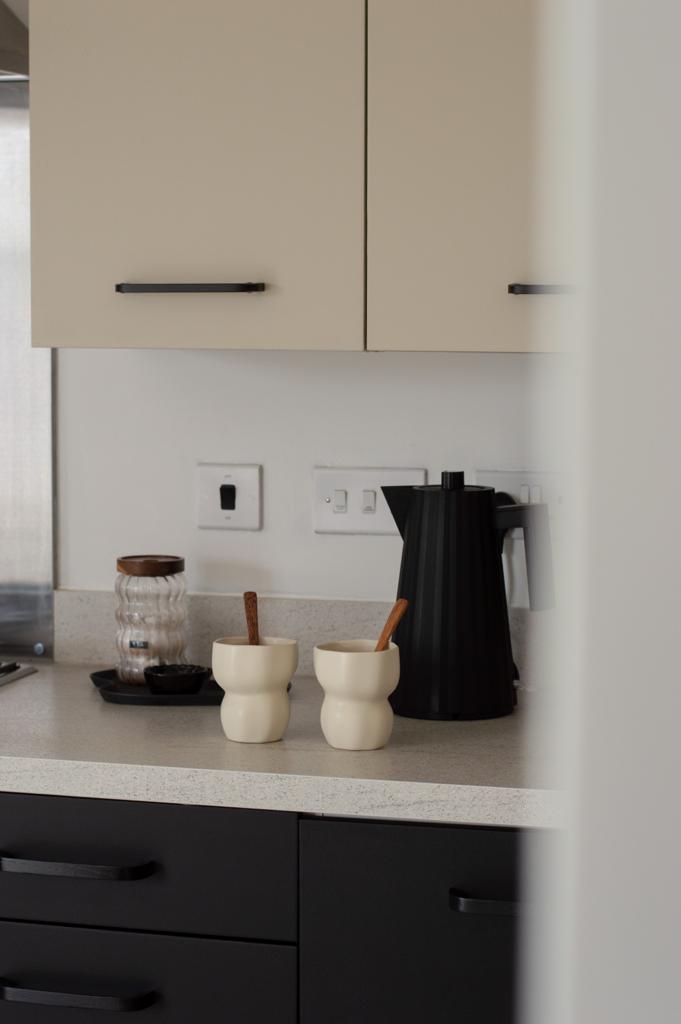
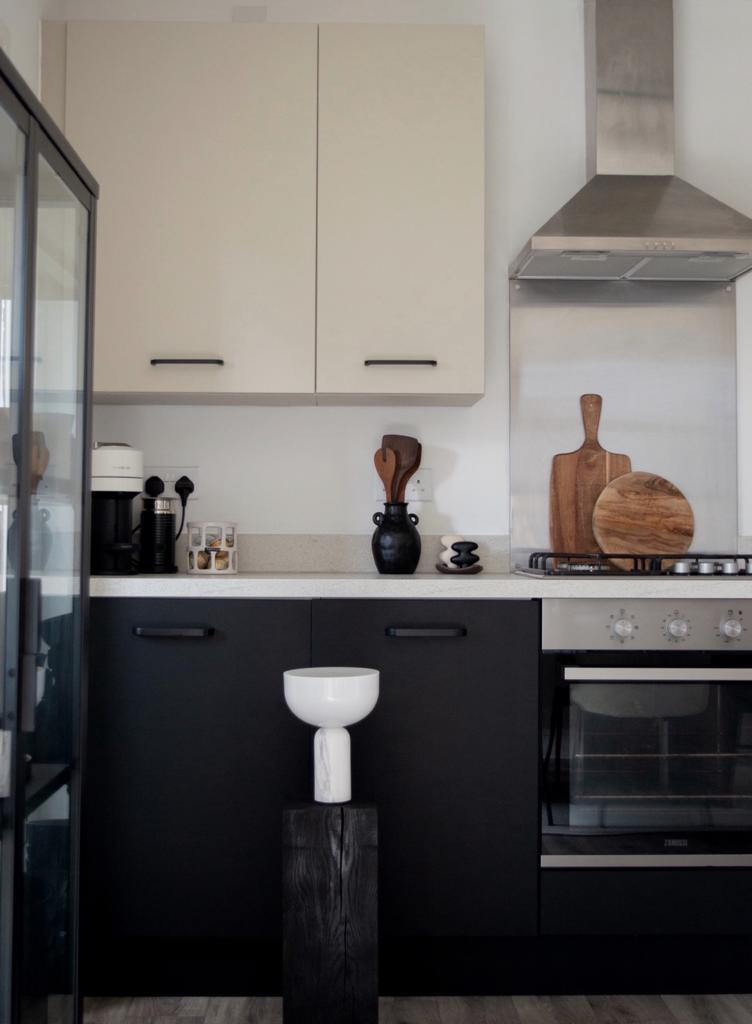
~ Top Cupboards - Rust-Oleum Silver Sage
~ Bottom Cupboards - Rust-Oleum Charcoal Black
~ Wooden Handles - Rust-Oleum Matt Black All-Surface Paint Spray
The coverage and drying time was unbelievable, meaning I could get this done and finished, in one day!
With such great coverage I only used 1 1/2 x 750ml Charcoal Black and 1x 750ml of sage equating to only £75 for the whole kitchen and utility room.
How I did It:
- Clear your kitchen so everything is tidily out of the way. Cover the flooring with plastic sheeting (you can pick this up from Amazon for £2), and masking tape along the flooring so you don't get any paint on the floor when painting the kickboards.
- Clean down the kitchen surfaces and cupboards and dry thoroughly.
- Remove all bottom kitchen handles and doors - use a simple hand-held screwdriver for speed, to remove the handles, and the doors from their hinges.
- Lay all doors on to the plastic sheeting and lightly sand each (my kitchen cupboards were white high-gloss previously).
- Remove any excess debris from sanding.
- Use a small roller frame with a short pile mohair roller sleeve.
- Rustoleum do a really good 'Ready to Roll' accessories kit which includes everything you need if you don't already have it.
- Stir your paint thoroughly and add to roller tray.
- Apply a thin coat to each door and wait to dry. I did a second coat about 1 hour after.
- Give additional drying time, 2-3 hours - Whilst you're waiting for the doors to dry, you can begin painting the kickboards and kitchen carcass framework (you do not have to do the latter - I only did it because I didn't want to see any white behind the black doors). Two coats.
- Carefully turn the doors over and repeat the process.
- Apply the paint to the edges of the doors.
- After drying time is complete, re-attach the doors.
- Repeat the process with the top cupboards.
- Use a plastic sheet outside (if possible) and apply spray to handles (if you wish to change these too) - Two coats - make sure you only apply thin layers and leave to dry for at least two hours in between.
- Leave to dry overnight and reattach handles.
- Apply any touch ups - you can always roll over the doors again when they have been reattached to get the perfect finish if required.
I hope you like this DIY and good luck!
Don't forget to share your creations on social media!
Happy creating!
Love, Nicola.