
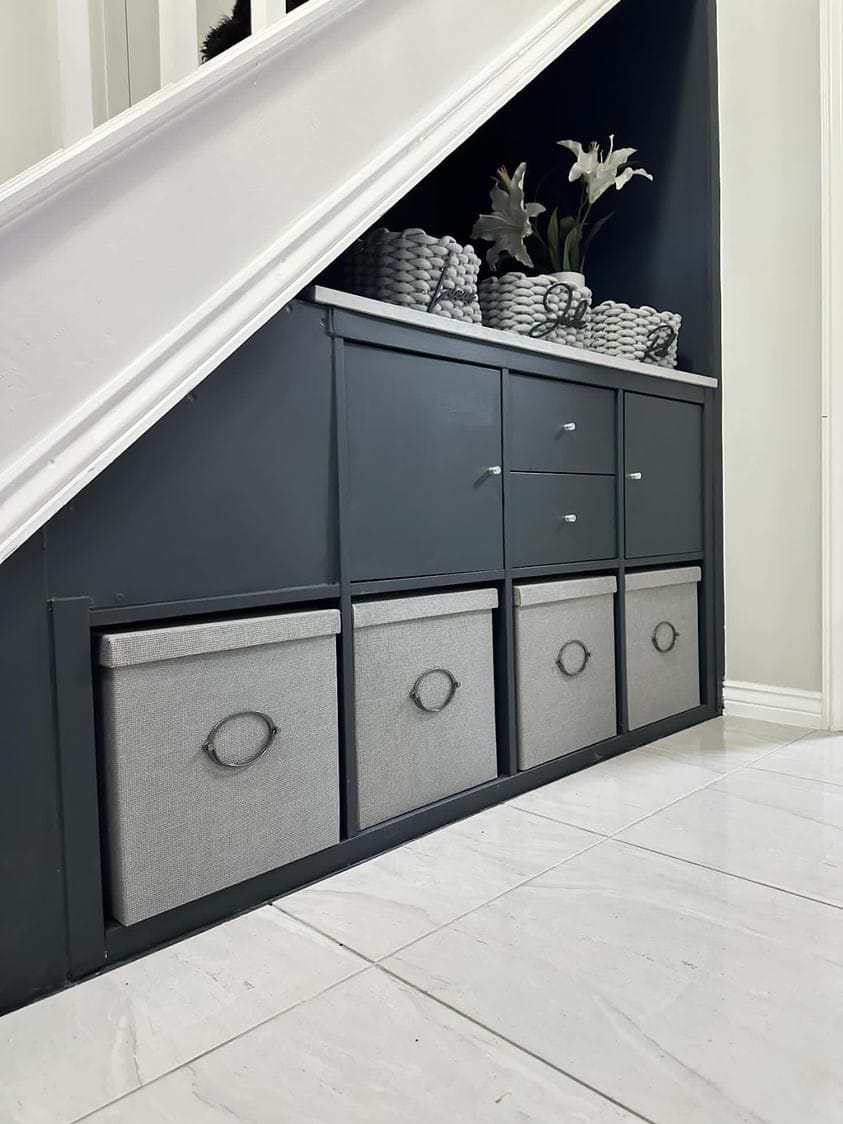
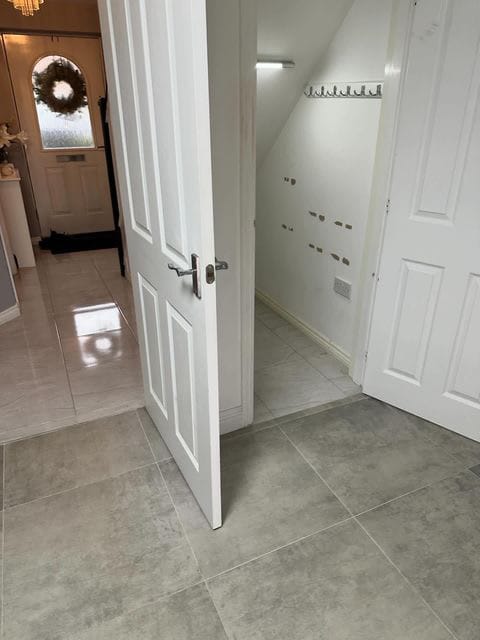
Looking to make the most of the space under your stairs without spending a fortune? Today, Jade will show you how she turned her under-the-stairs area from overlooked space to functional storage for just £242, compared to the hefty £1600 professional quote. With a little creativity and effort, you also can achieve amazing results without breaking the bank!
Follow along as she takes you through the process step by step
Materials You'll Need:
- Jigsaw
- Pax wardrobe (or similar)
- Kallax unit (or similar)
- Wood for backing
- MDF boards
- Vinyl wrap
- Kitchen cupboard paint
- Orbital sander
- Wood plinth
- Decorators caulk
- Primer and paint
- Doors and storage boxes
Step-by-Step Guide:
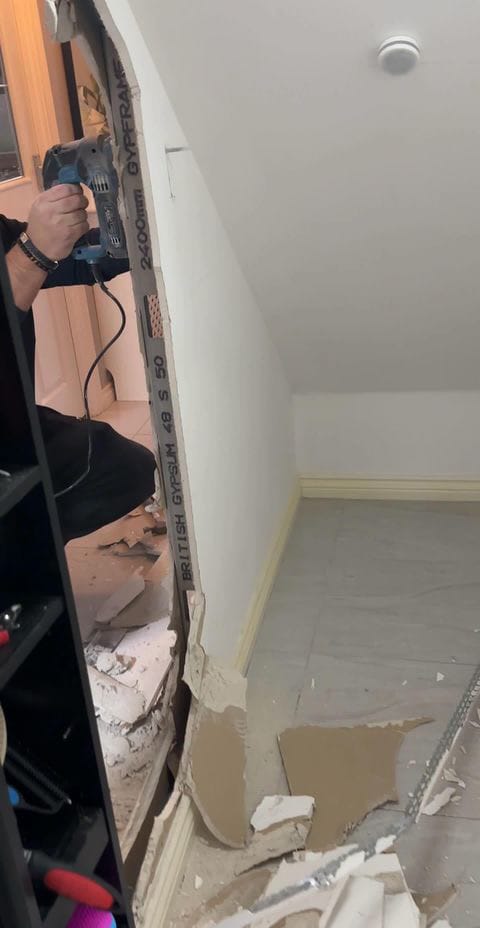
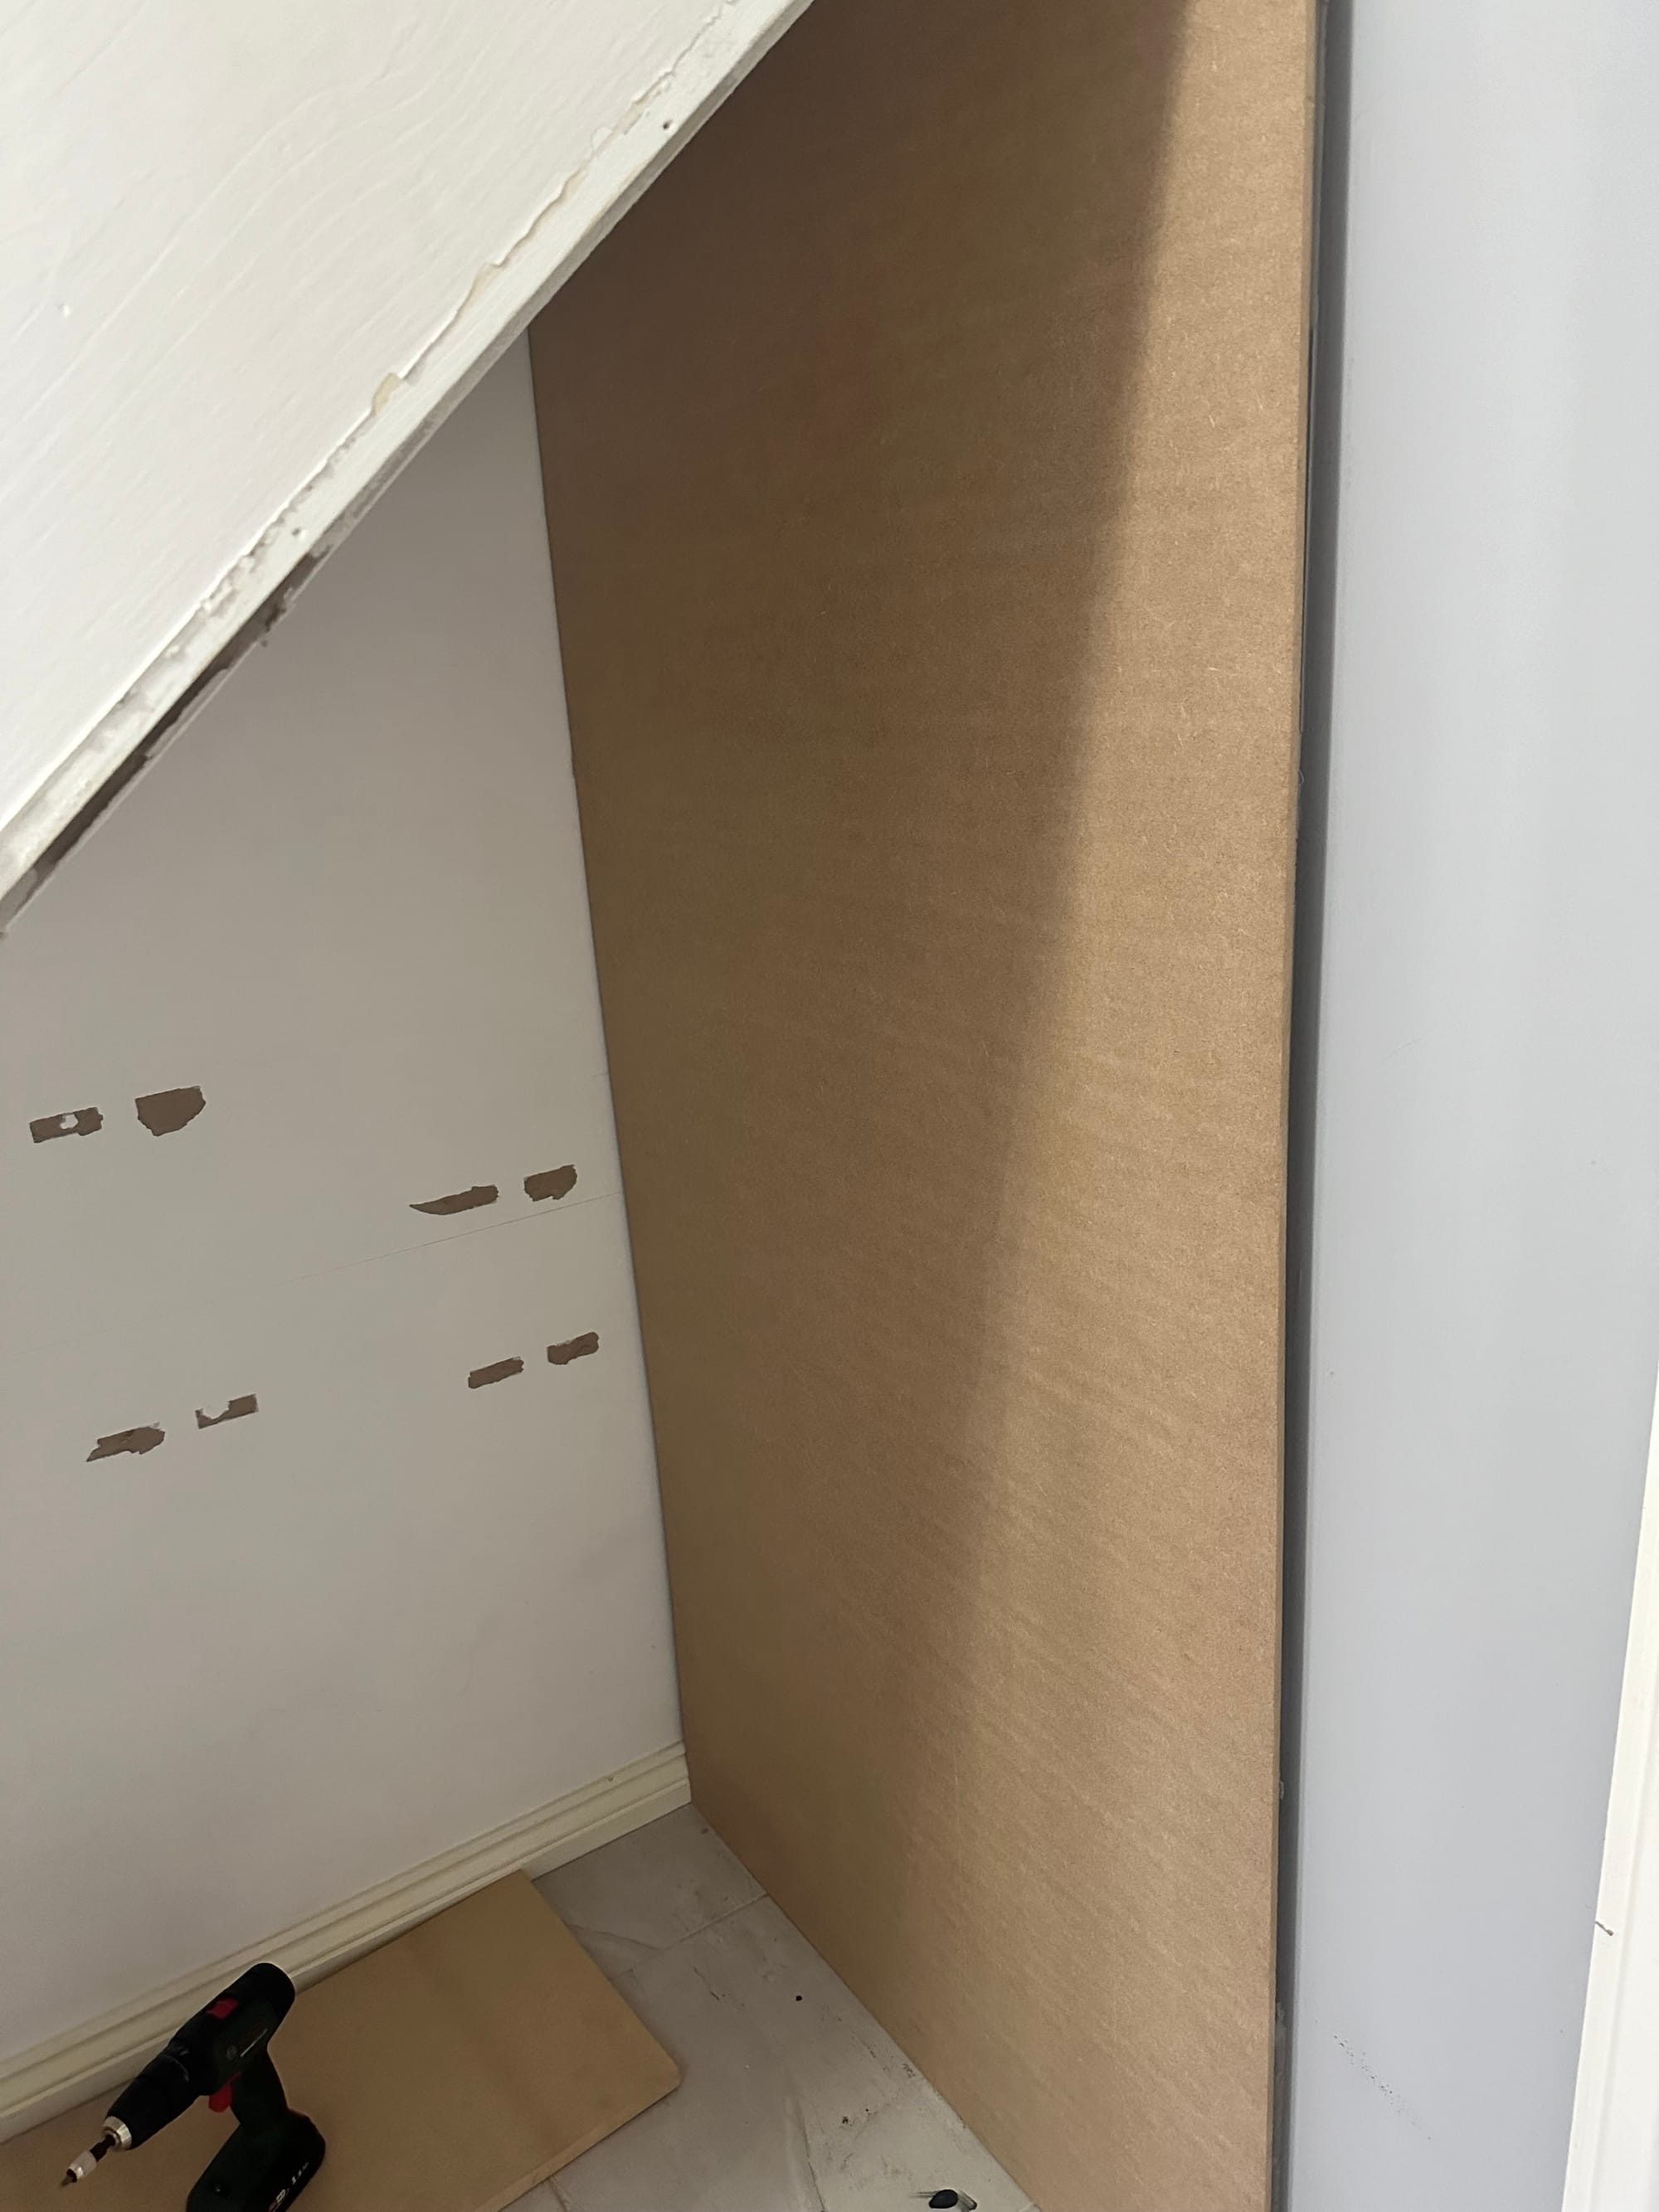
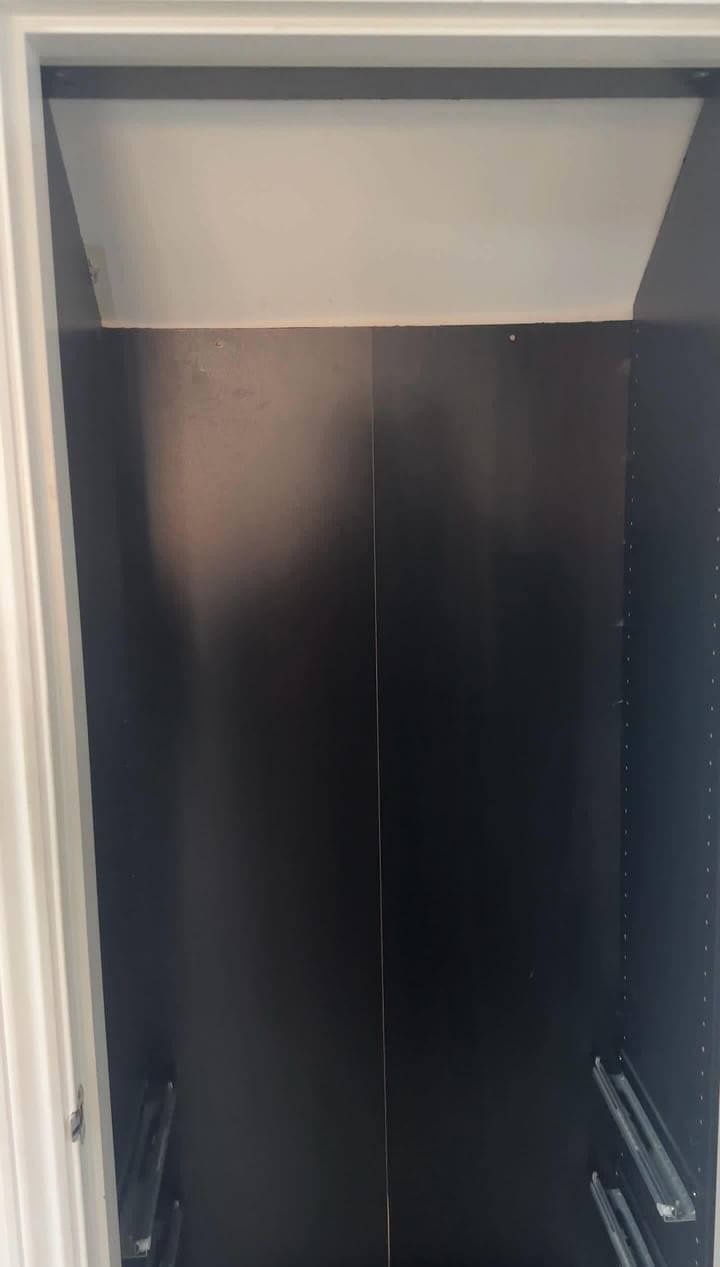
1) Cutting out Plasterboard:
Using a jigsaw, carefully cut out the plasterboard under the stairs, ensuring there are no supportive structures in the way.
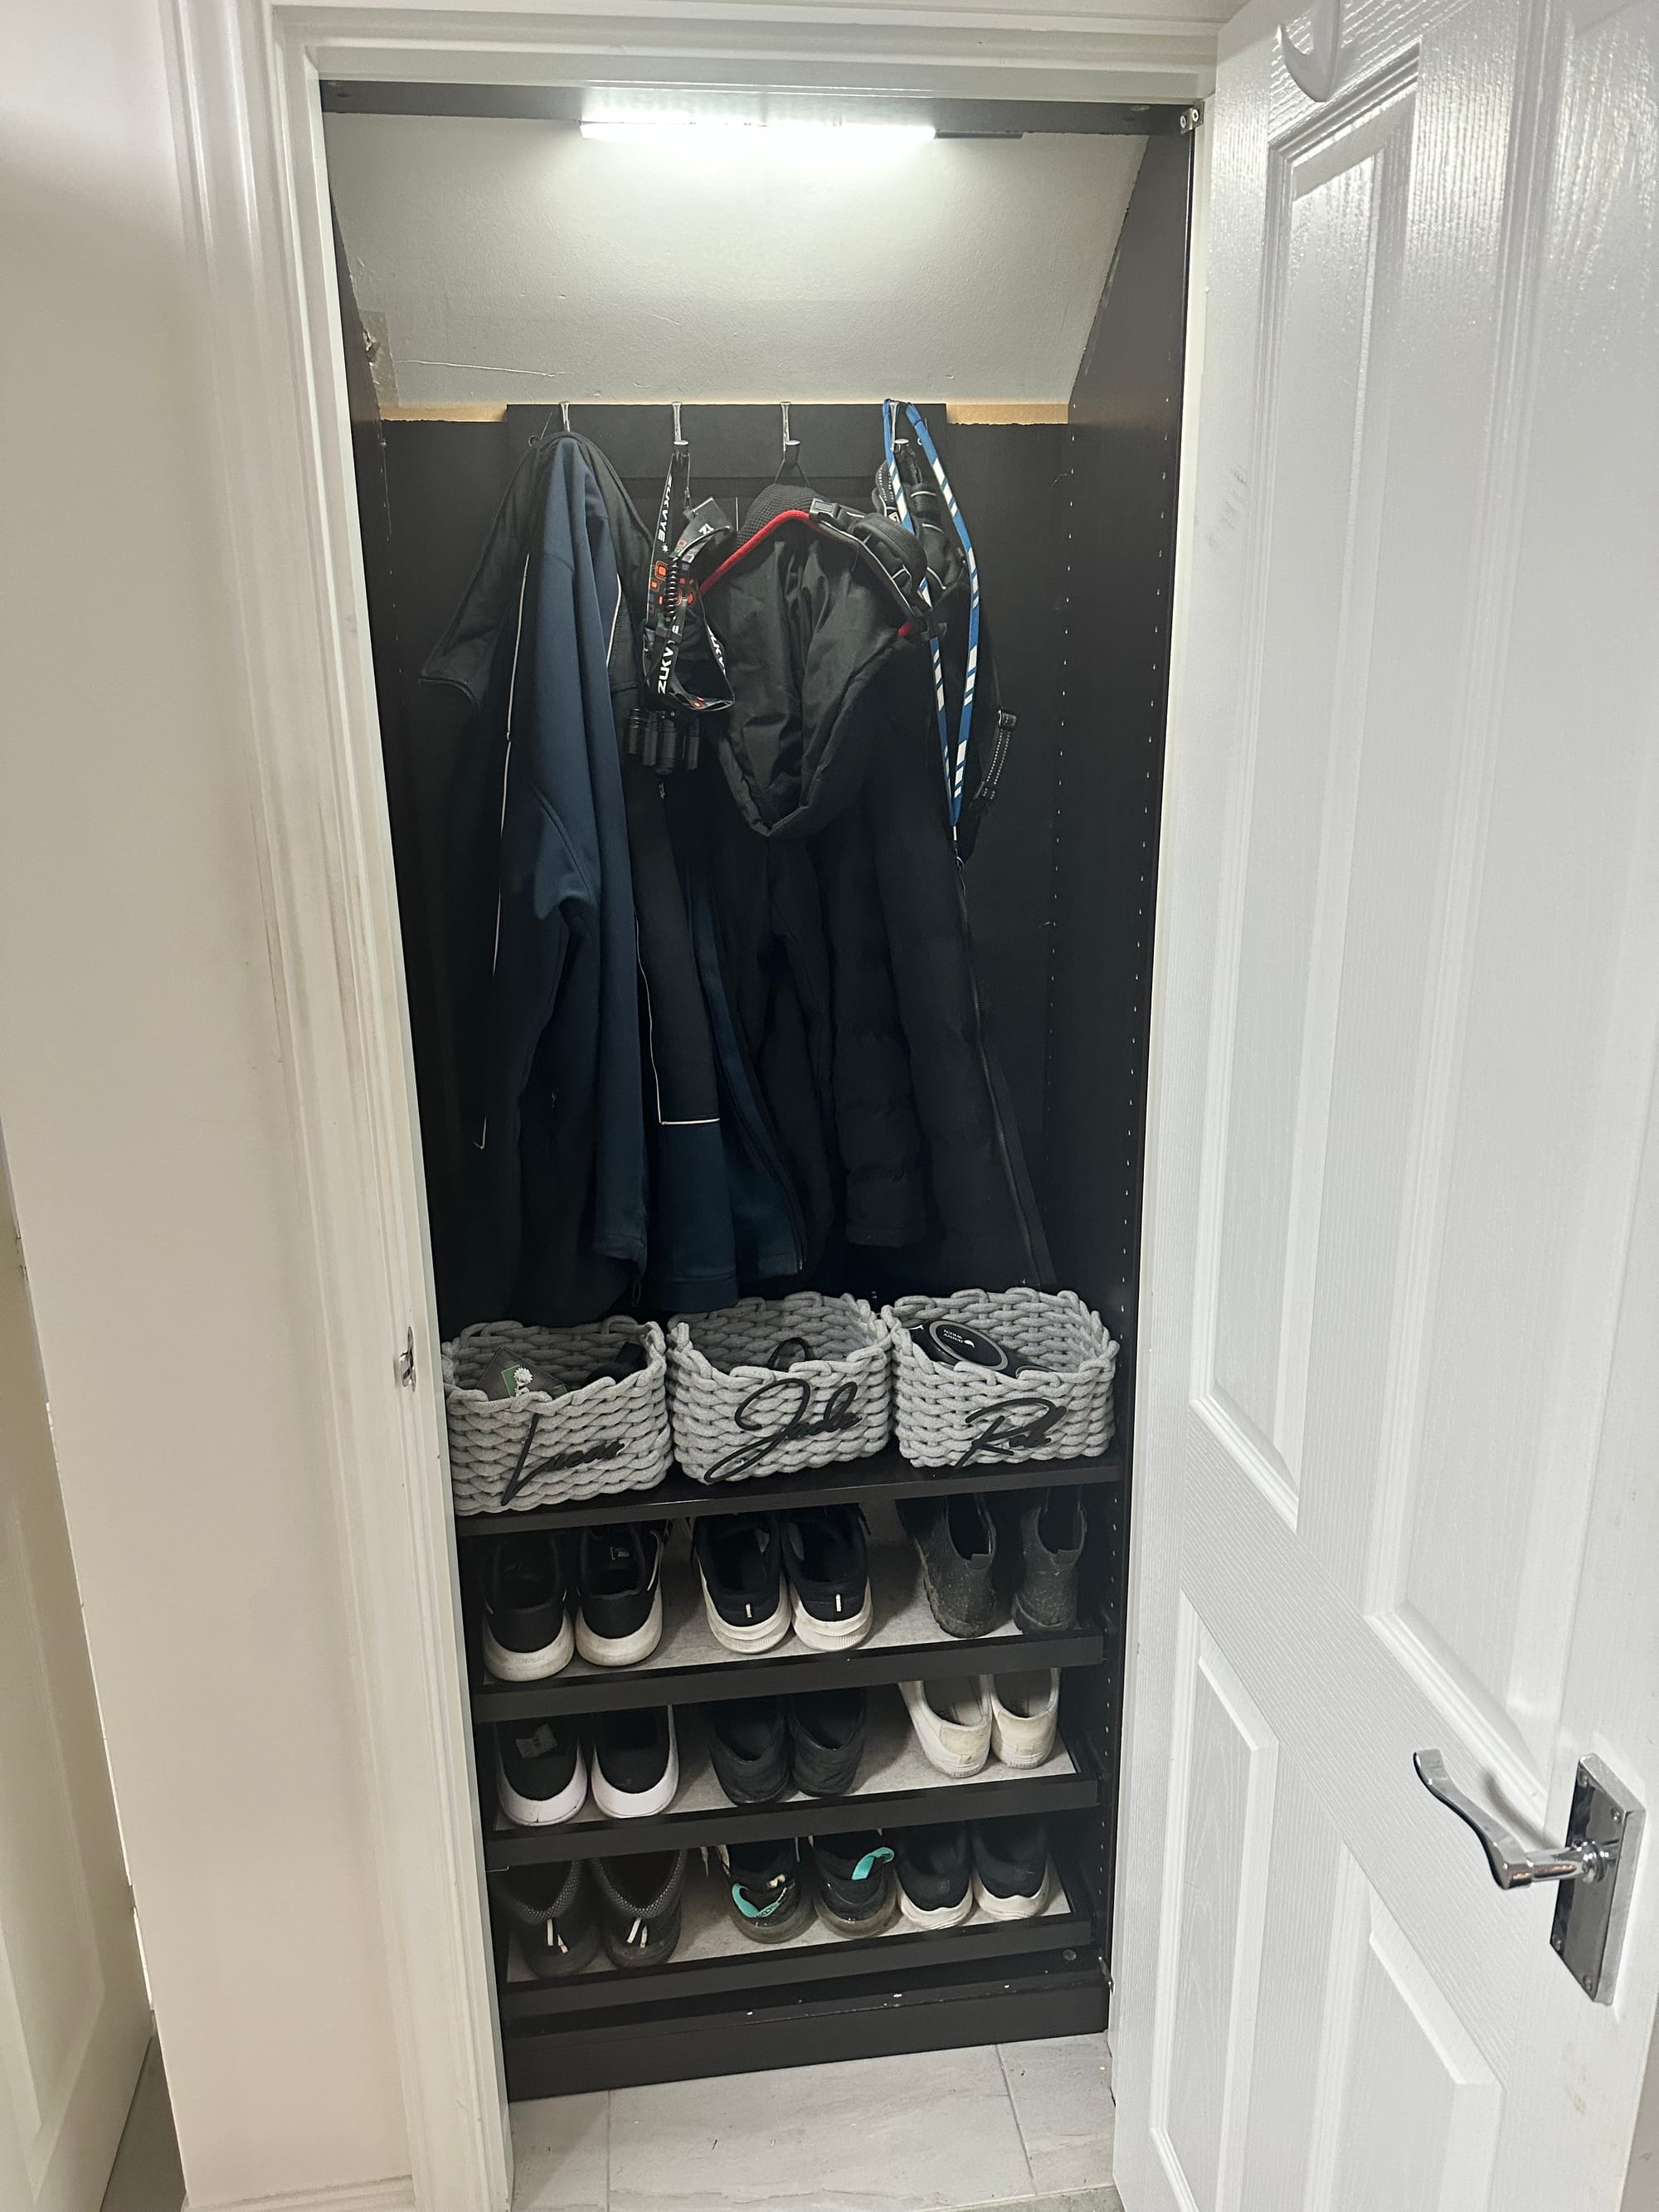
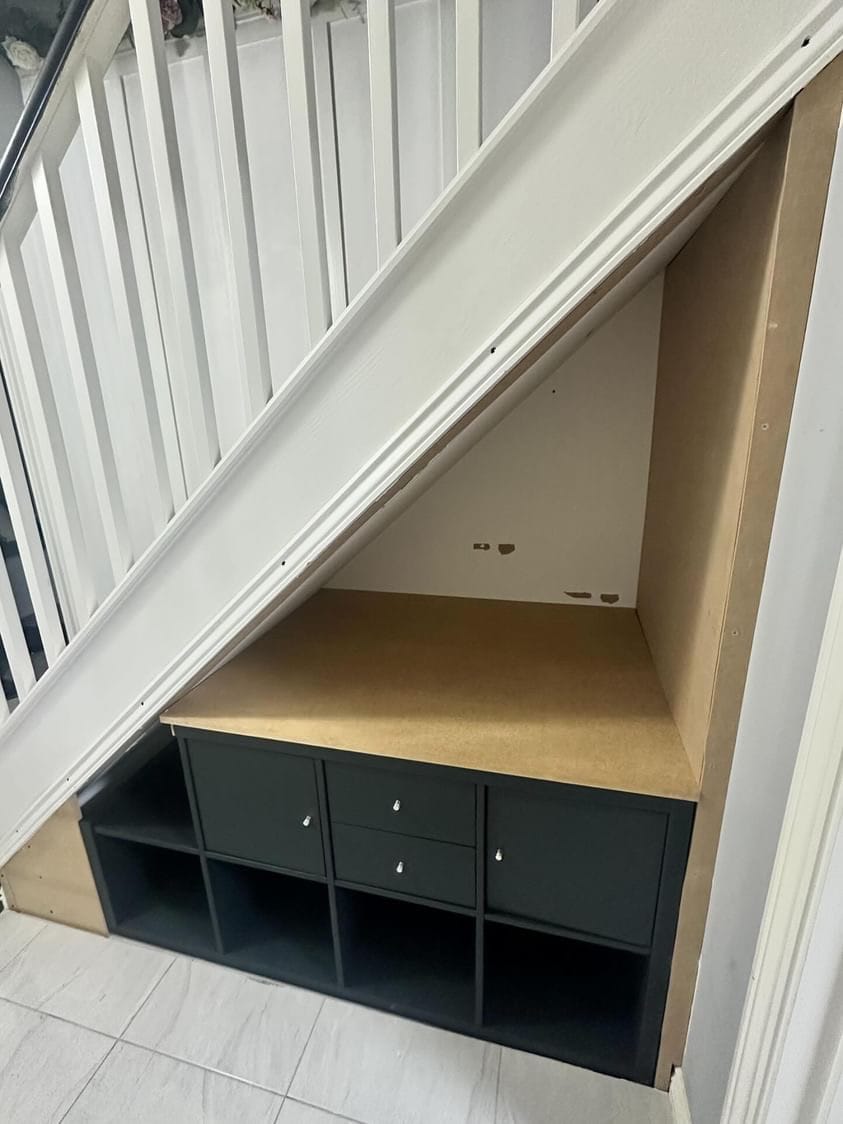
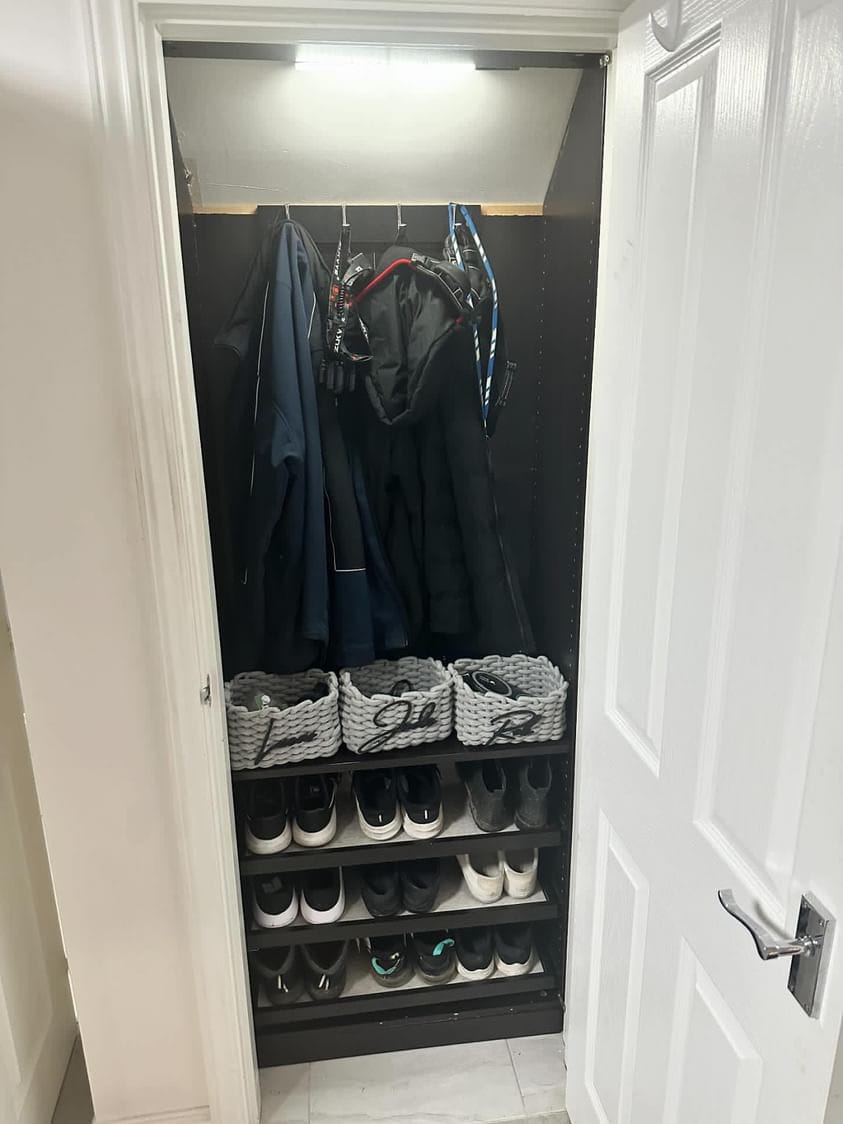
2) Adapting the Pax Wardrobe:
Cut the top of a Pax wardrobe diagonally and position it in the space near the kitchen entrance. Add wood backing along the front top to create storage for shoes and coats.
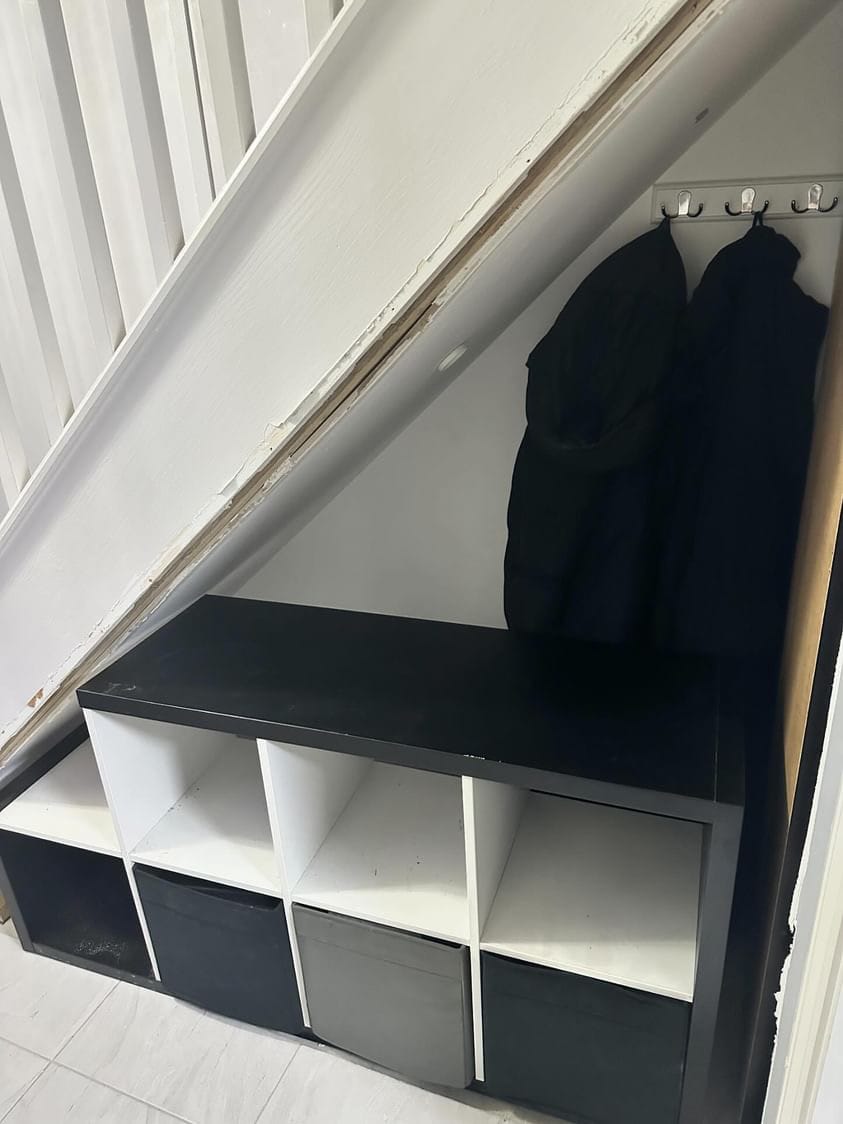
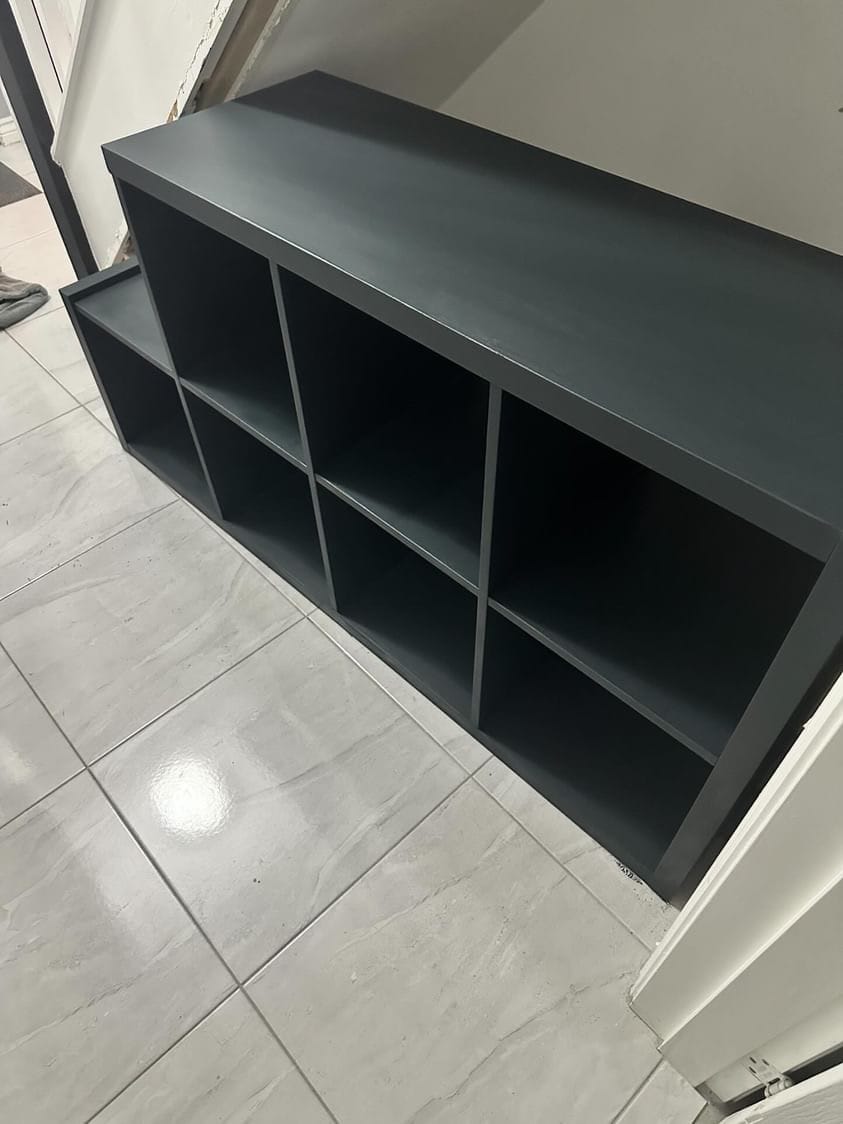
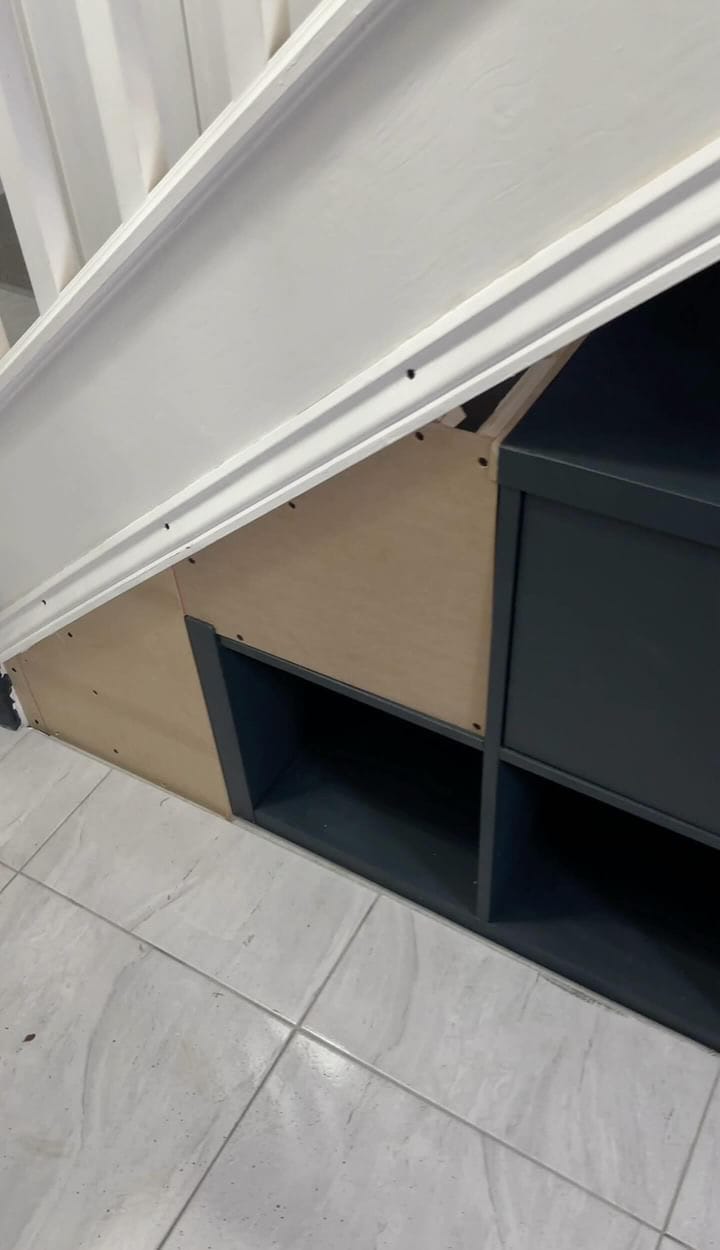
3) Repurposing the Kallax Unit:
Utilize an old Kallax unit by cutting off one cube to fit under the stairs. Sand it down using an orbital sander for smoothness and paint it with durable kitchen cupboard paint.

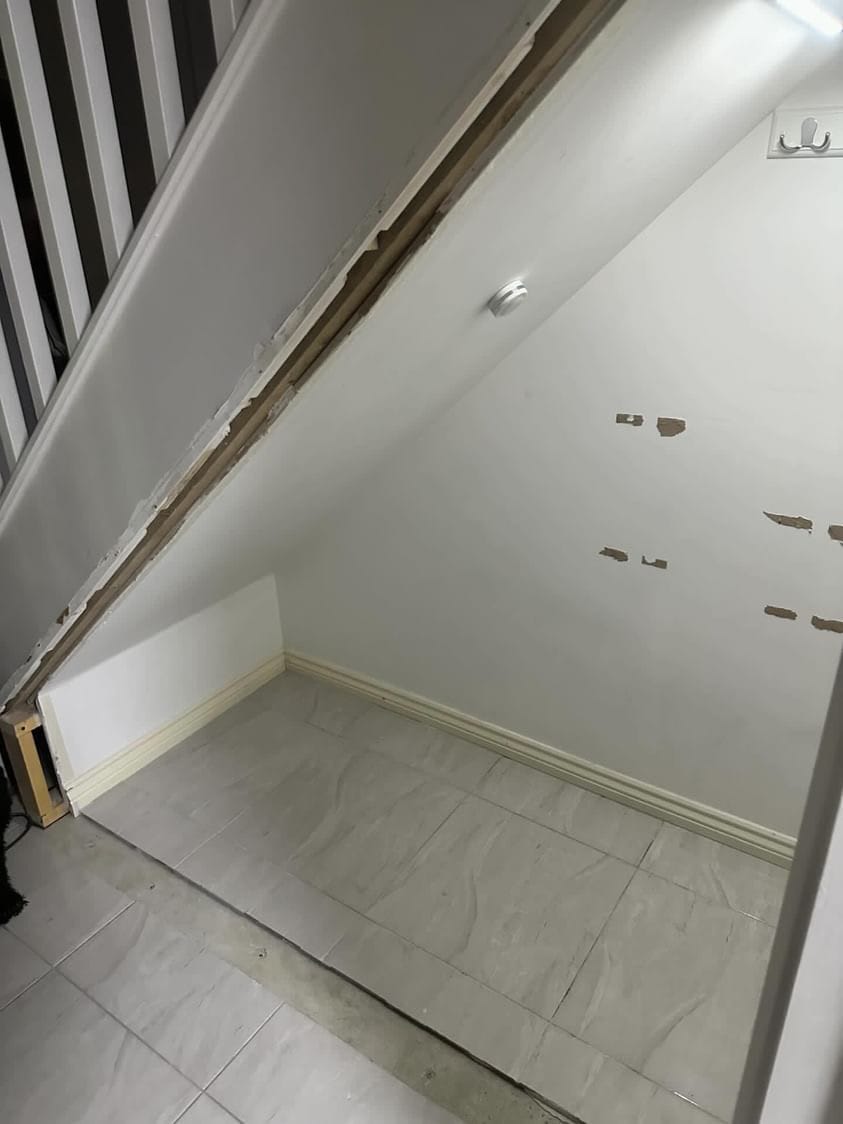
4) Building with MDF:
Use MDF to board or box in the space under the stairs, creating a neat and tidy storage area.
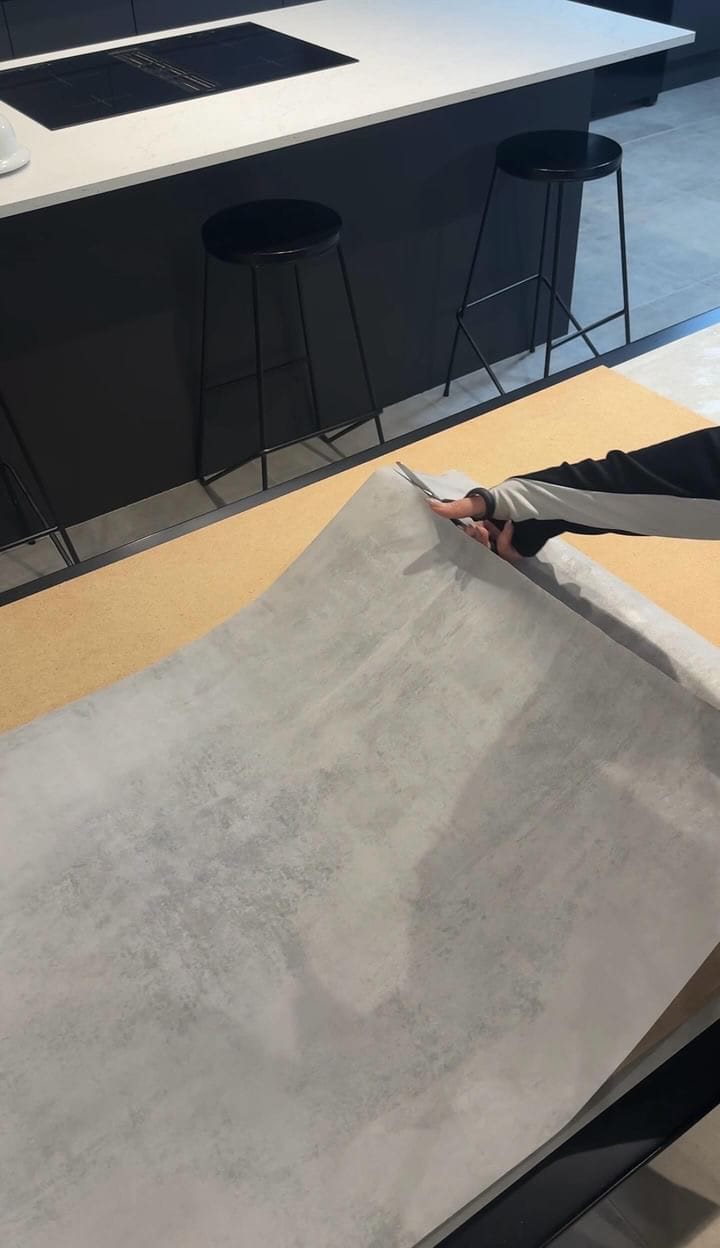
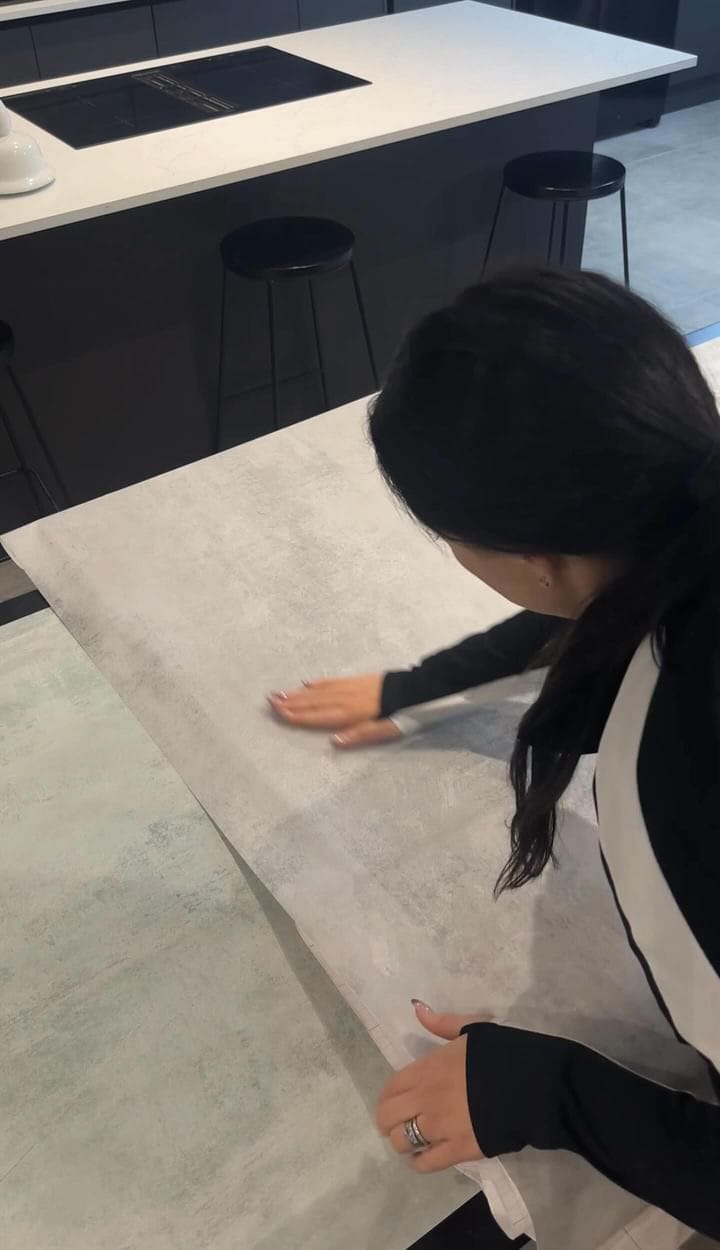
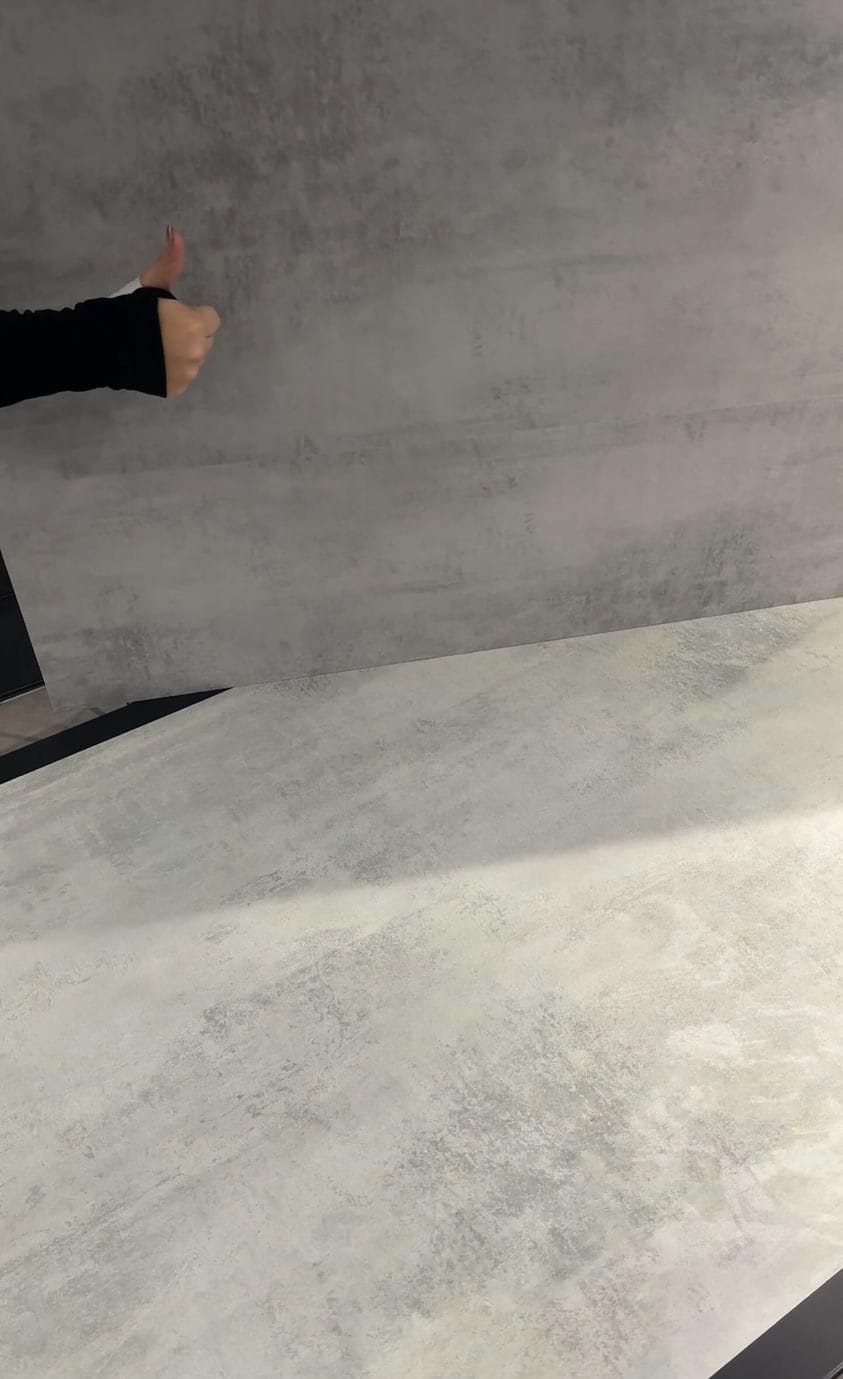
5) Wrapping the Worktop:
Apply vinyl wrap to the MDF board used as a worktop. Ensure sturdiness by attaching a wood plinth to the wall for support. This allows for easy removal when access is needed.
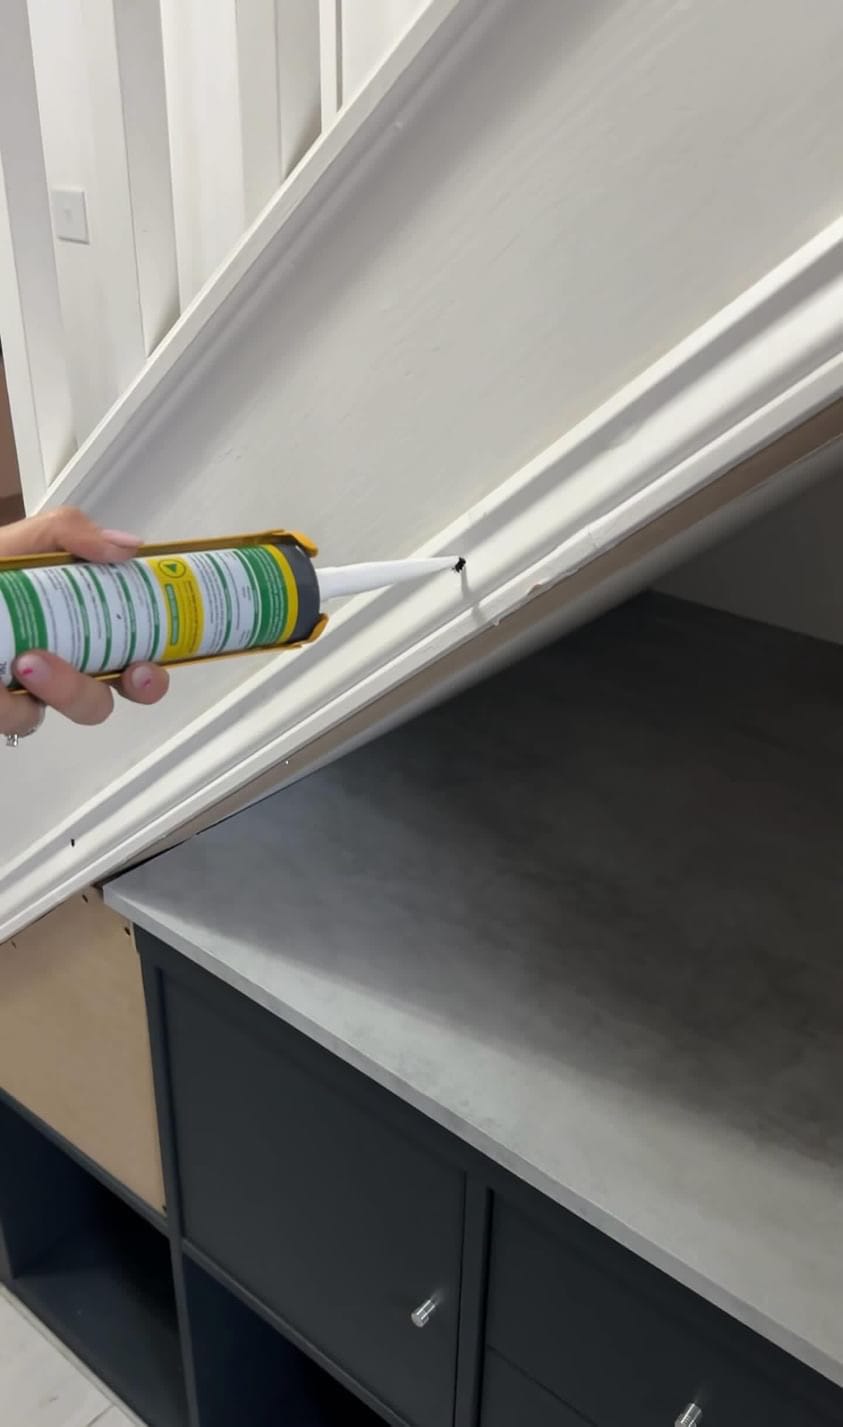
6) Sealing with Caulk:
Seal all gaps and seams with decorators caulk to achieve a seamless finish.

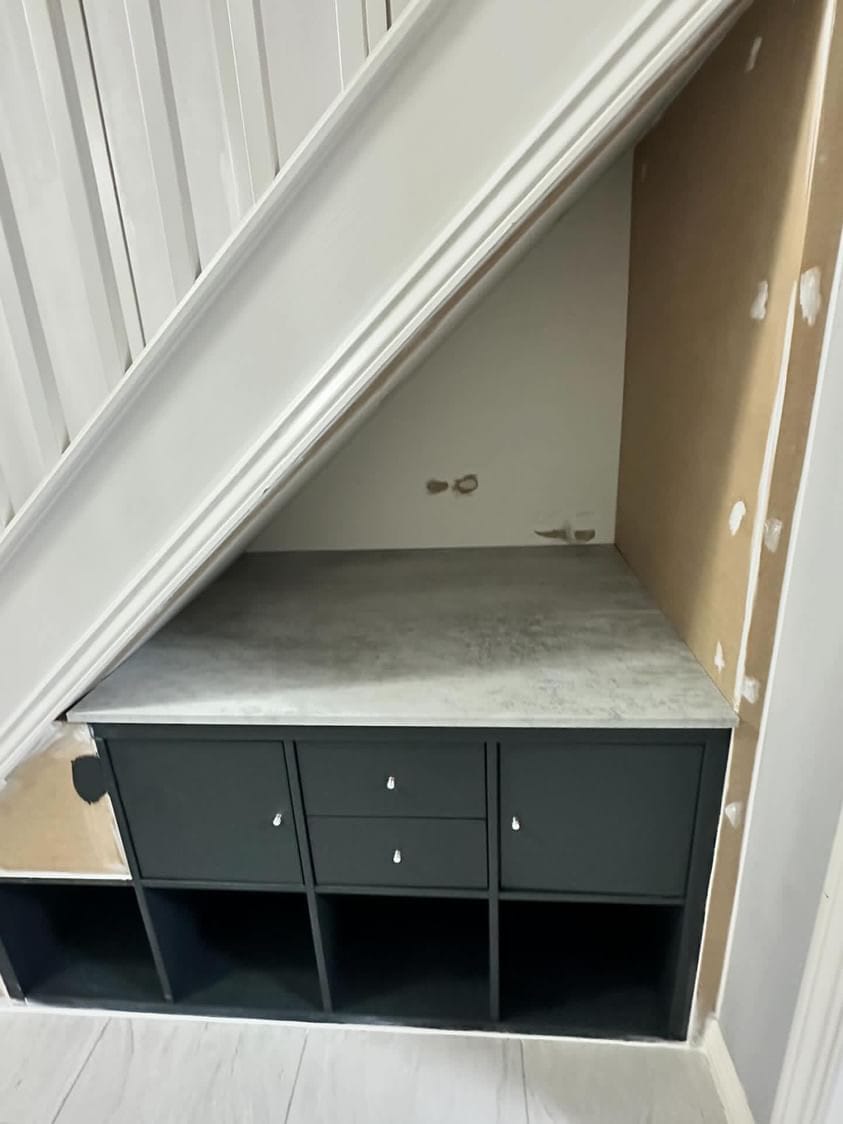
7) Priming and Painting:
Prime and paint the MDF boards to match the surrounding décor, creating a cohesive look.
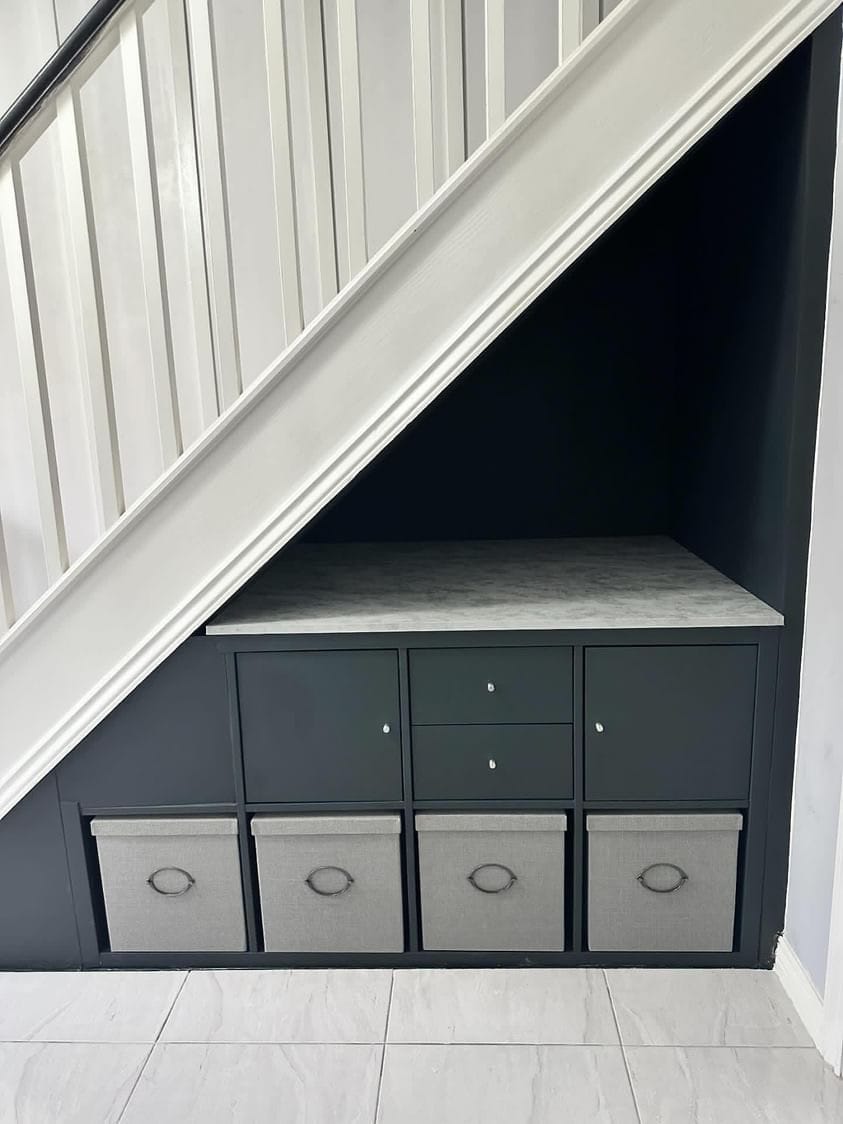
8) Adding Doors and Storage Boxes:
Complete the project by adding doors and storage boxes to keep items organized and out of sight.
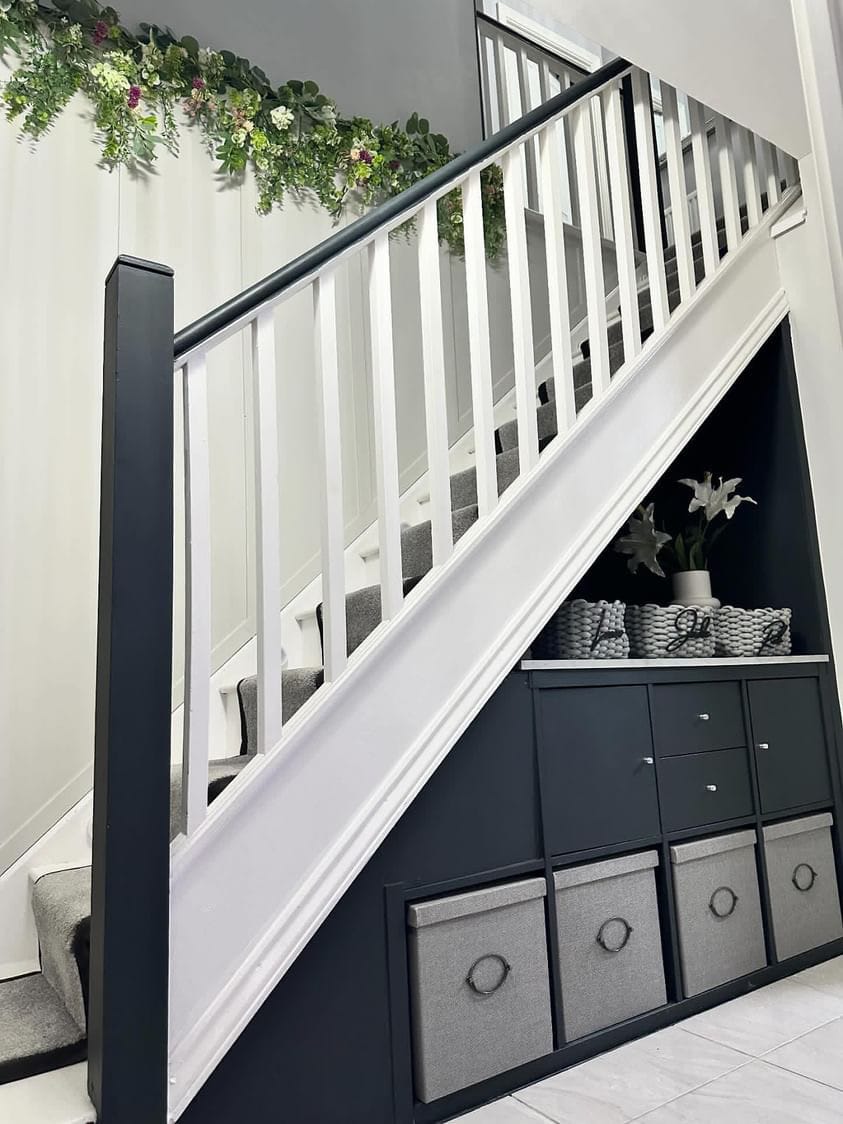
Transforming the space under your stairs into functional storage can be both fun and budget-friendly! With these easy DIY steps and some affordable materials, you can craft a custom storage solution that perfectly fits your needs. Give it a go and watch how it transforms your home!
Happy DIY-ing!
Creator: Jade

Instagram: @oh_my_greys_home