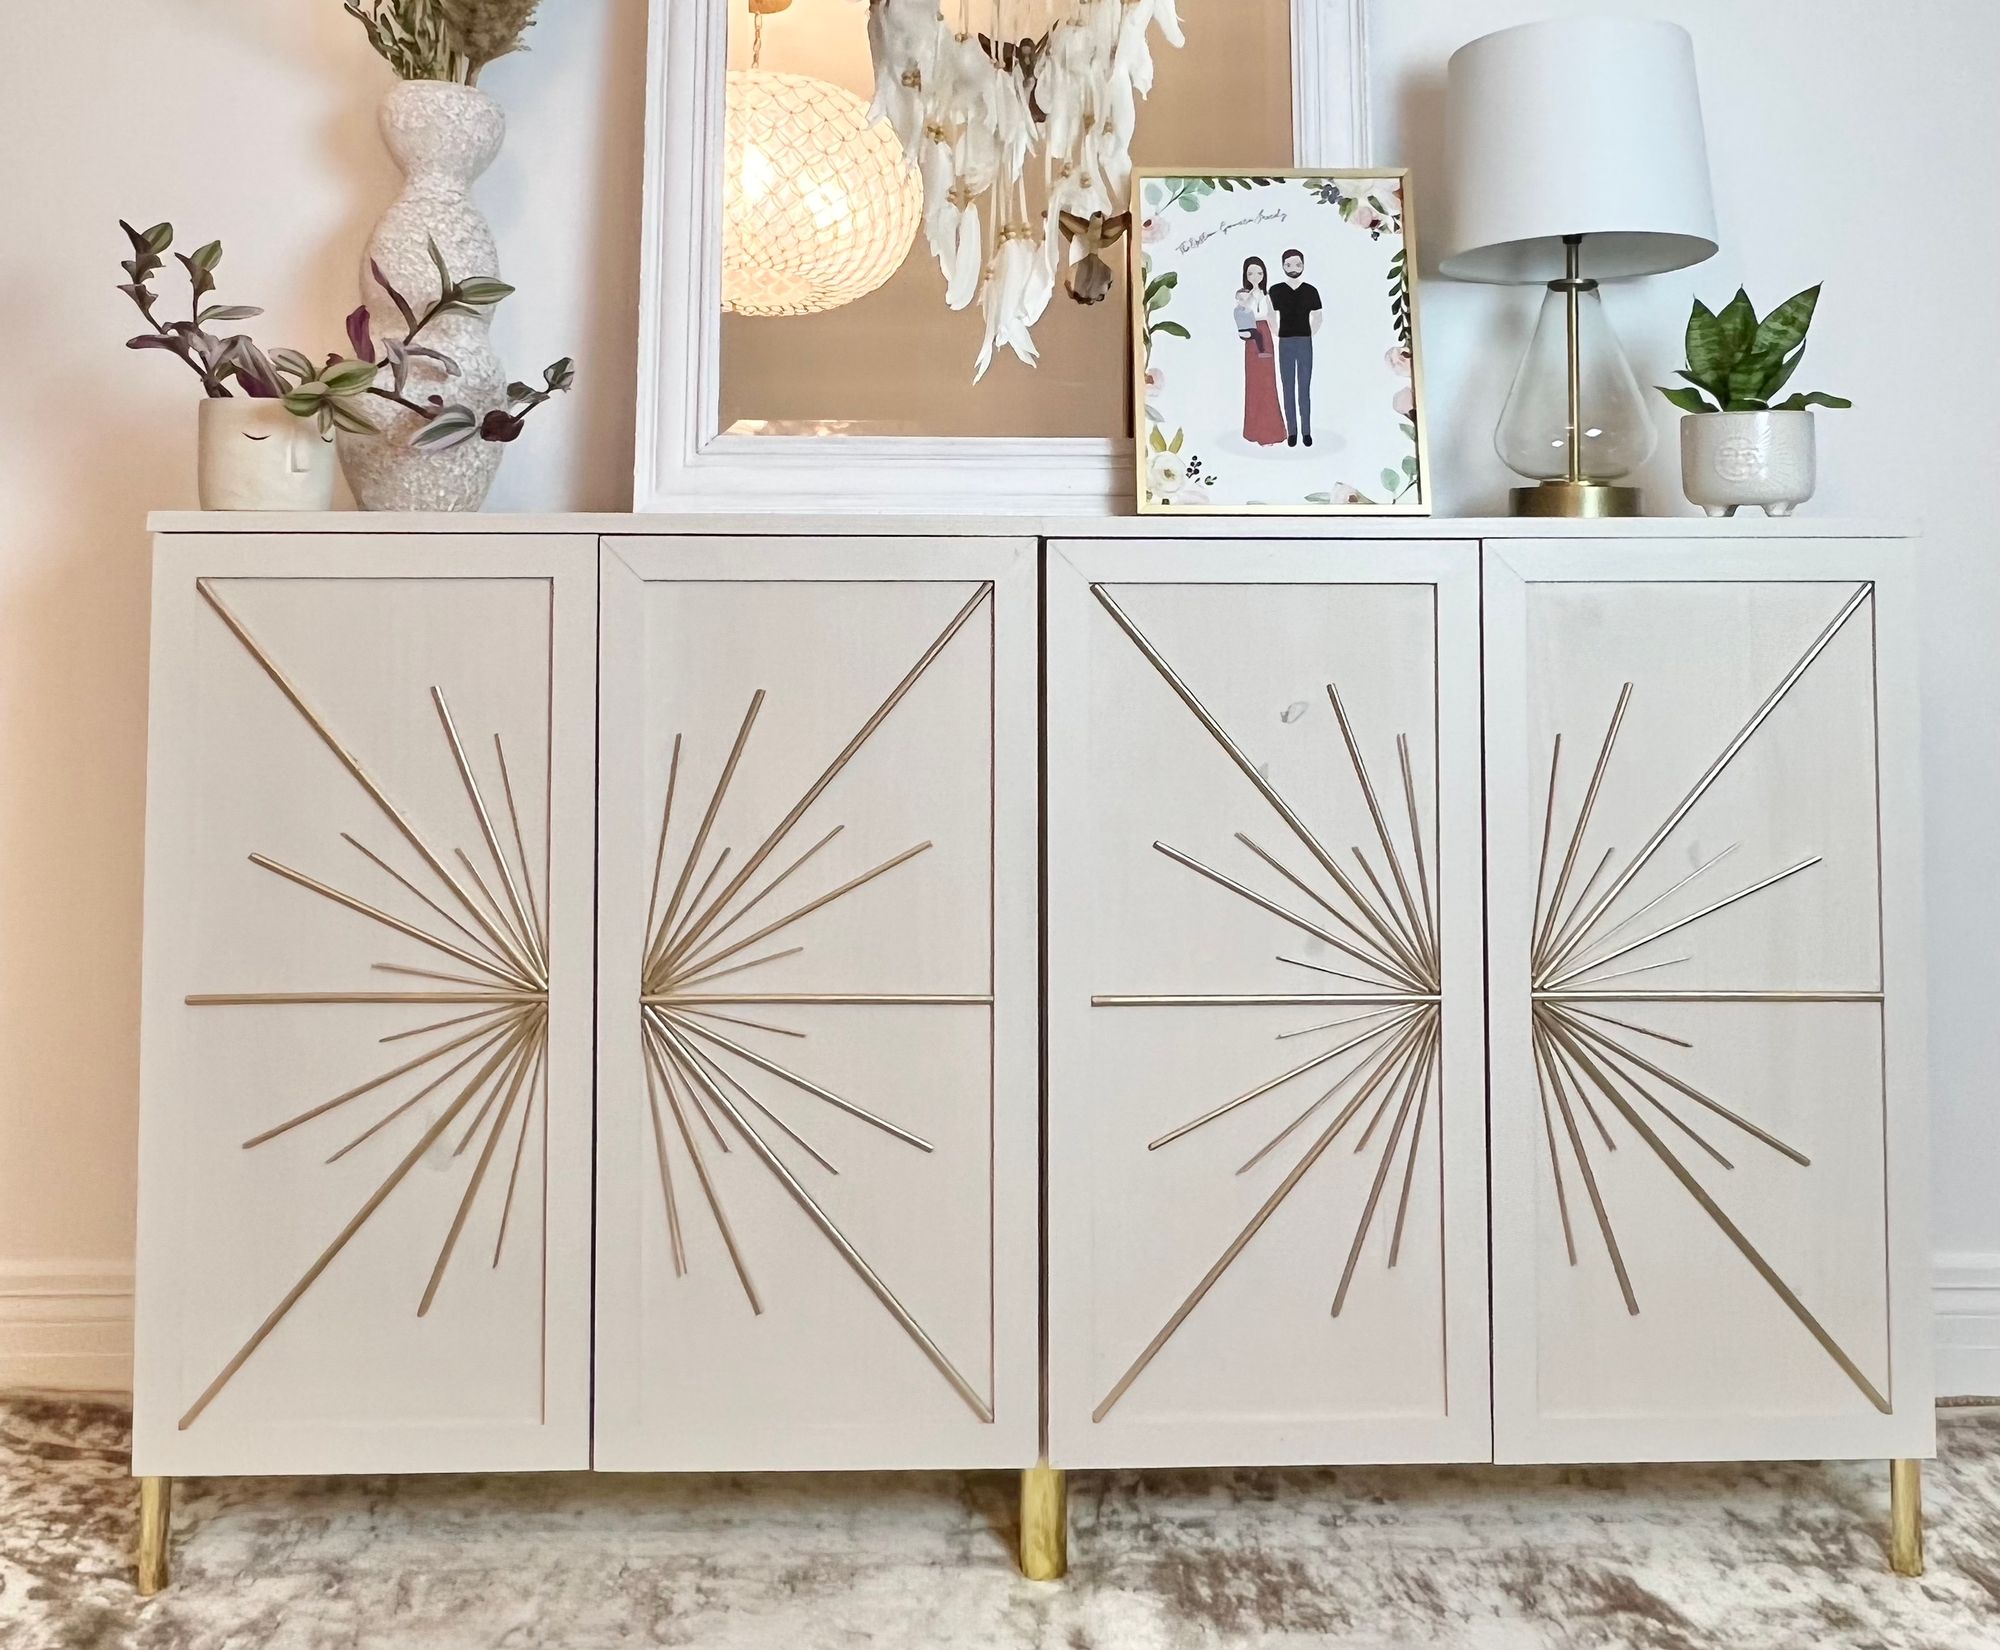
Transform Your Basic Ikea Cabinets into a Unique Piece of Furniture with this Simple DIY
Have you ever found yourself at Ikea, buying a cabinet that looks nice but lacks personality? If so, you're not alone. Ikea's products are intentionally basic, so they serve as a blank canvas for your creativity. With a few modifications, you can transform your Ikea furniture into a unique piece that reflects your personality.
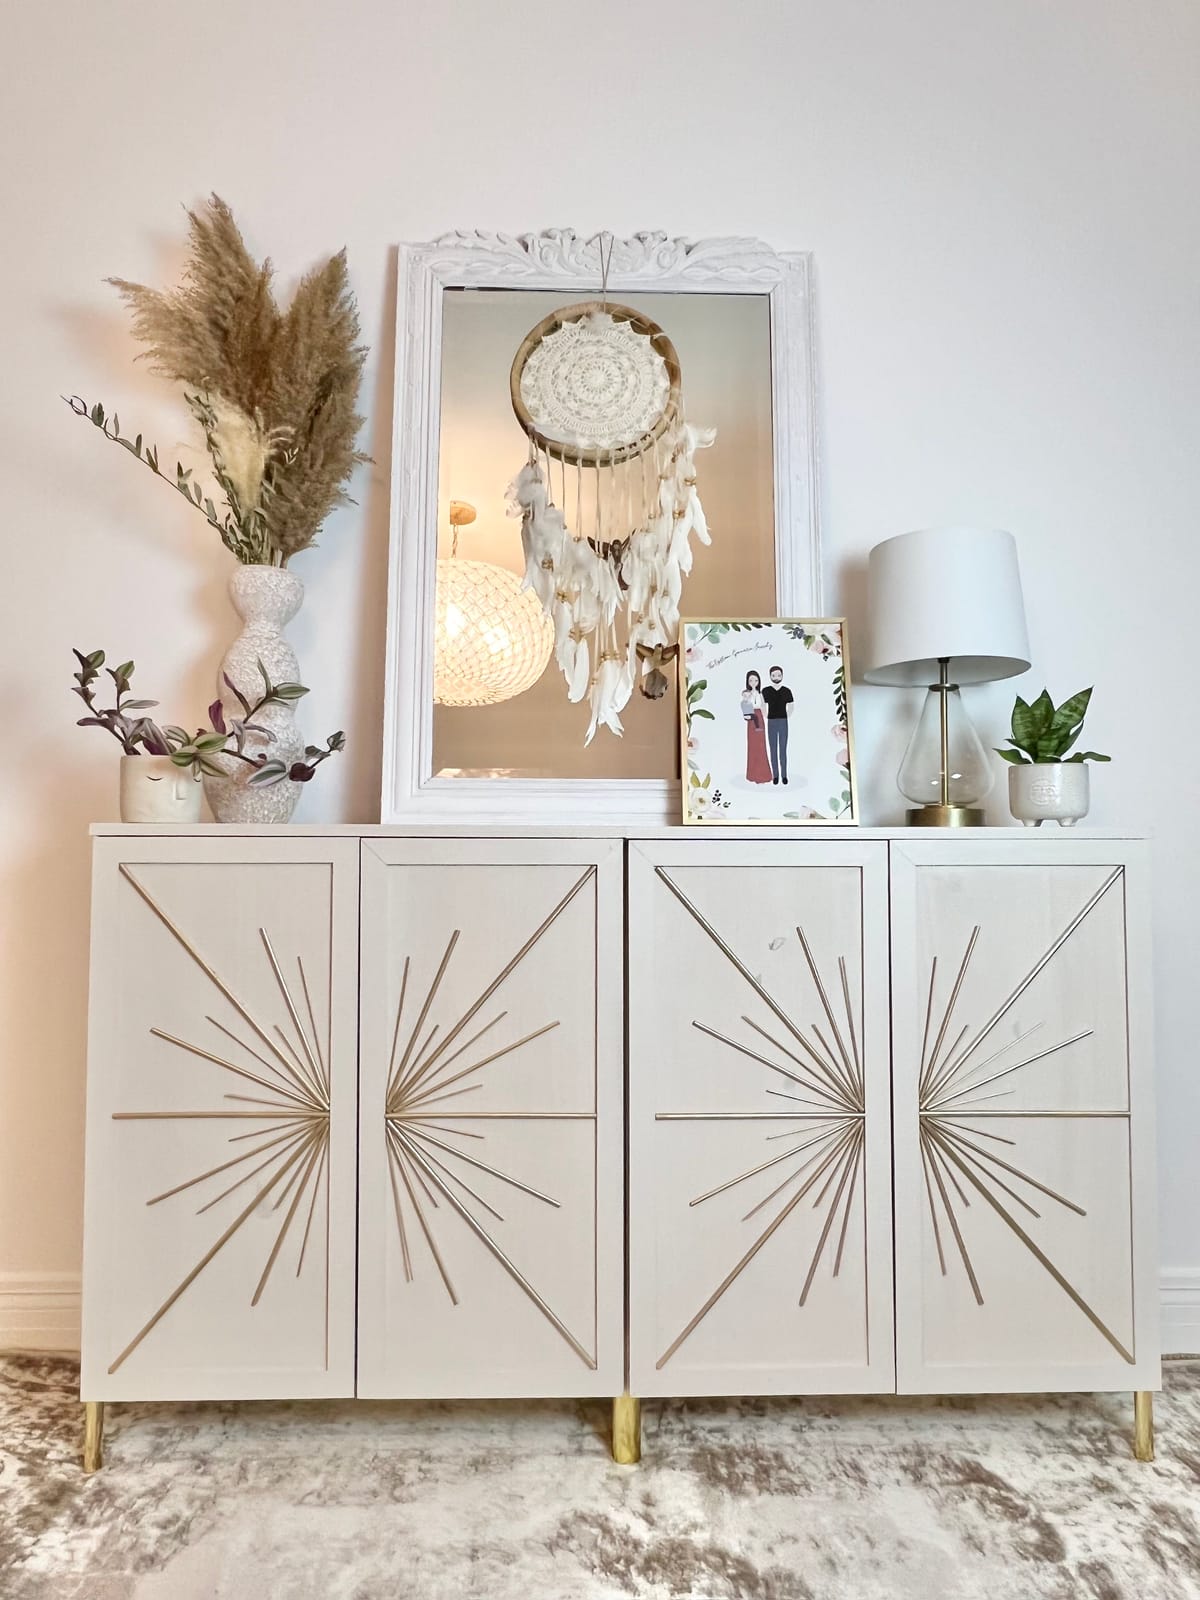
One way to do this is by using a simple and clean design like the starburst pattern on cabinet doors. In this post, we'll show you how to create a stunning starburst design for your Ikea cabinets, and the best part is that you can customize the colors and design to suit your own taste.
Instructions:
Step 1: Paint
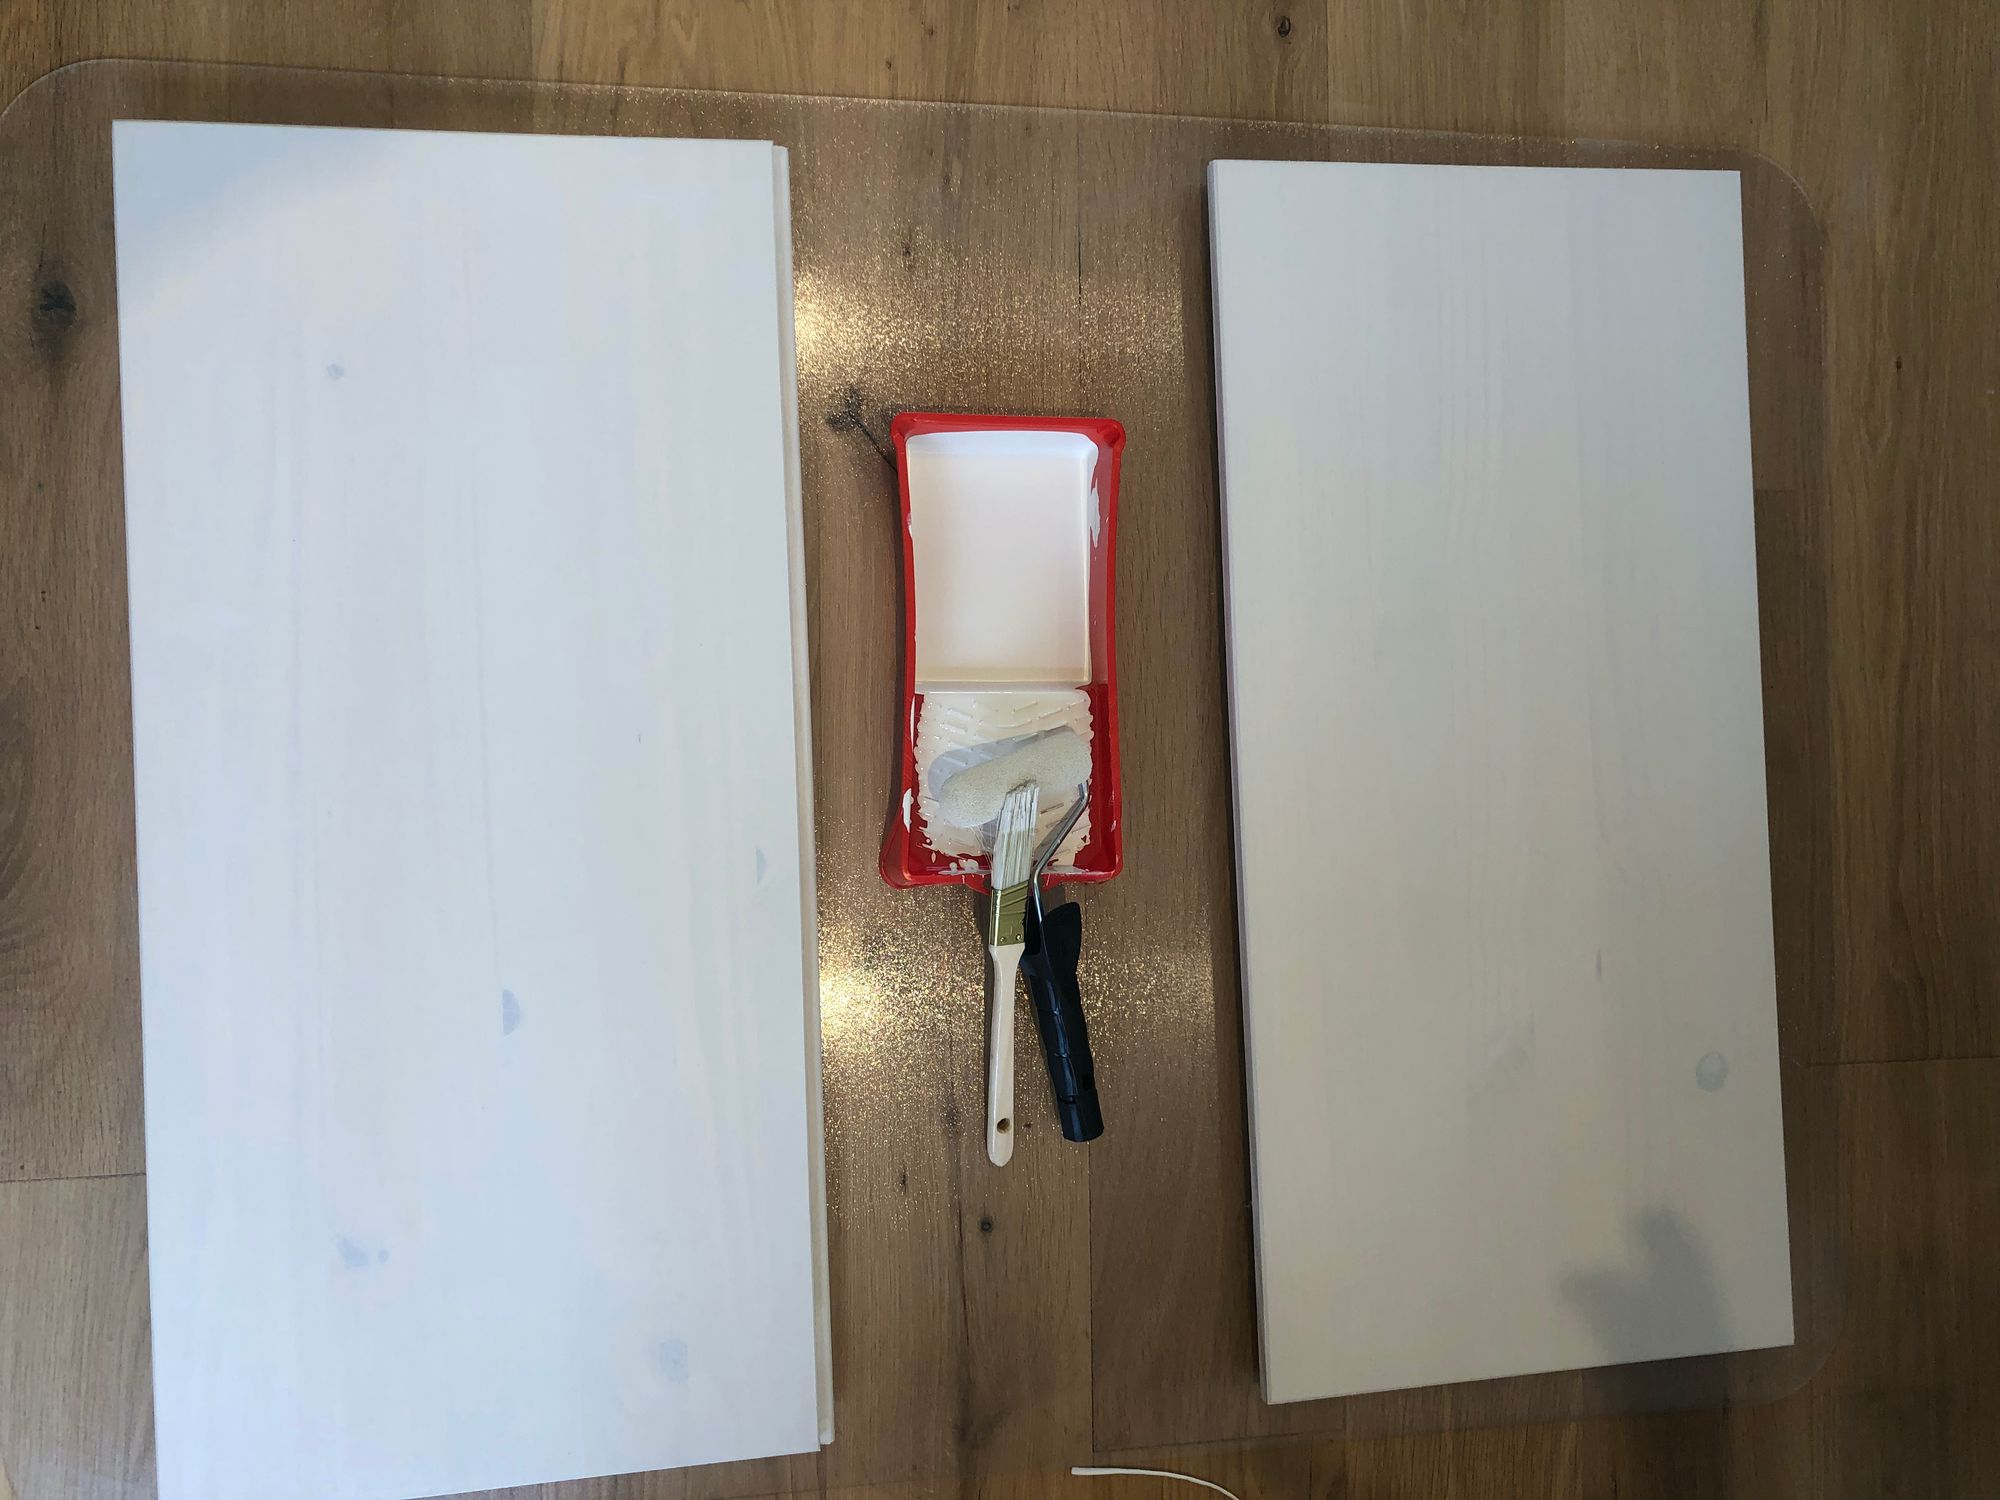
Start by painting the cabinets, trim, and countertop with furniture and cabinet paint. Also, spray-paint the three different size dowels for the starburst design in gold.
Step 2: Create the Design
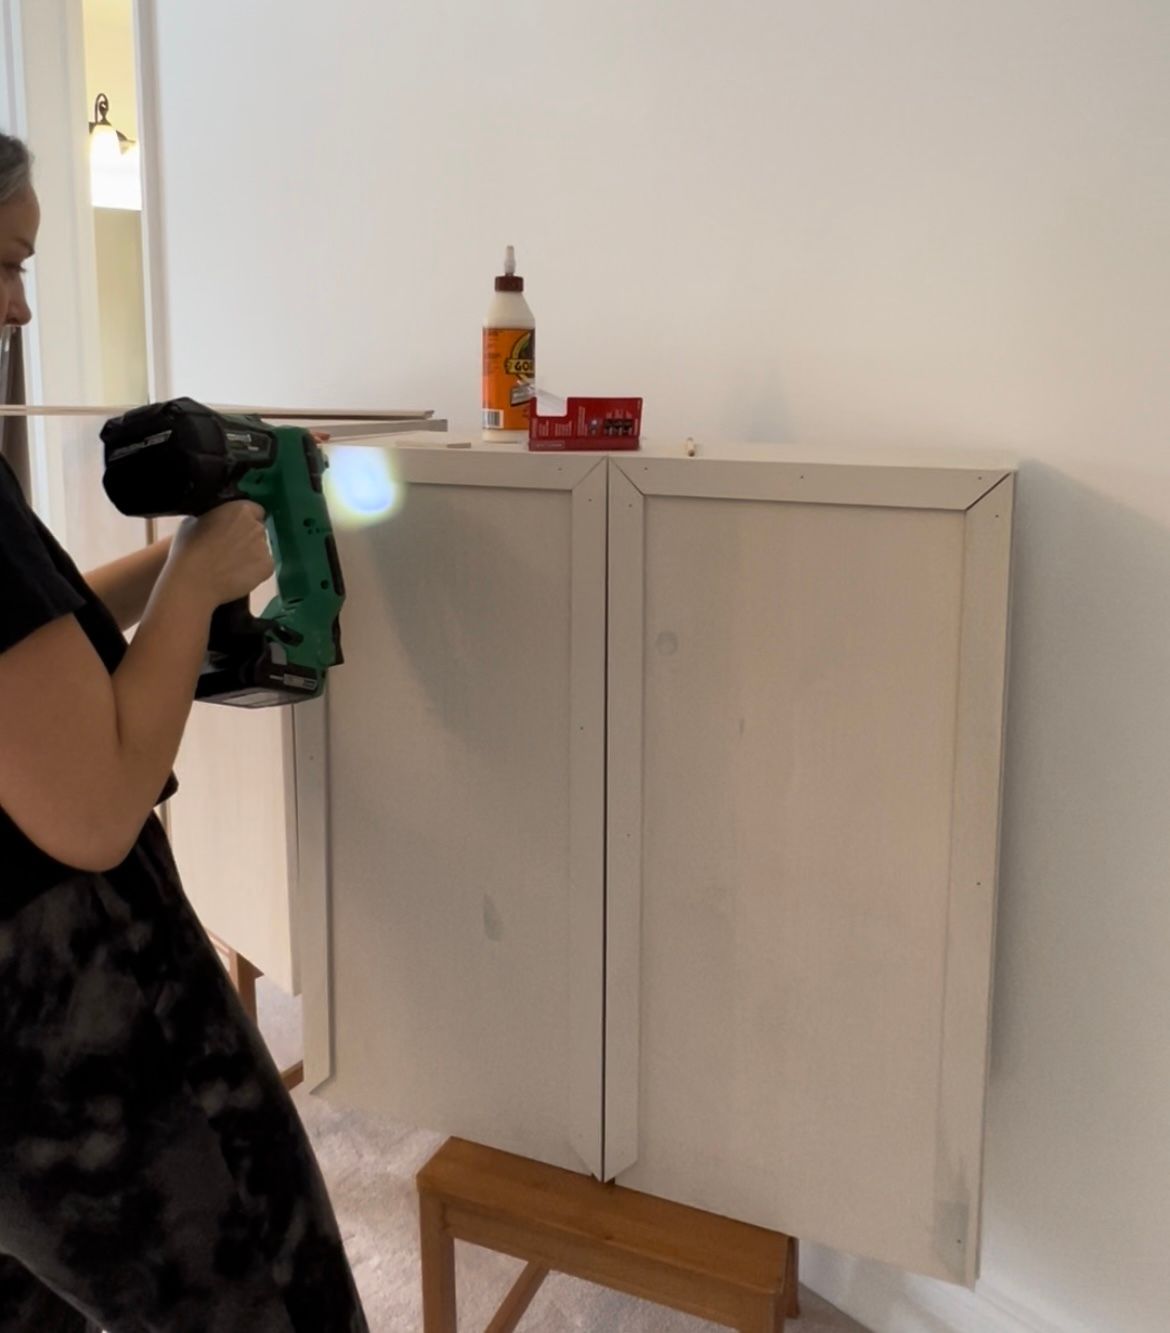
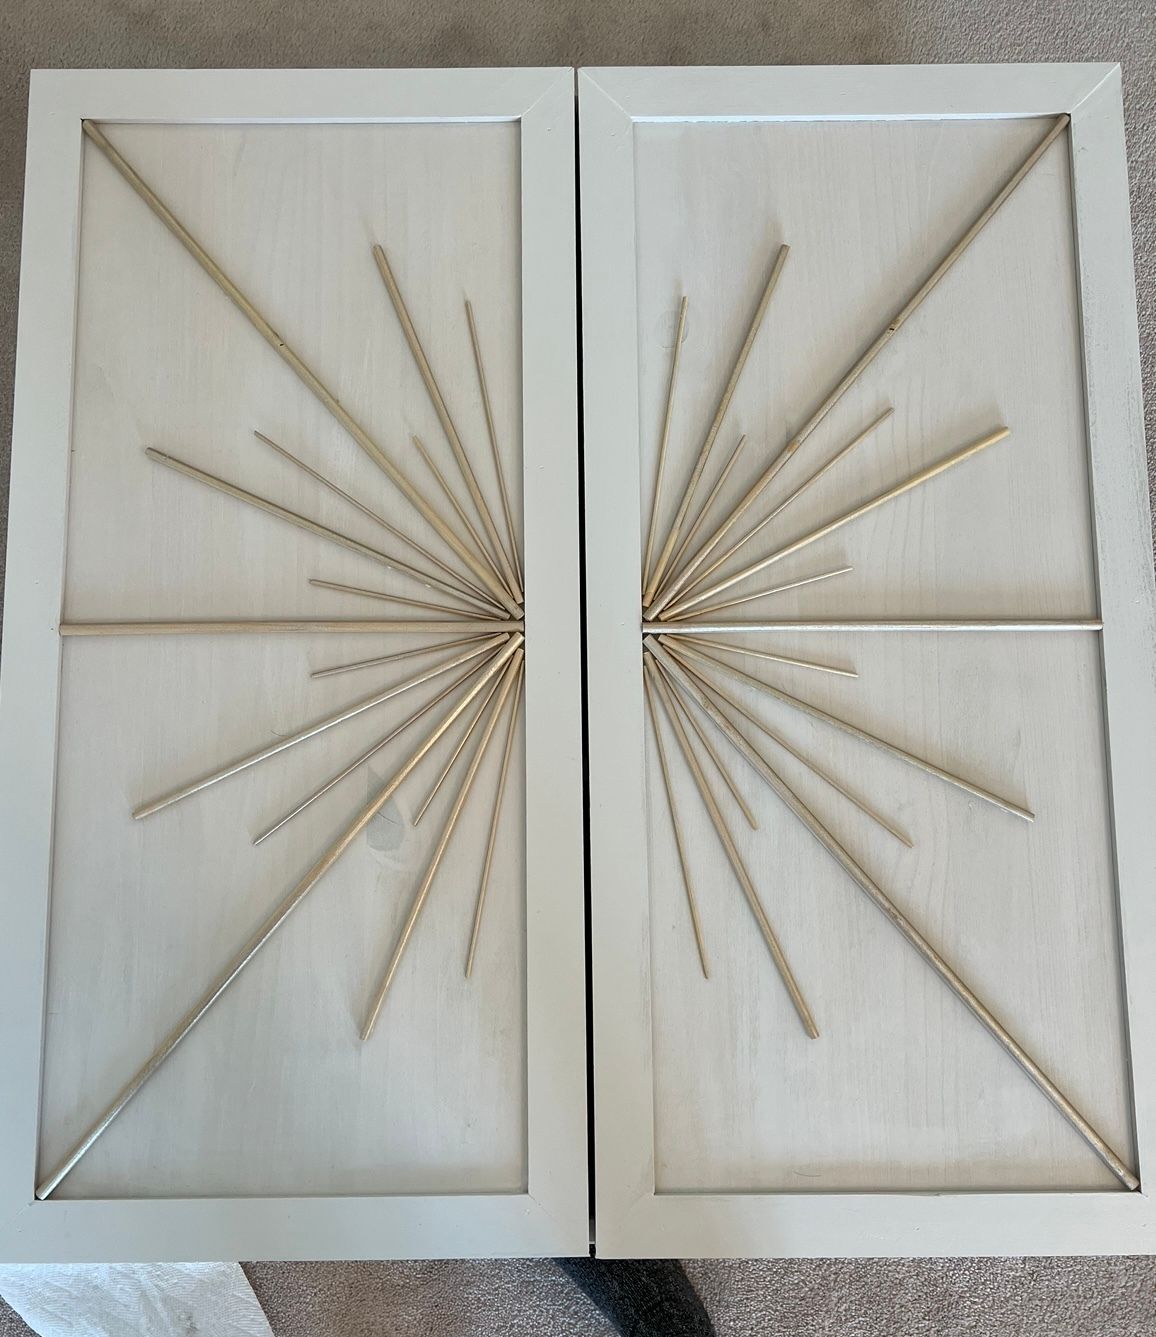
Next, nail a single shaker to the cabinet doors by attaching ¼”x 2” of trim made of poplar. You'll need at least a 1/4“depth so that the dowels can sit inside the trim flush and not stick out. You can use a Brad nailer and wood glue, or just wood glue to get the job done. After that, add the starburst design within the trim.
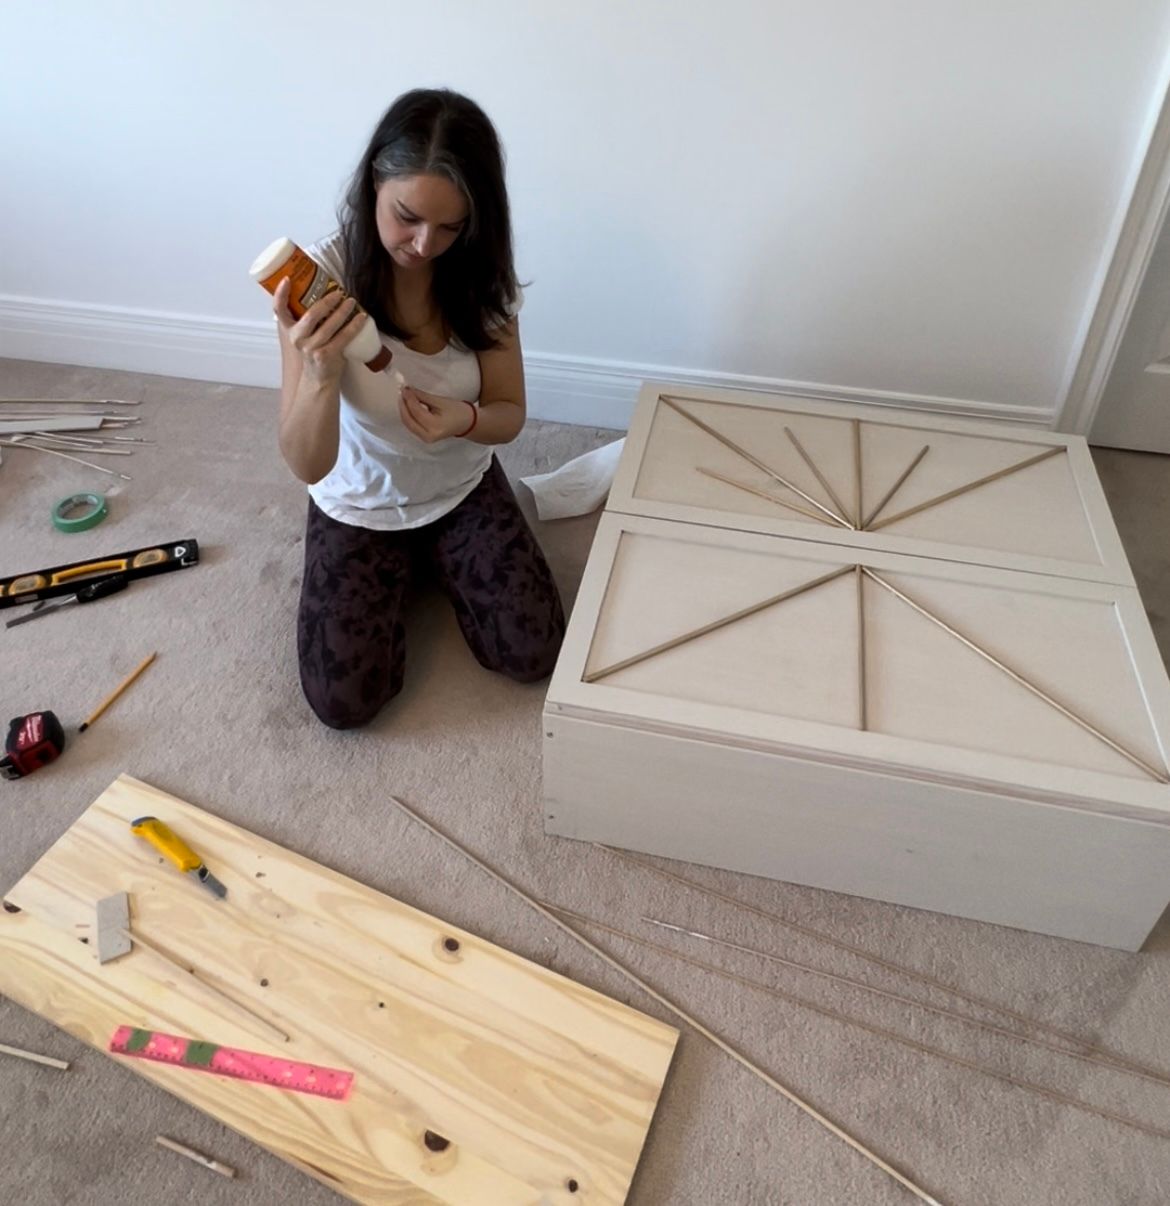
It's essential to use three different size dowels (1/8, 1/4, 5/16) and cut them to different lengths to give the starburst some dimension. Use an X-acto knife to cut the dowels and some wood glue to adhere them to the doors.
Step 3: Connect
To combine the two cabinets, drill four screws on the inside connecting walls.
Step 4: Add the Countertops
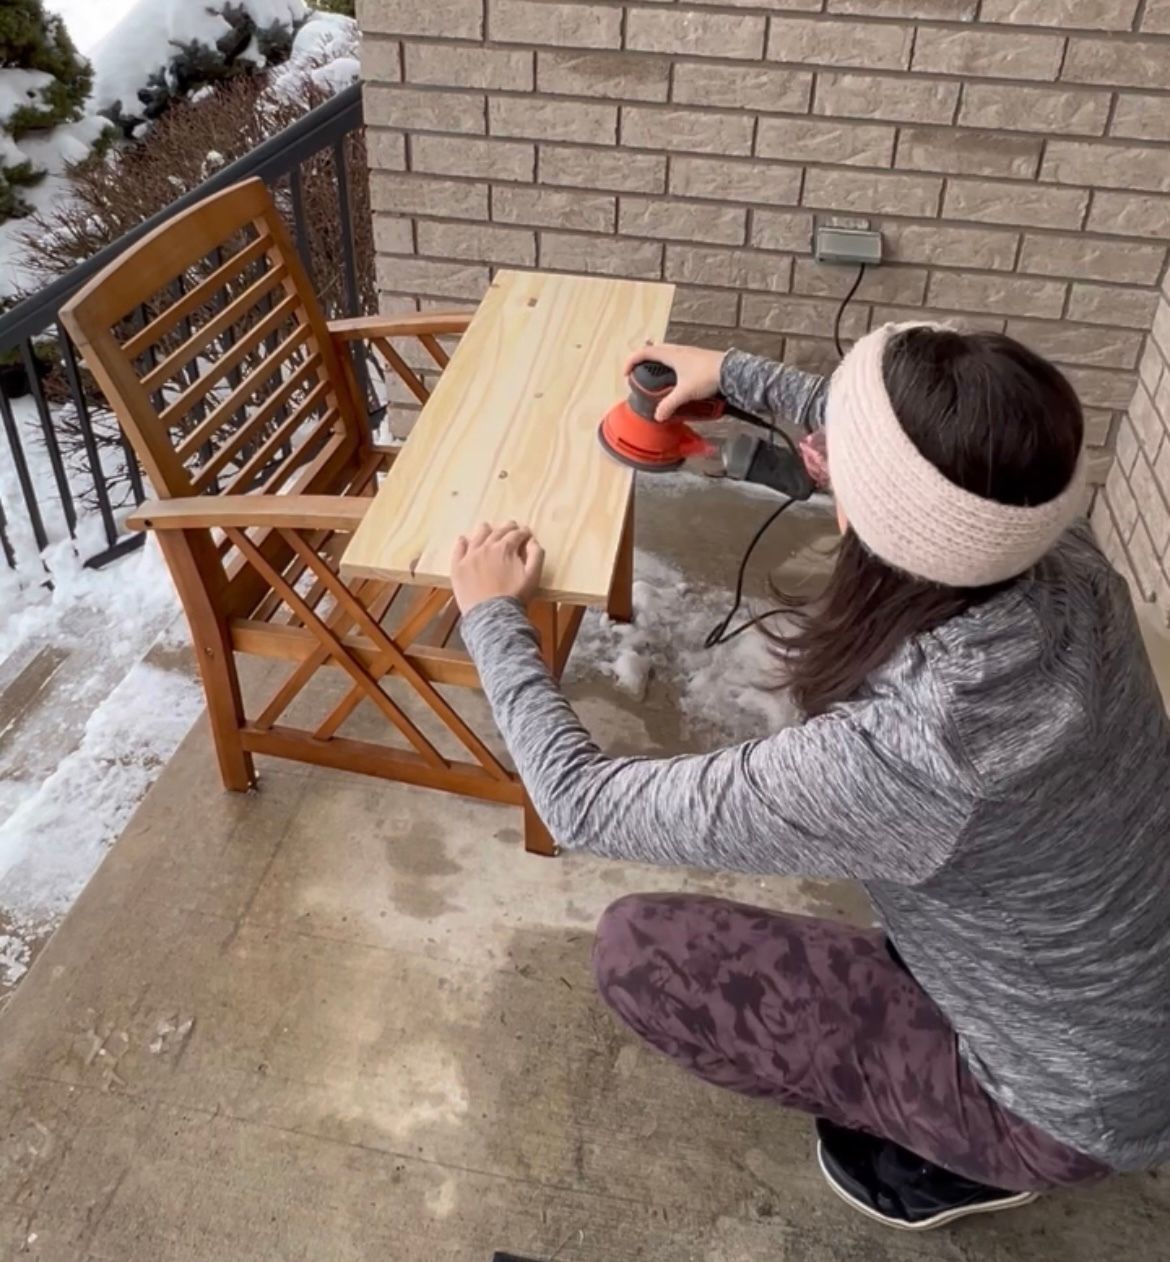
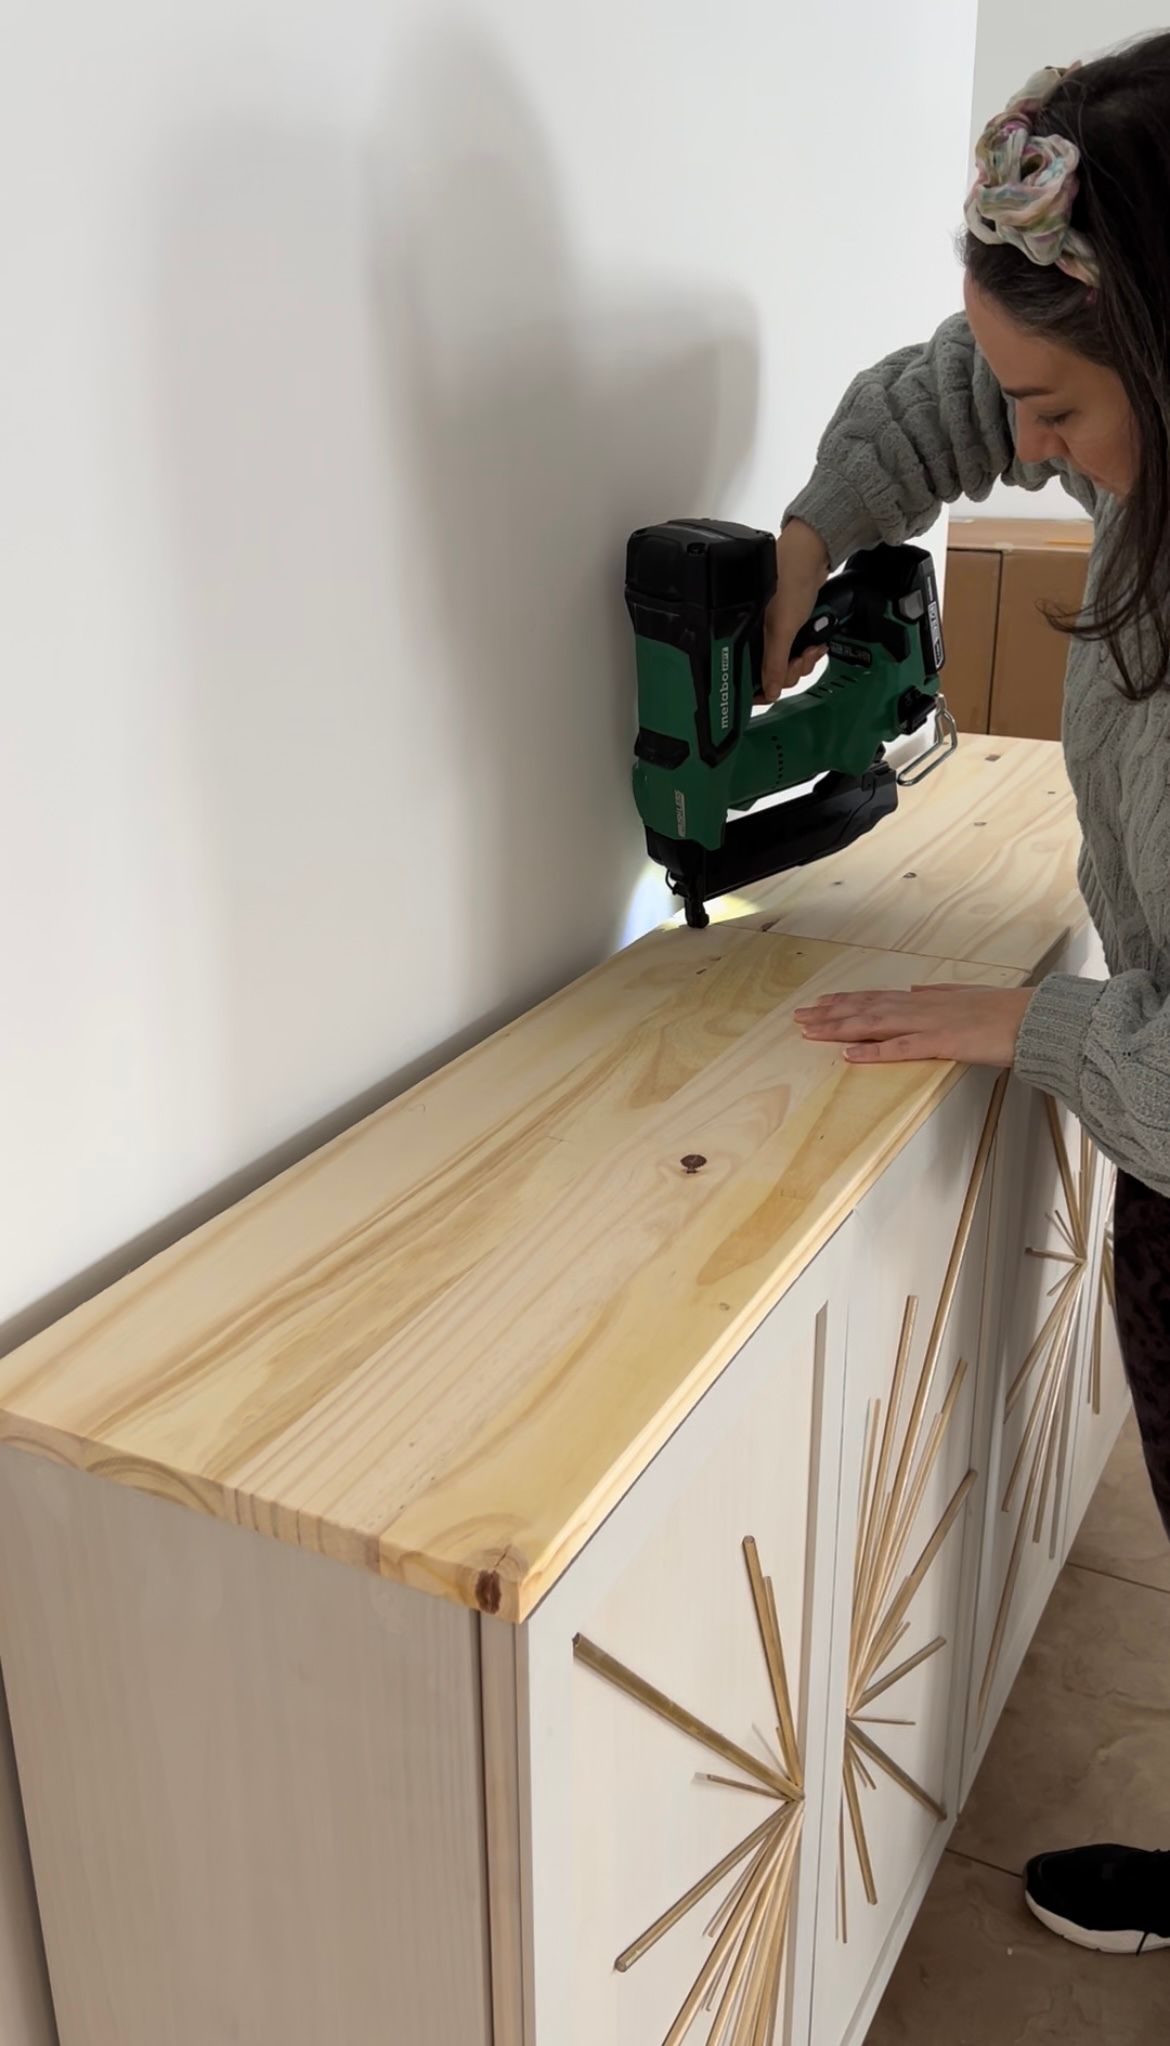
Purchase two stain-grade panels for the top of the dresser are 3/4 x 12 x 36”. Cut each down to 31” and caulk the seam in the middle of the dresser with some DAP. This is a cost-saving choice, as buying one piece that is 62” long can be too expensive.
Step 5: Attach Legs
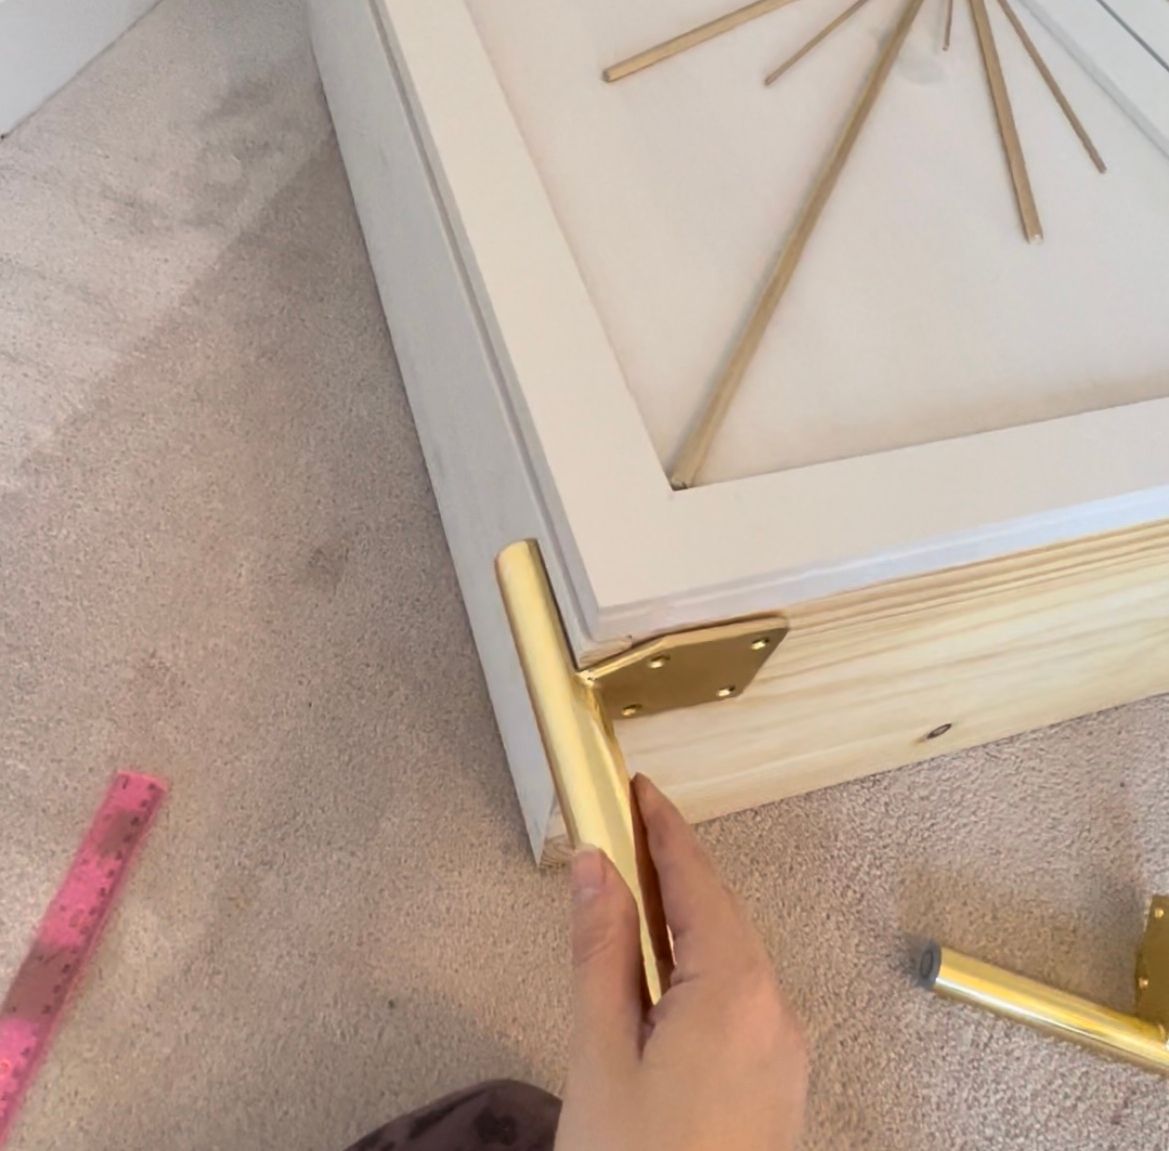
Finally, attach the four metallic legs you bought and place a 2x4 that you wrapped in metallic paper in the middle of the dresser for support.
Not only does this DIY add extra storage space to your bedroom, but it also gives you a sense of pride and accomplishment. You can say that you made it with your own two hands, and that is priceless. This project is perfect for beginners and doesn't require any power tools. All cuts can be made with a hand saw.
Materials:
- Two Ikea Ivar Cabinet 12” depth
- Two 3/4 x 12 x 36” stain grade panels or one 12 x 62” wood of your choice
- One set of four Metallic Gold Legs or any substitute you wish
- Eleven 1/4 x 2 x 48” poplar
- Five small dowels 1/8 x 48”
- Four medium dowels 1/4 x 48”
- Five large dowels 5/16 x 48”
- One quart of paint – Alana used Woodrow Wilson Putty 6006-1A
- Alex Plus Silicone Dap
- Rust-Oleum Vintage Gold
- Gorilla Wood Glue
- Brad Nails or small nails if you don’t have a brad nailer
- Four screws
Tools:
- X-Acto knife
- Miter saw or hand saw
- Brad nailer or hammer
- Drill
Products Links:


2 IKEA Ivar Cabinets - 12” depth - $99x2 = $198 Link
Countertop – Two Stain grade panels - 3/4 x 12 x 36" - $22.79x2 = $45.58 Link
Trim – Poplar – ¼ x 2 x 48” - $2.65x11 = $29.15 Link
3 Different size dowels 1/8 x 48” - $1.40 x 5 = $7 Link
¼ x 48” - $1.70 x 4 = $4 Link
5/16 x48” - $1.70 x 5 = $8.50 Link
Gold Metallic Legs $38.98 Link
1 quart of cabinet and furniture paint - Color Code 6006-1AWoodrow Wilson Putty in a pearl stain finish - $31.99This is all in CDN dollars
CREATOR: Alana

Instagram: @alanagennara


