An easy DIY to spice up any room
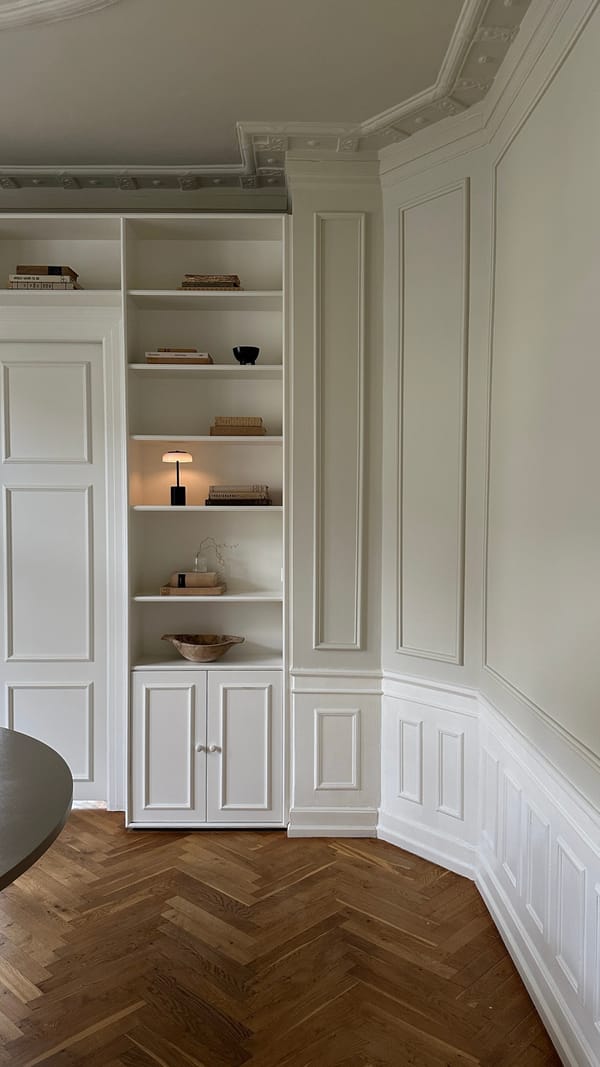
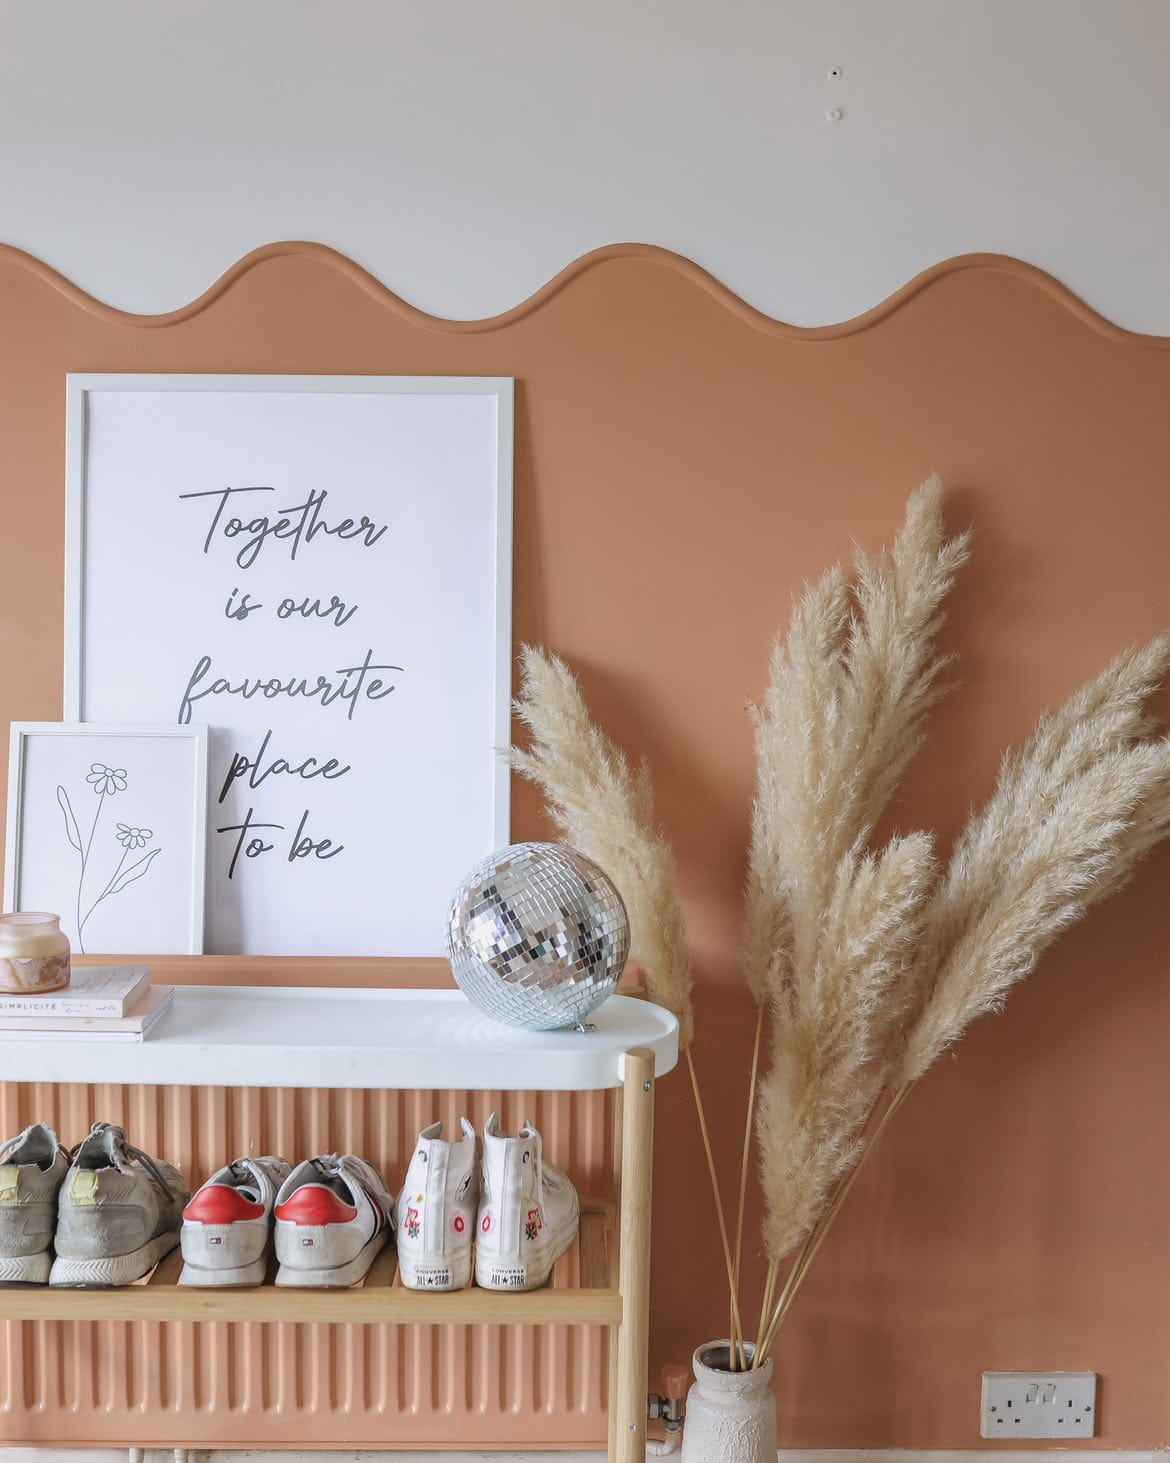
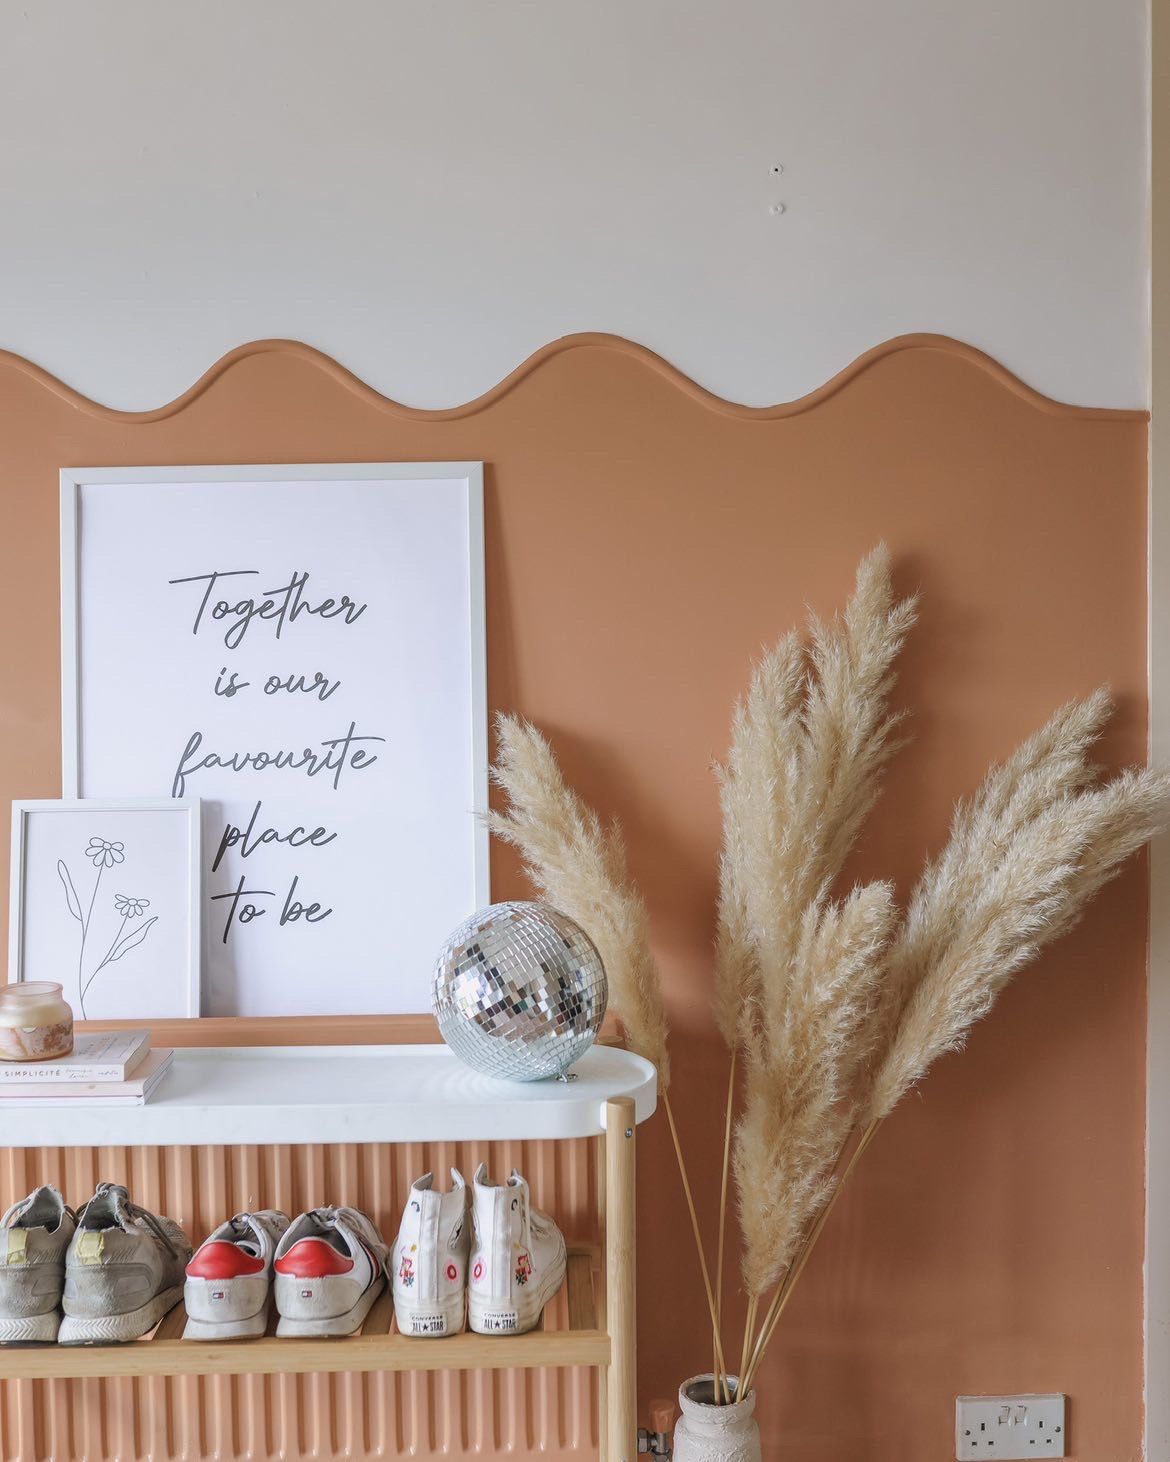
If you're looking for a fun and creative way to add a feature wall in your home, a wavy pattern is a great option. This guide will take you through the steps of creating a wavy feature wall using flexible molding with adhesive backing, paint, and a few basic tools.
Materials Needed:
- Flexible molding with adhesive backing (available on Amazon)
- Paint
- Brush/roller
- Sandpaper
- Caulk gun
Step-by-Step Guide:
- Start with a flat base of paint on the wall for the top half, using white or your desired color.
- Begin with the flexible molding by removing the backing on the end and sticking it to the end of the wall.
- Create the wave pattern by pressing the trim down as you go, ensuring the adhesive tape is firmly stuck down.
- Once you’ve finished sticking it down, use sandpaper to lightly sand the PVC trim to help the paint adhere better.
- Caulk the gap between the trim and wall using a caulk gun.
- Once the caulk is dried, paint the wall using your chosen color.
This DIY project is simple to do and can make a big impact in any room of your home. Not only is it an easy way to create a feature wall, but it also allows you to get creative with the pattern and color choices.
0:00
/
CREATOR: Holly

TikTok: @hollysinterior
Instagram: @hollysinterior