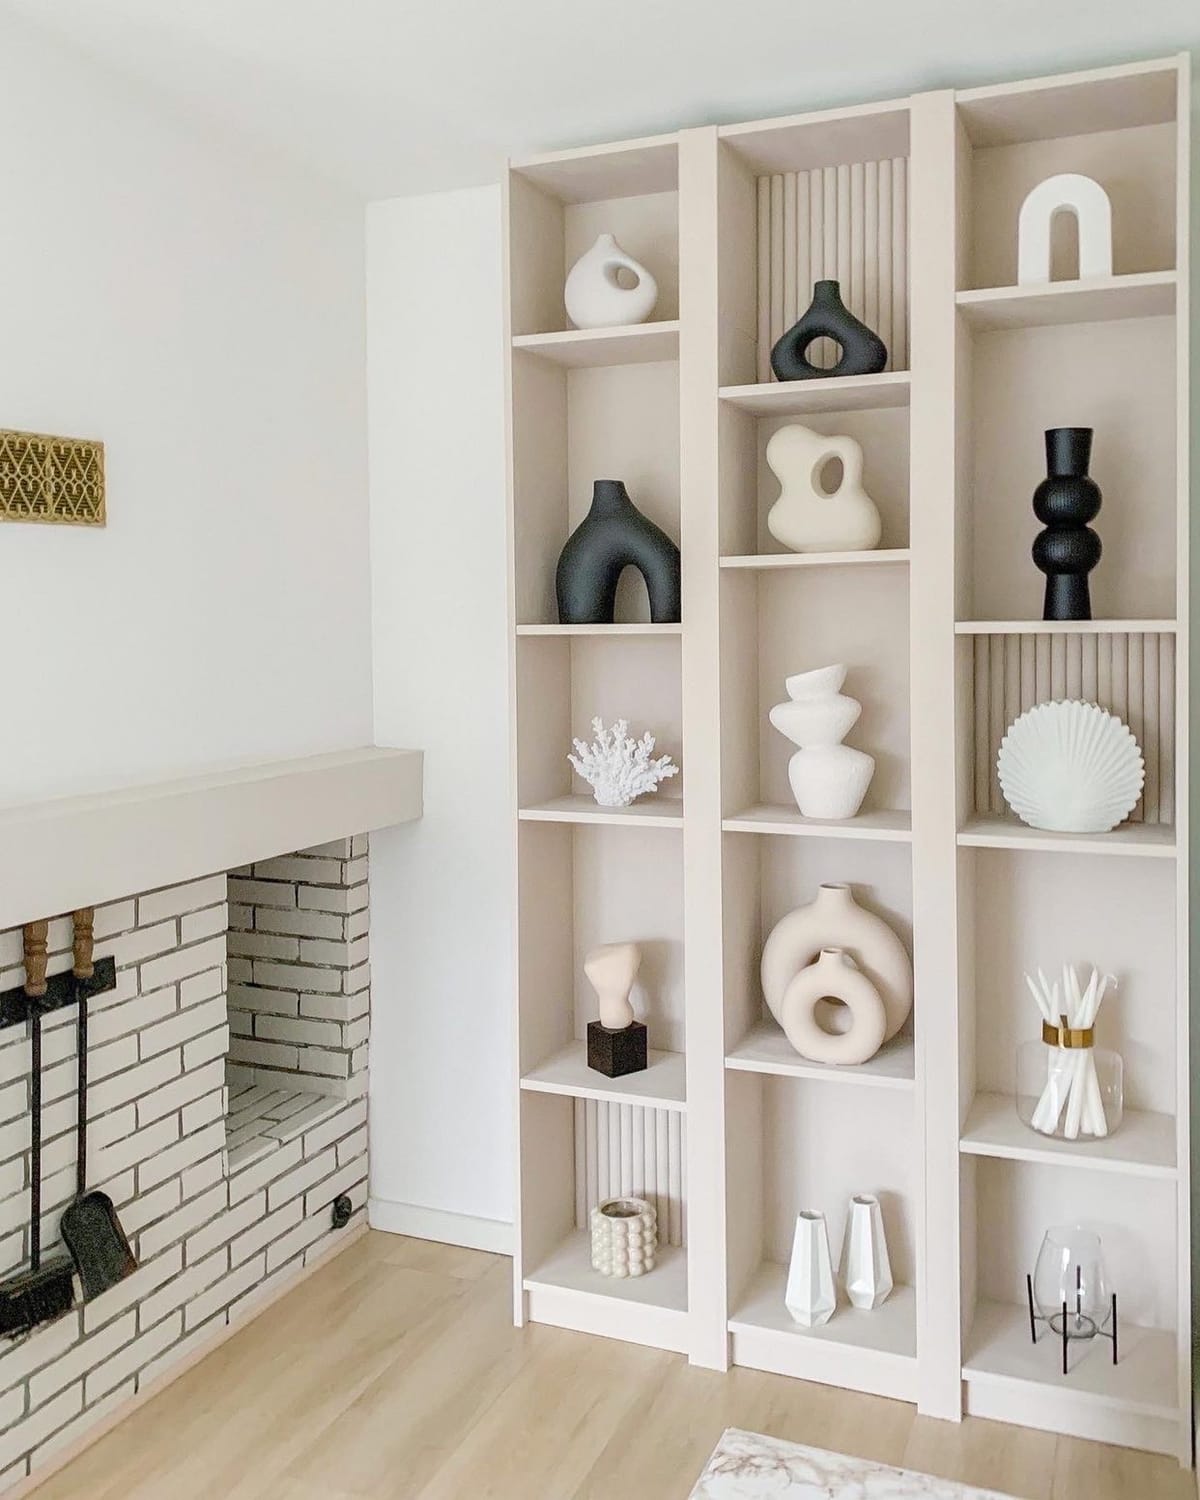

With IKEA Billy Regal
Are you looking for a cost-effective and stylish solution for your storage needs? Building your own custom shelf is easier than you think. In this guide, we will show you how to build a custom DIY shelf with IKEA Billy Regal.
What You'll Need:
- 3 x IKEA Billy Regal bookcases
- Wooden strips, 5cm wide
- Silicone
- Spatula
- Paint and brushes
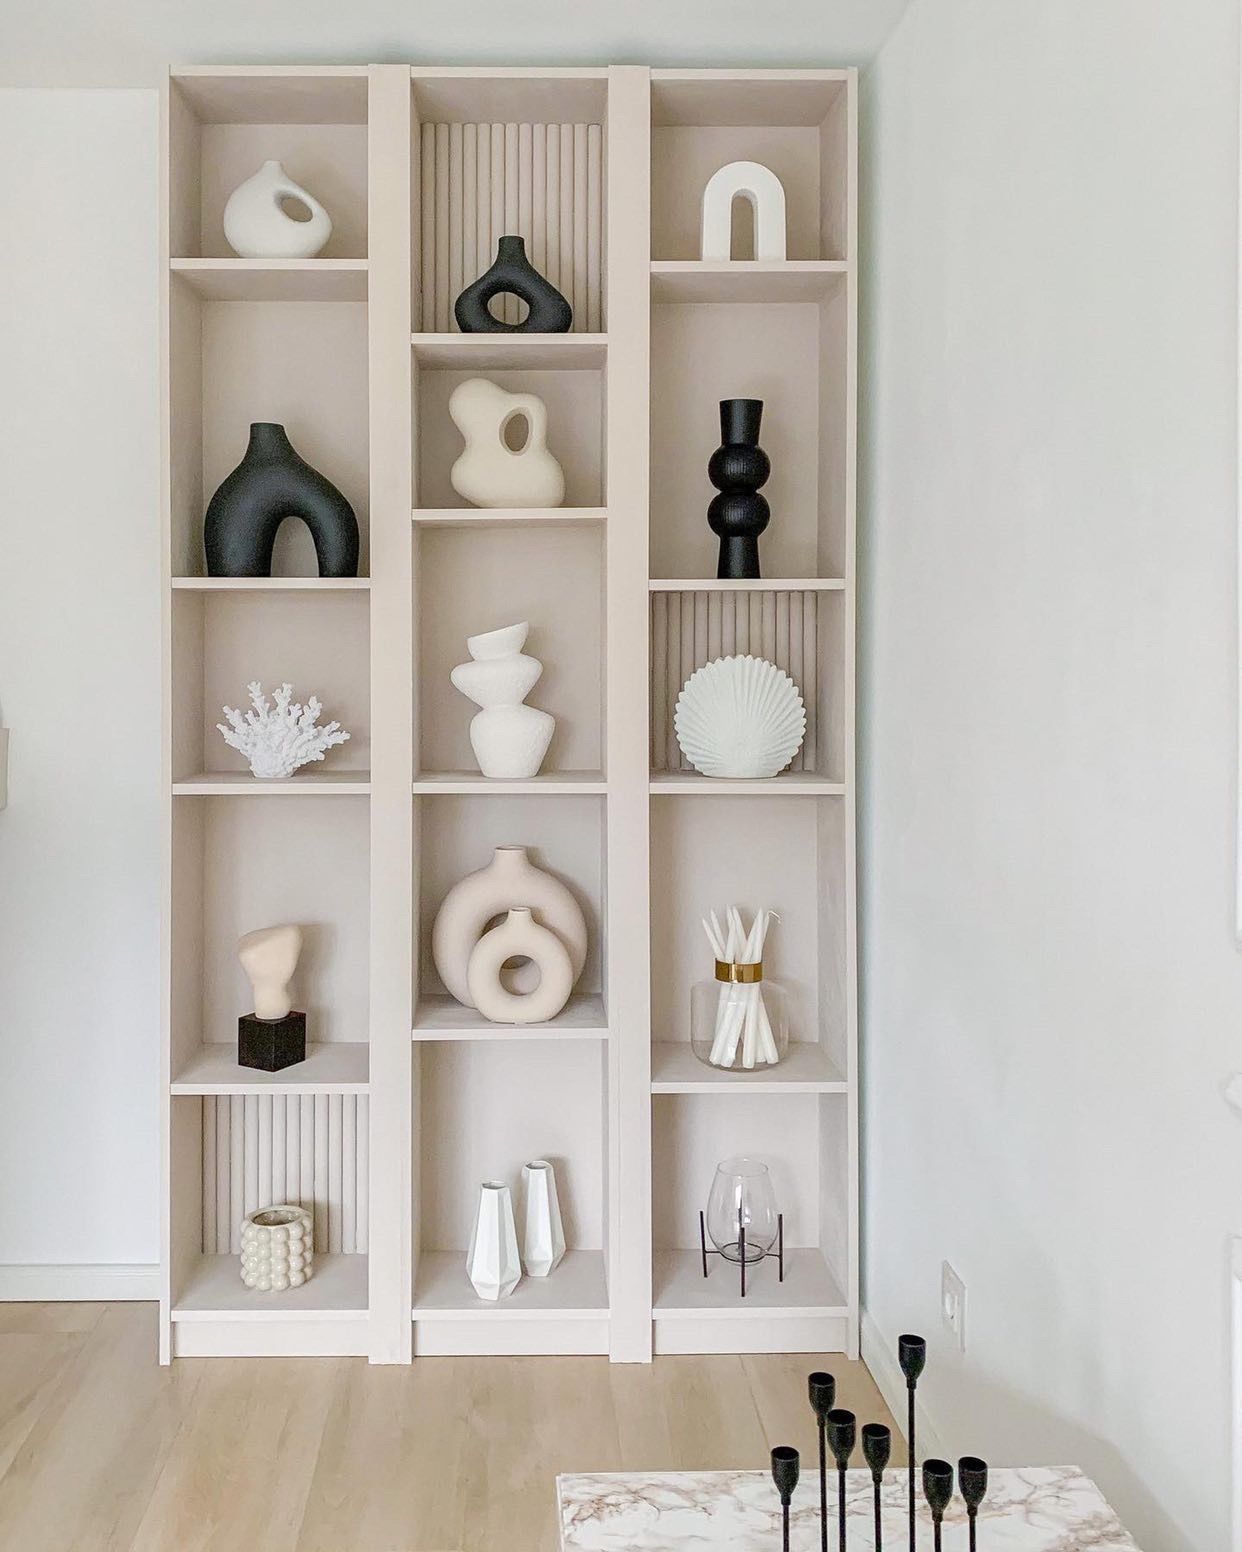
Step 1: Assemble the Billy Regal bookcases
The first step is to assemble the Billy Regal bookcases. Follow the instructions provided by IKEA to assemble the bookcases. Once the bookcases are assembled, decide how you want to arrange them.
Step 2: Install wooden strips
To make the shelf more sturdy, you will need to install wooden strips between the bookcases. Cut the wooden strips to the desired length and attach them between the bookcases with screws. Make sure the strips are level and secure.
Step 3: Fill holes and gaps
Once the wooden strips are installed, fill any screw holes and gaps between the bookcases and wooden strips with silicone. Use a spatula to smooth out the silicone and make it flush with the bookcases and wooden strips.
Step 4: Paint the shelf
Once the silicone is dry, it's time to paint the shelf. Choose your desired paint color and apply it to the shelf. Make sure to paint evenly and let it dry completely before applying a second coat if needed.
Step 5: Personalize the shelf
Once the paint is dry, you can add personal touches to the shelf. You can attach bows or other decorations to the wooden strips for a more personalized look. Get creative and have fun with it!
Building your own custom DIY shelf with IKEA Billy Regal is an easy and affordable way to add storage and style to your home. With a little bit of creativity and some basic tools, you can create a unique and functional shelf that meets all of your storage needs.
CREATOR: Aylin

Instagram: @aylinterior